We all know how good WebAuth.com Wallet is and it is the only wallet you will ever need but there are other wallets that allow you to interact with XPR Network, such as Anchor Wallet.
Anchor Wallet is a security and privacy-focused wallet for EOSIO-based networks, including XPR Network. It is an open-source wallet developed by Greymass and it's been around for a few years now. For reference, Greymass is a block producer (teamgreymass) on XPR Networkand they also have a presence in the XPR Network telegram channel.
The best thing about Anchor Wallet is that it is cross-platform. It works on Windows, macOS, Linux as well as iOS and Android. Furthermore, the desktop version of Anchor allows integration with Ledger devices to provide an extra layer of security. With Ledger, the private keys never leave the device and require the Ledger to approve transactions physically.
Similarly to WebAuth.com Wallet, Anchor Wallet is very secure, it stores the private keys in a secure area protected by mobile device secure chip - Secure Enclave on iOS and TrustZone chip on Android. Anchor will verify your identity through your device biometrics every time you sign a transaction. On a desktop, you must set an account password to use with every transaction.
Anchor Wallet allows you to create new or import existing XPR network accounts. New accounts cost $1 to create and come with .gm extension (as protonuk.gm). The account comes with a minimum amount of RAM (about 4000 bytes), allowing you to send and receive XPR but you can't stake XPR or buy NFTs. To do so, you need to buy additional RAM, don't worry it costs only a few cents.
Once you have the account in Anchor Wallet you either use Greymass web wallet which is very simple and allows you to send and receive XPR only OR use XPR Explorer where you can also stake and vote for block producers.
Using Anchor Wallet on a Desktop PC
Anchor Wallet is open-source and runs on Windows, Linux and macOS. The desktop version also allows integration with Ledger devices. Start by downloading and installing Anchor on your PC:

Start Anchor Wallet after installation completes:

Click on Setup an Account, similarly to mobile where you have your biometrics protecting your account, you need a password for the Anchor desktop wallet that you use to approve all transactions:

Create an account
The current desktop version of Anchor Wallet does not support creating an account yet, thus you need to visit the page below to make a payment of $1 and then finish the account creation back in Anchor Wallet:
Here is what it looks like:

Select Proton chain (that's the previous name of XPR Network) on the next page:

Unlike WebAuth.com wallet, there is a small fee ($1) that you need to pay to create a wallet using Anchor:


Once the payment goes through you get a notification message, you can either create an account now or send the creation link to someone else:

Click on Create account now:

To complete the account creation you need to have Anchor Wallet on your PC. Click on the first button "Launch Anchor on this device" and you are brought to the next screen where you pick up a name. Note that the account will have .gm extension. That's because it was created by GreyMass Anchor Wallet. Also, remember that the whole username cannot be more than 12 characters. Click Next, once you pick up a username:

The next screen will ask for your confirmation and give you the option to use Ledger for this account, otherwise, Anchor will generate the keys for you:

Once you click Create, Anchor will create the account for you. At this point, the account is ready for use and you get an option to create a backup, do NOT skip this step and take backup immediately. Click Create Backup and then save the certificate to a secure place:


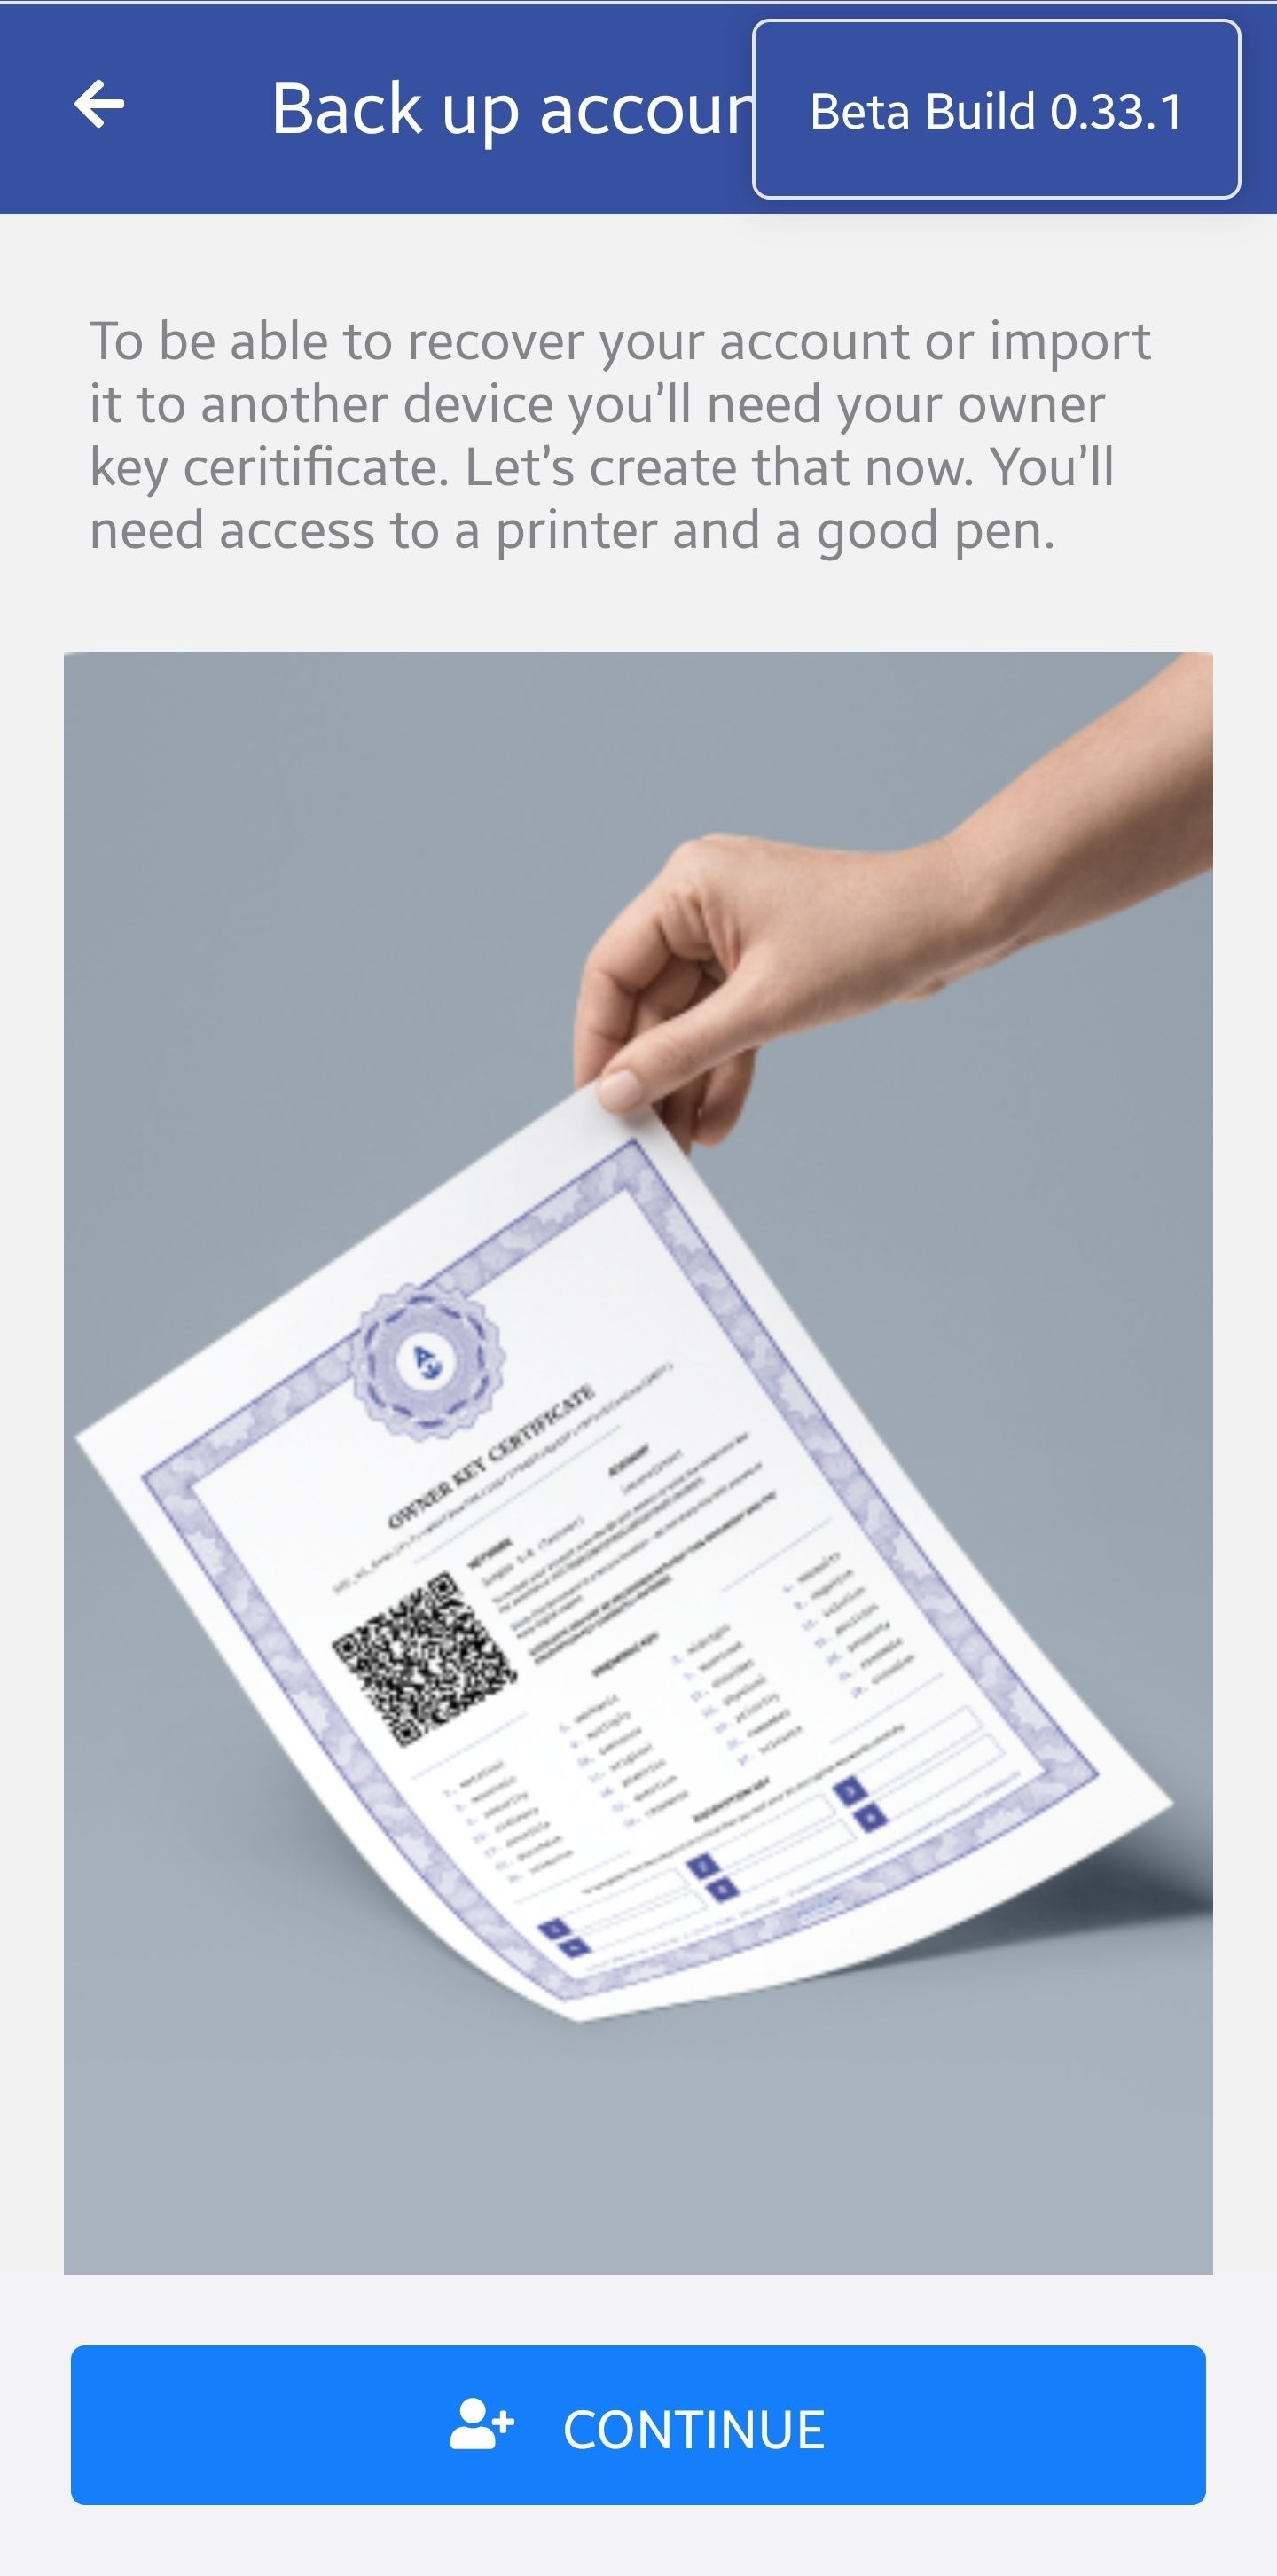
This is what the account key certificate looks like, it holds your encrypted private key, all the recovery QR information needed to recover your account and encrypted private key as a mnemonic:

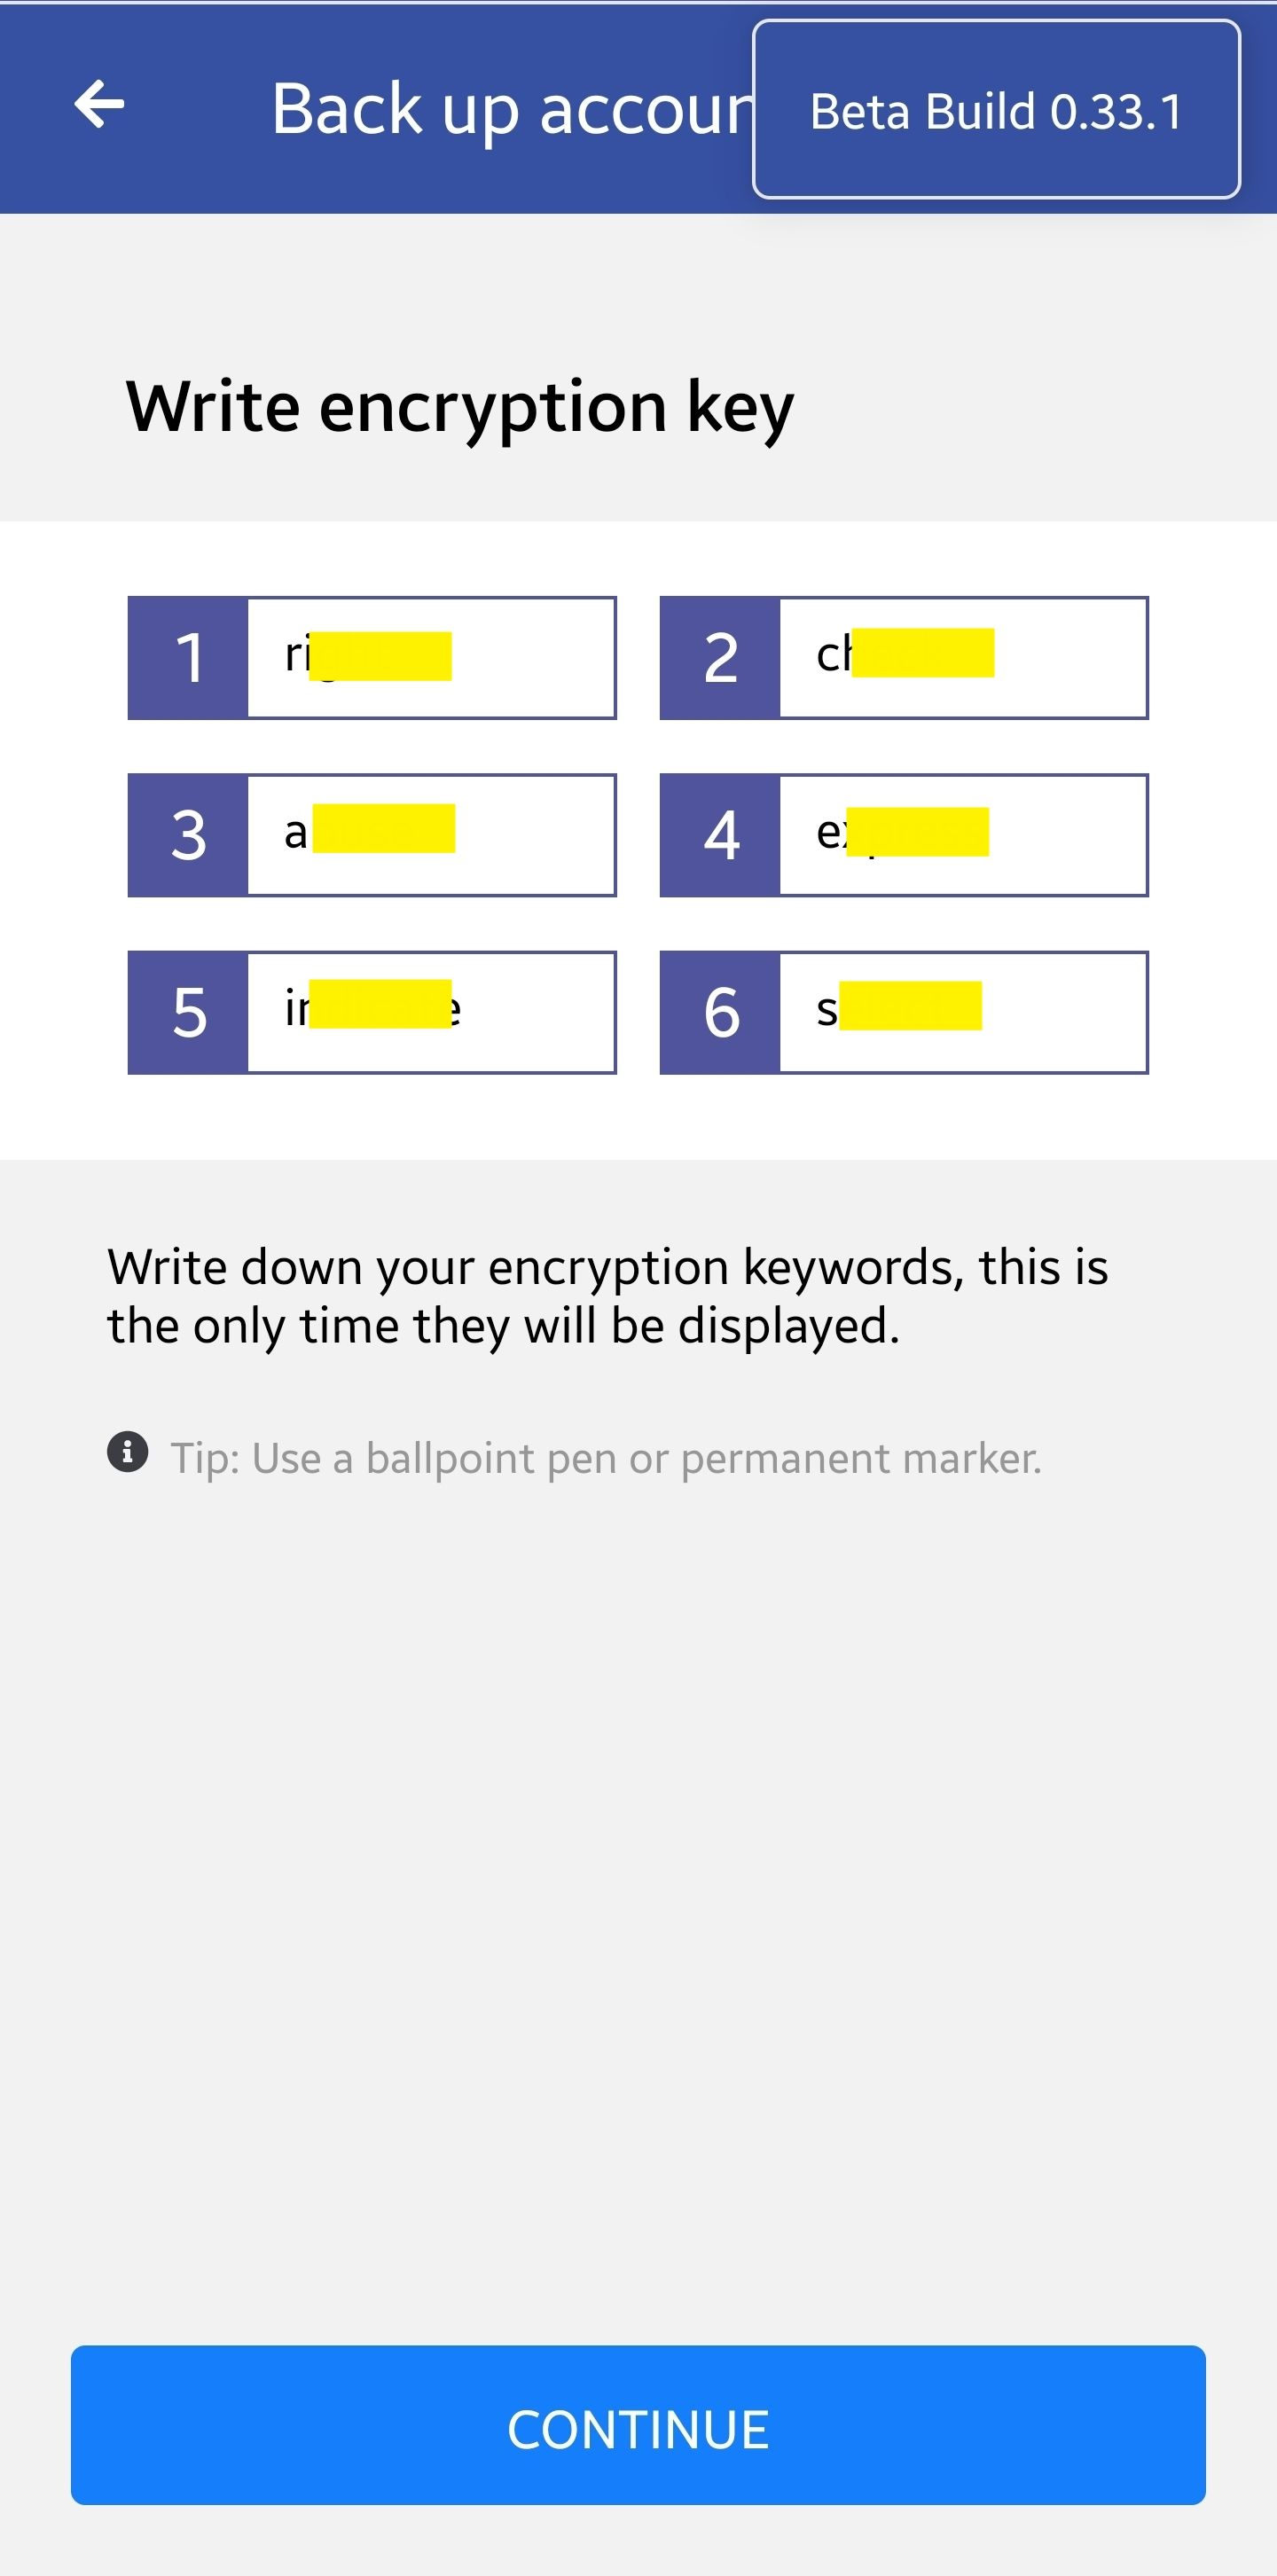
Further to that, the below six words are generated locally on your phone and you need to take a note of them as well or better right them on the certificate above. That's very important since the six words are only displayed once and the only way to recover your account:

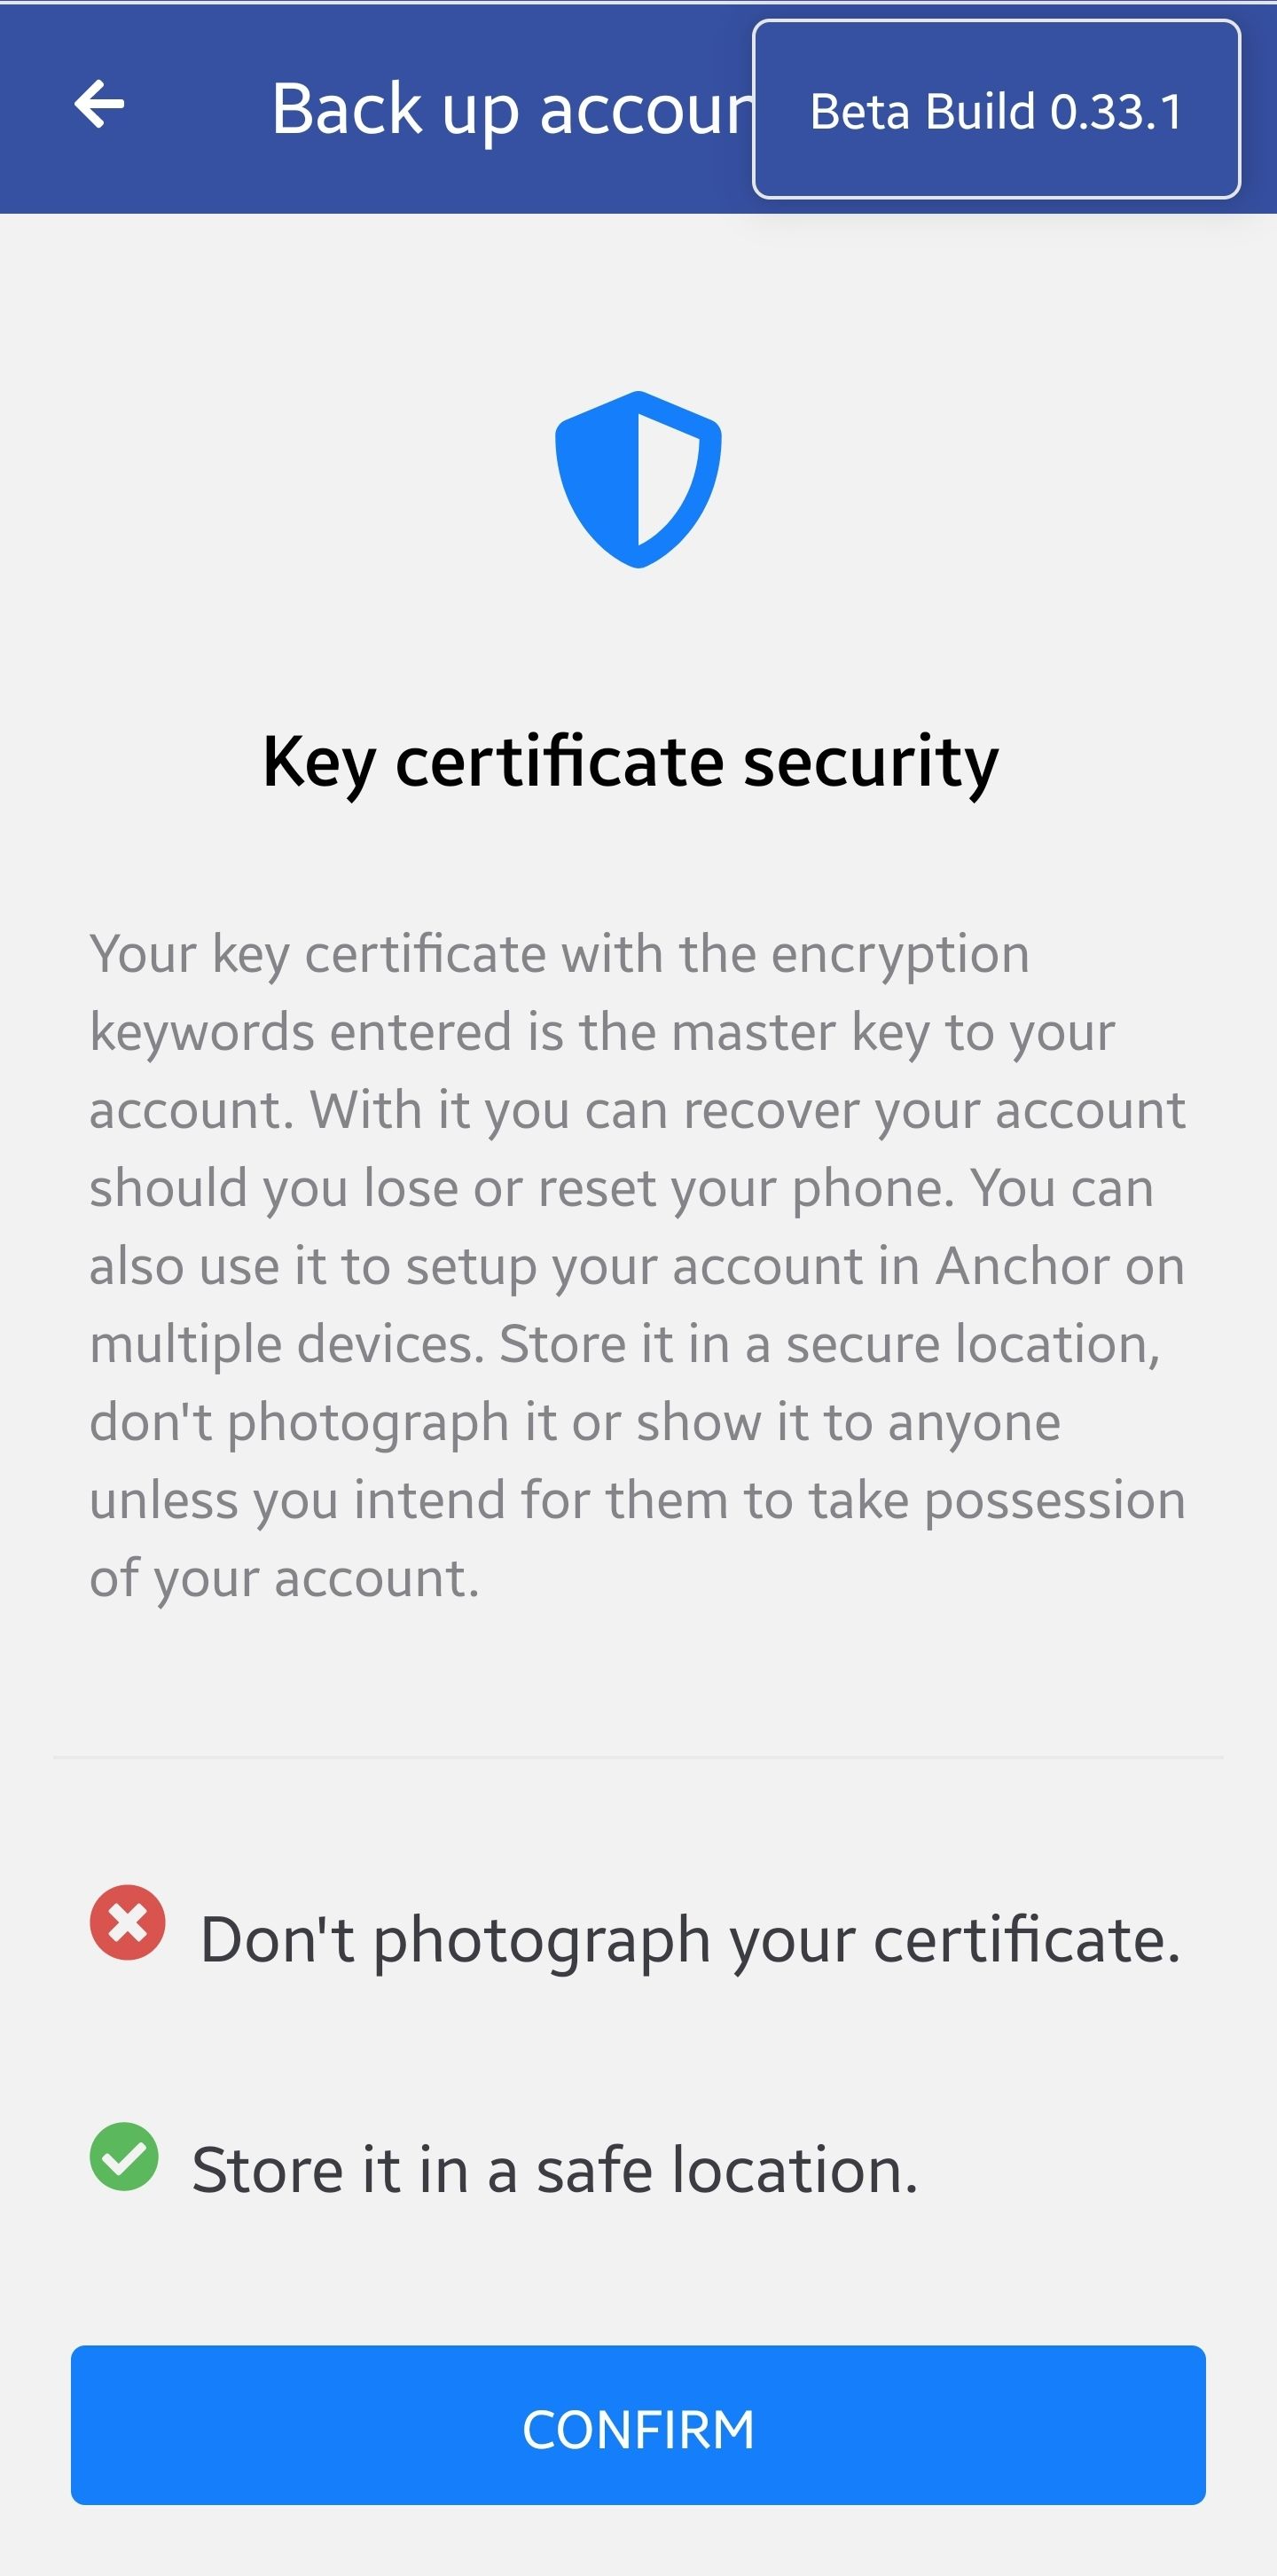
This has been repeated many times but take the time to read it:

Here we are, the account webauth.gm is now in Anchor Wallet:

Now that you have created a new account using Anchor Wallet, jump over to Using Anchor Wallet to see how to interact with XPR Network.
Import an account
Anchor Wallet supports most of the EOSIO chains and you see the top ones presented on the next screen, select Proton:
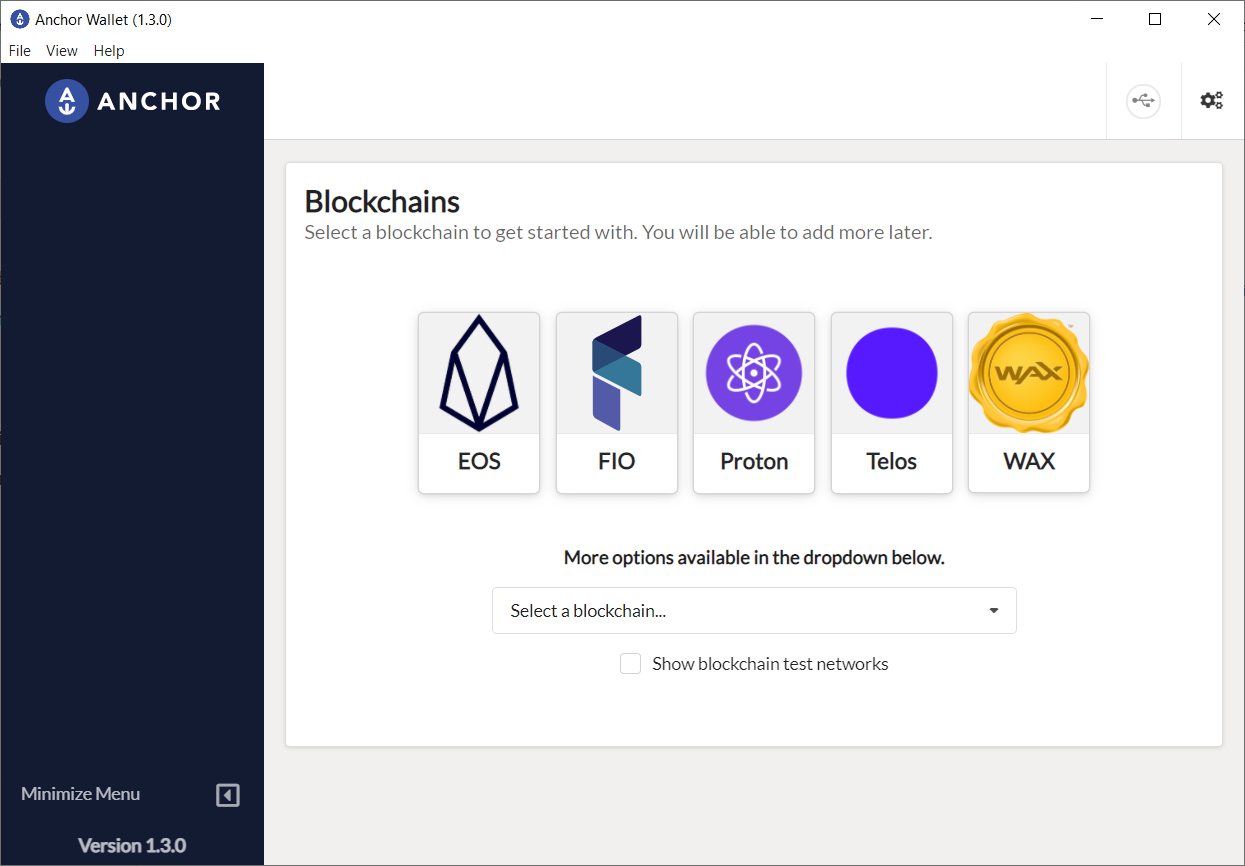
Click on Import an existing account on press the tab Existing Account:

At this point, you get three options to import an account into Anchor Wallet:
- Import Private key: Import and existing WebAuth.com Wallet private keys.
- Load from Ledger: Import an account whose keys were previously migrated to Ledger.
- Import from key certificate: Import an account created by Anchor Wallet, using a key certificate.
Import key from WebAuth.com Wallet
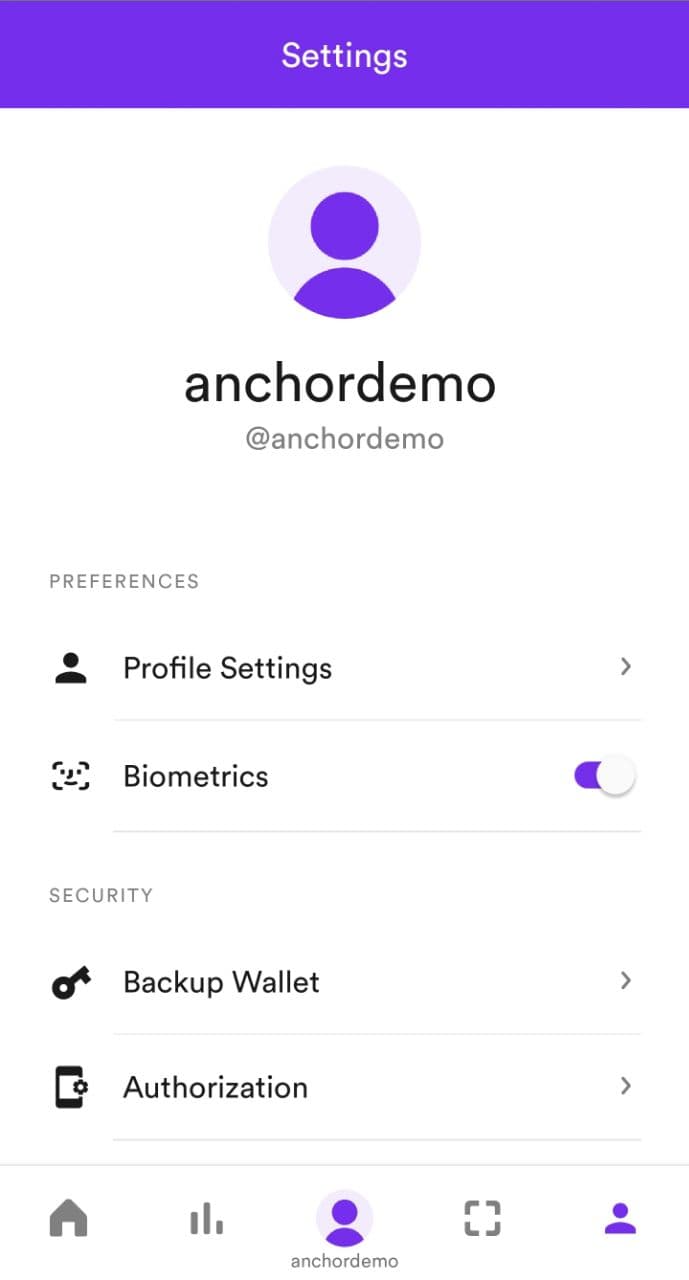
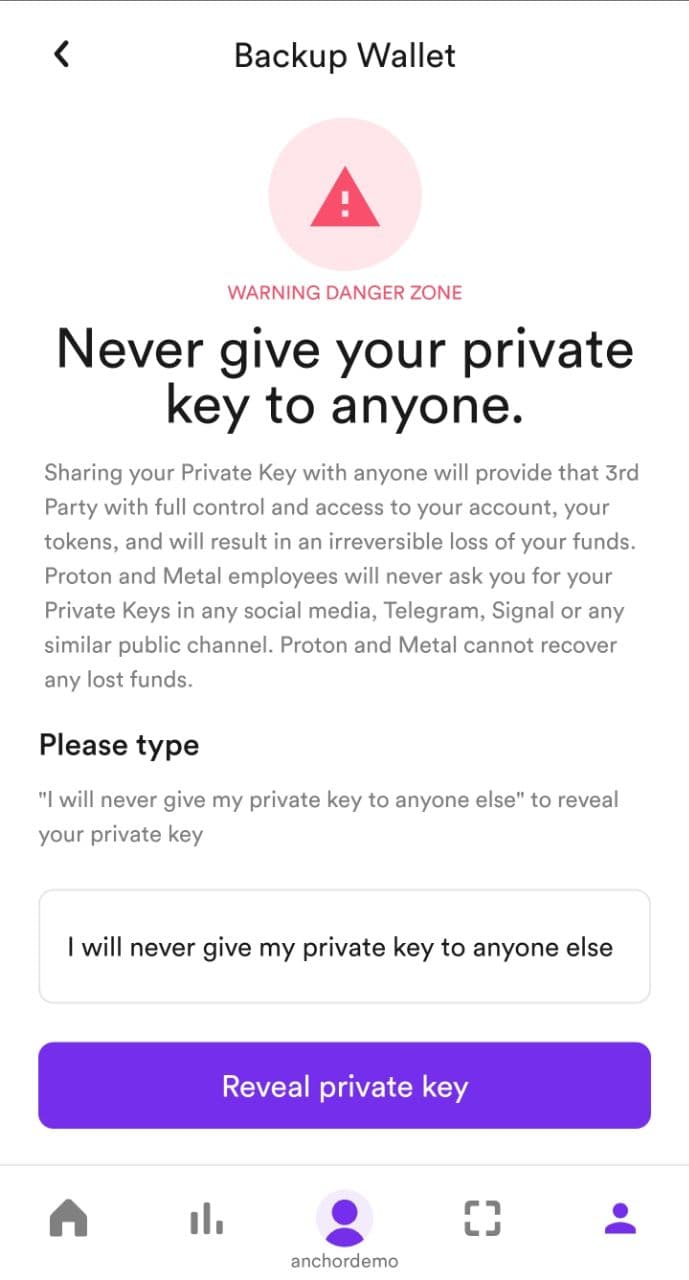
To do that you first need to export your existing WebAuth.com Wallet private key. Go to WebAuth.com Wallet, click on the Profile icon at the bottom right corner and then Backup Key:
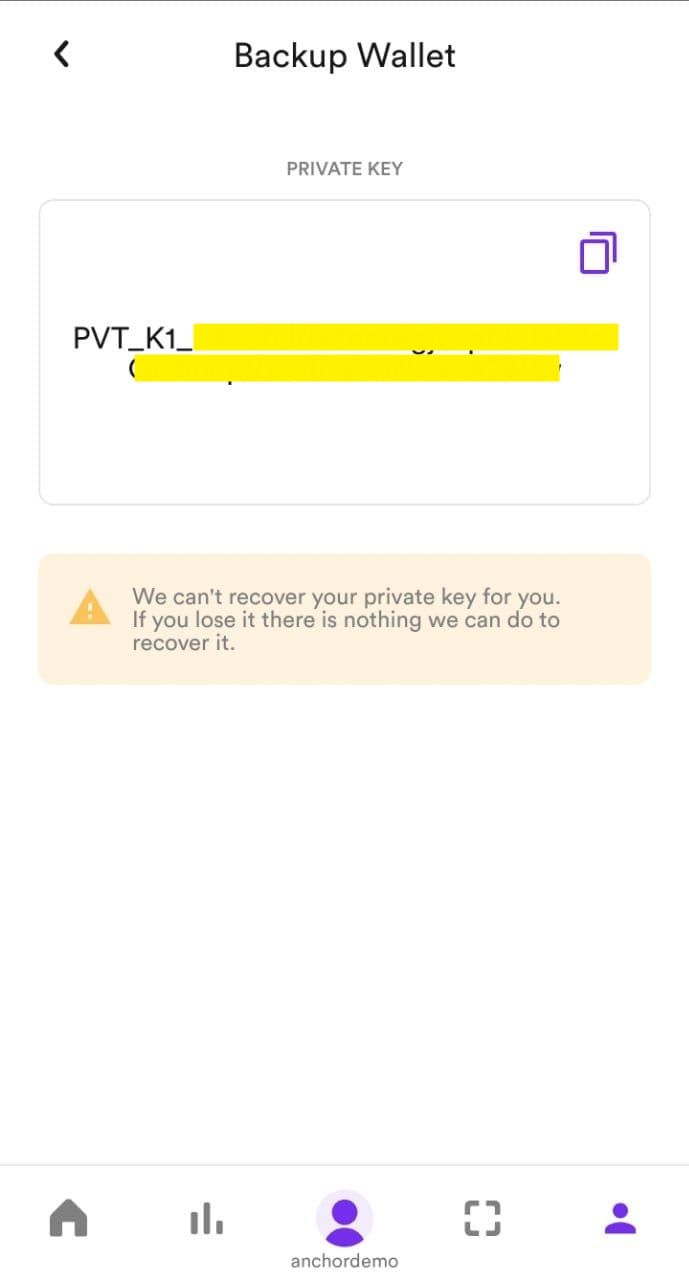
Now that you have your WebAuth.com Wallet private key, go back to Anchor Wallet and click on the first button - Import Private key:

On the following screen, you put the private key in the text box and the wallet will automatically find the account on the chain matching this private key. If your account doesn't come up then there is a problem with the API node, check the bottom of this post on how to fix it.

The moment I paste the key in the textbox, Anchor found two privileges matching that private key: acnhordemo@owner and anchordemo@active.
Each XPR account has two keys associated with it and each key has certain permission:
- Owner key: As the name suggests this permission controls the ownership of the account. It's like superuser or administrator permission and allows you to add or change other account permissions
- Active key: The active key is more restricted than the owner and it is used for transferring funds, voting for block producers and staking.
On the screen above choose:
- The active key if you plan to sign transactions on your desktop only.
- The owner key if you want to add more active keys or move to a Ledger device.
There is no harm in importing both as by default, both permissions have the same key.


Enter the Anchor Wallet account password that you created earlier and that's all. Your WebAuth.com Wallet key is now loaded in Anchor and you can control your XPR account using Anchor Wallet:

You can also switch between the Active and Owner privileges easily:

Now that you have the account imported into Anchor Wallet, jump over to Using Anchor Wallet with XPR below to see how to interact with XPR Network.
Import key from Ledger
Use this option if you previously moved the XPR account keys to Ledger. Insert your Ledger device in your PC, sign in with PIN and start the EOS application on Ledger, then go back to Anchor Wallet and click on Enable Ledger Support at the top right corner. Now that Ledger is connected to Anchor Wallet click on Load from Ledger, this will match the private key from your Ledger to an account that has the corresponding public key on XPR Network.
The whole process takes a few seconds and it's shown in the screenshots below:
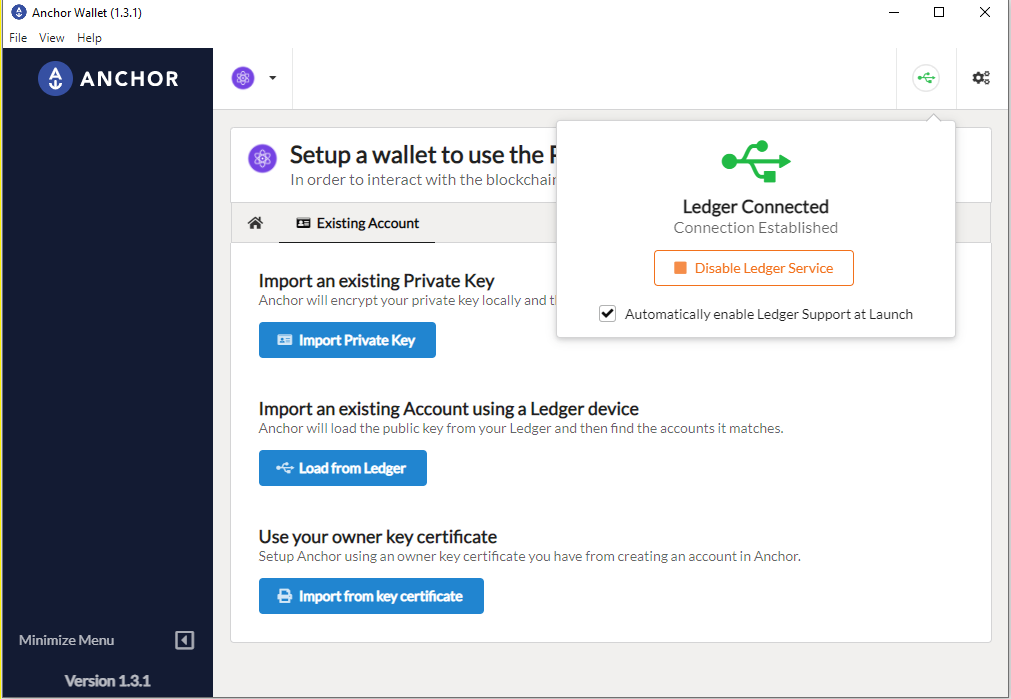
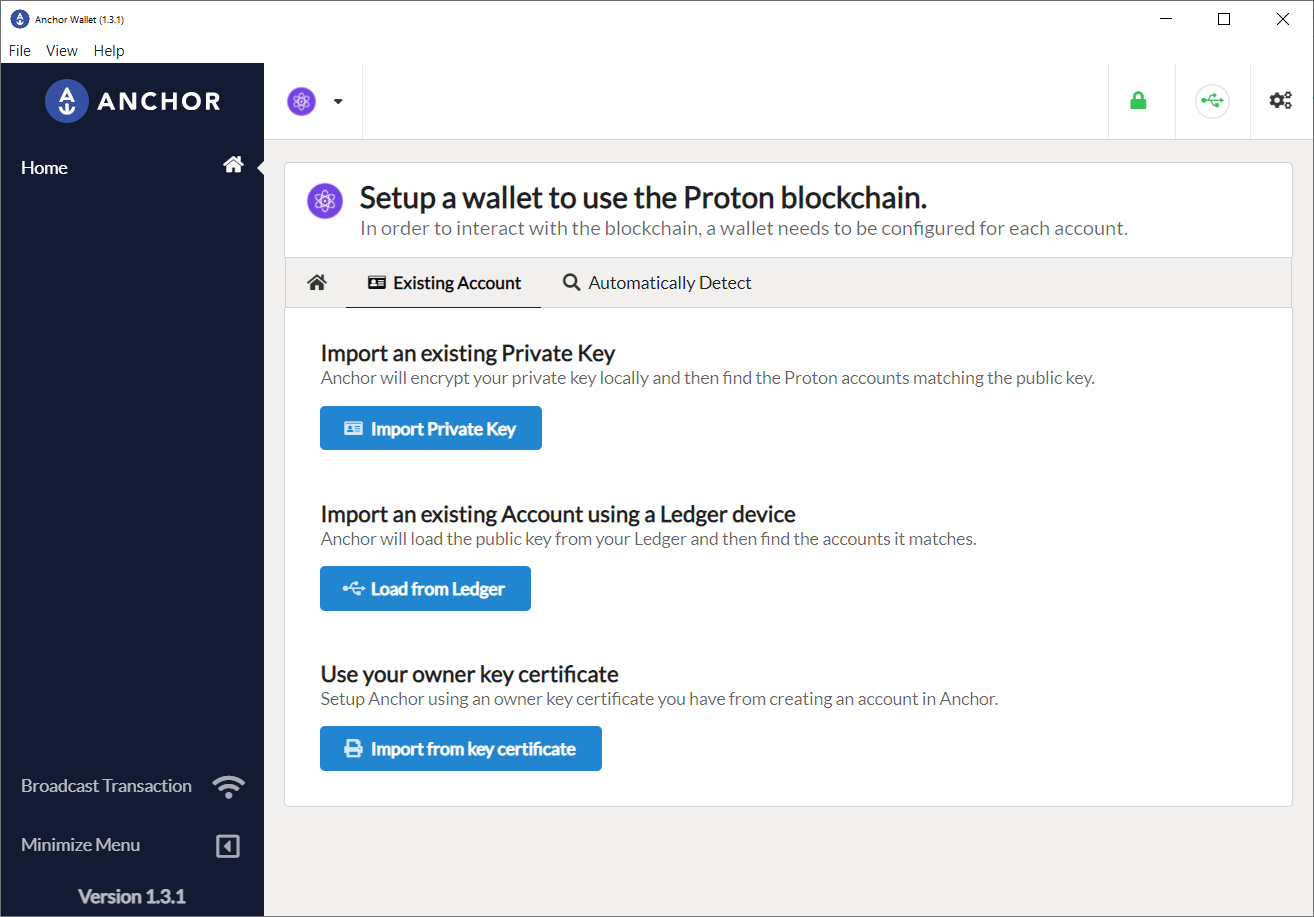
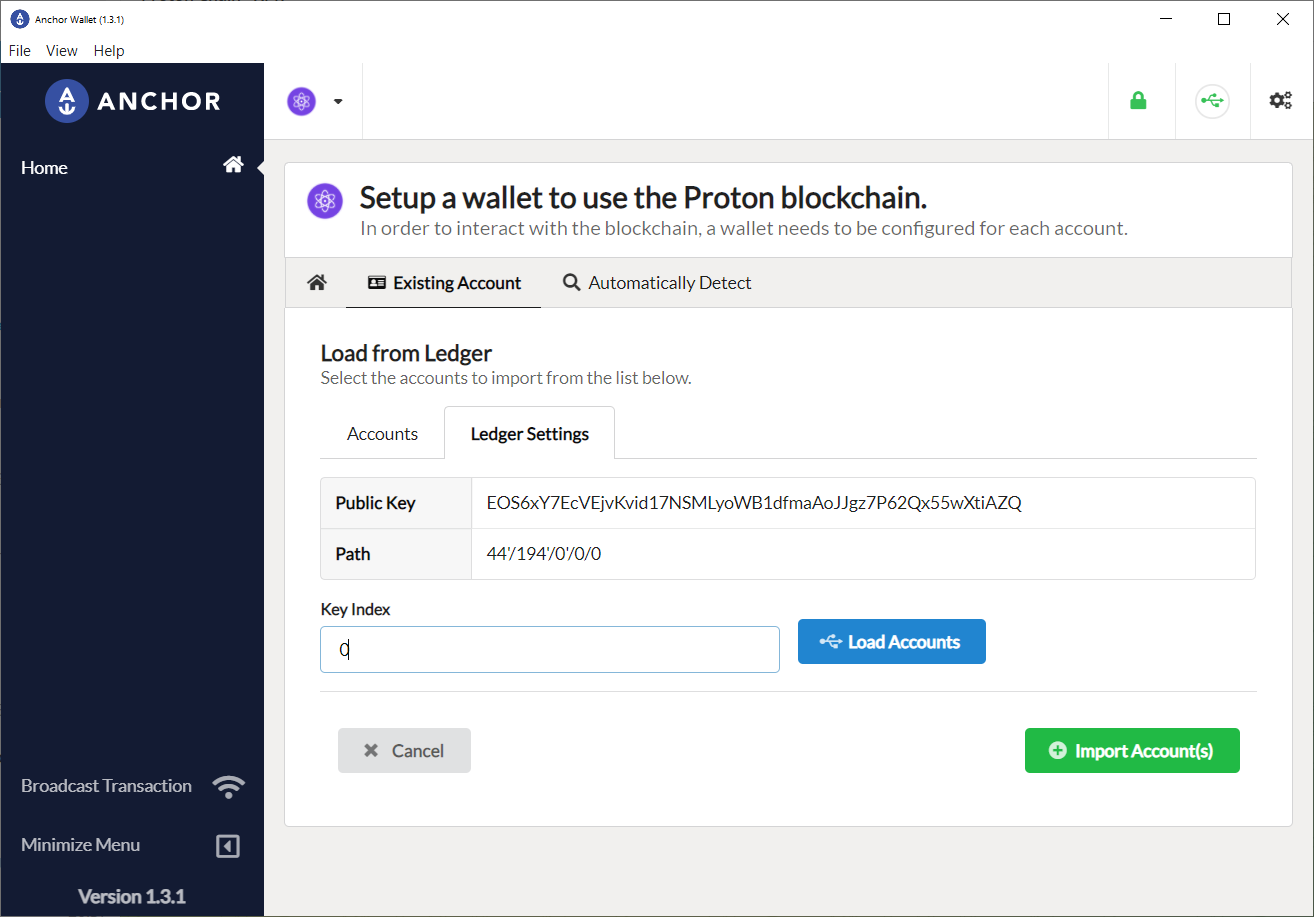
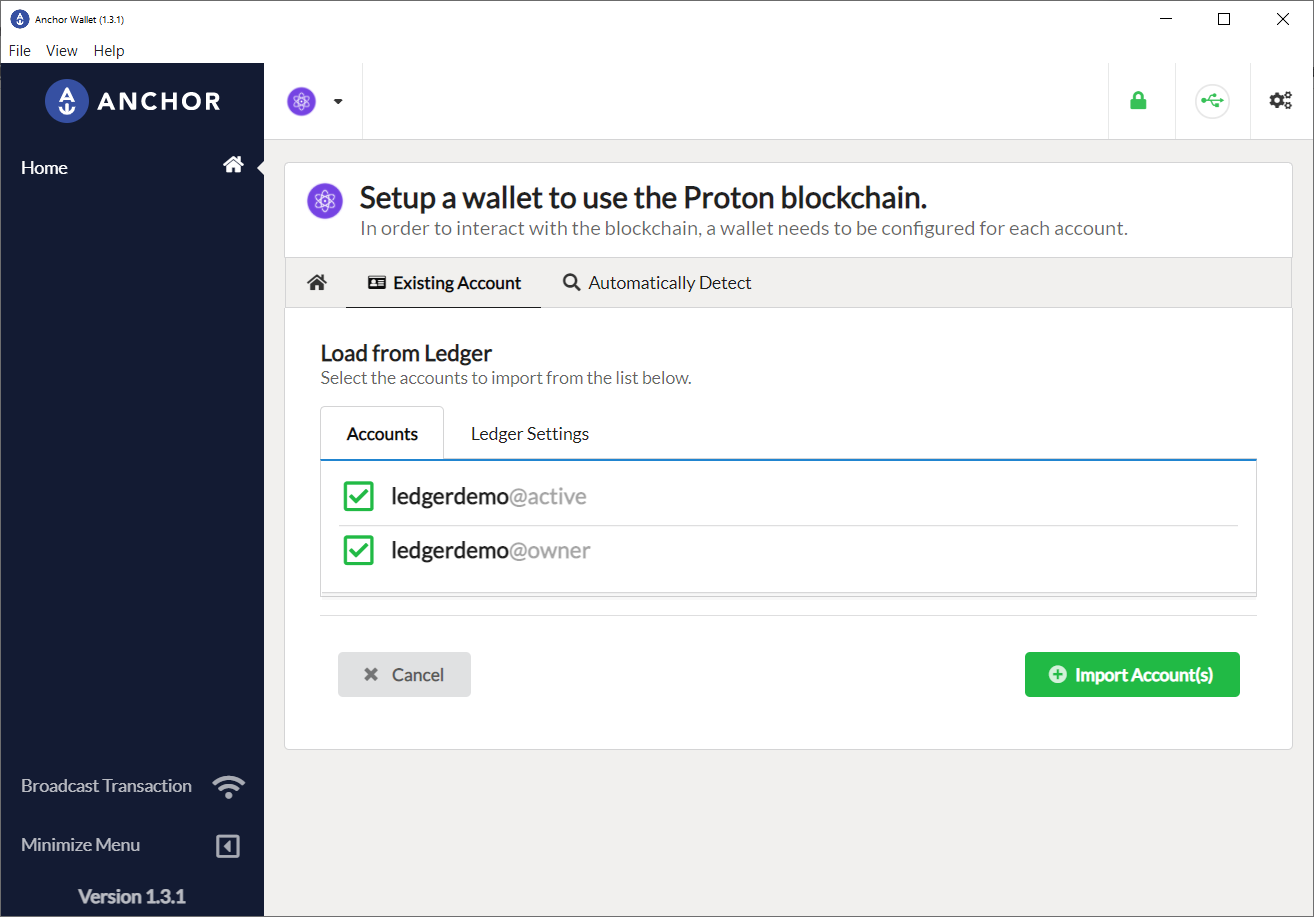
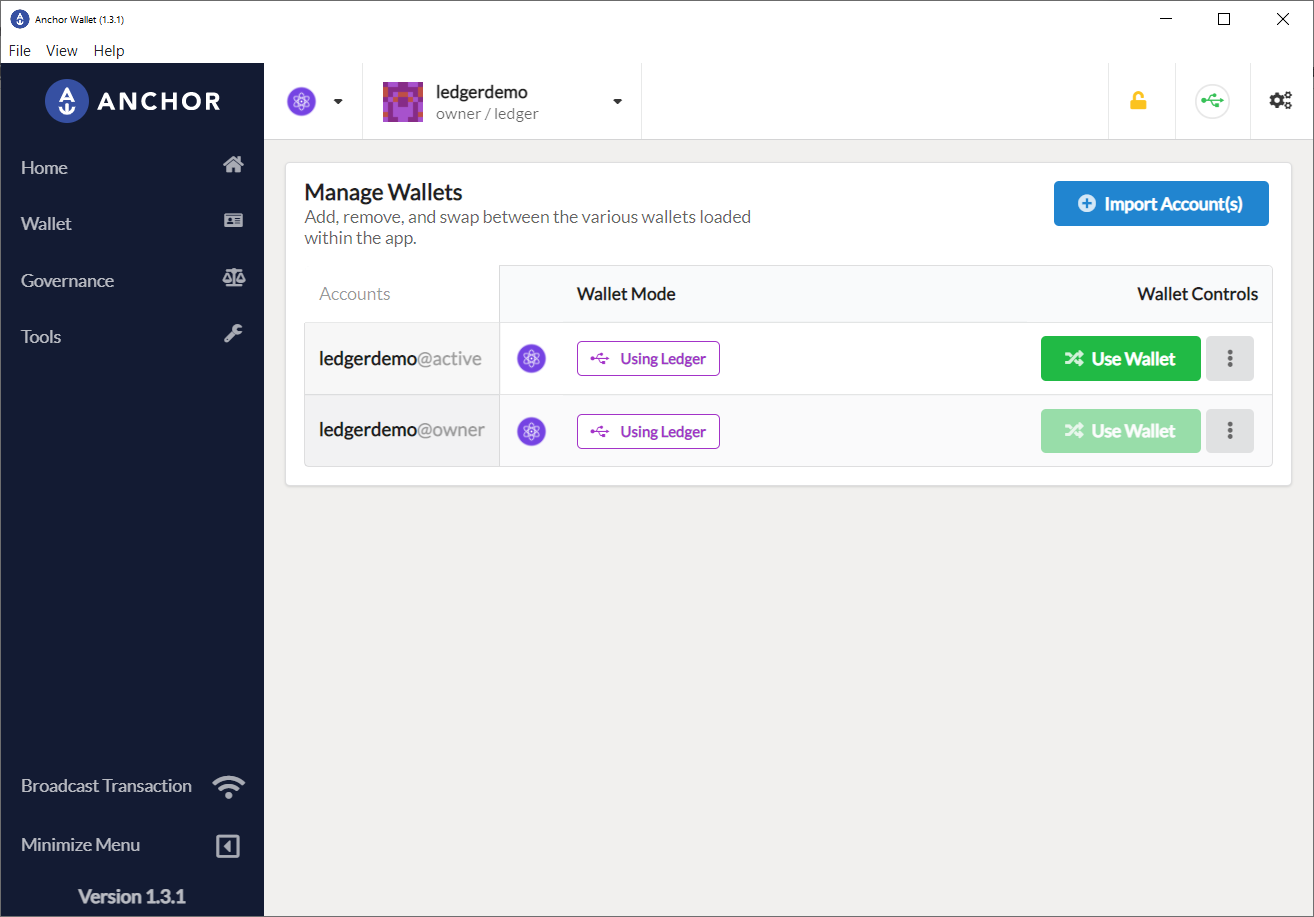
Now that you have imported the account into Anchor Wallet, jump over to Using Anchor Wallet to see how to interact with XPR Network.
Import from owner key certificate
This option allows importing an account that was previously created using Anchor Wallet:

Click Import from Key Certificate:

You can either take a picture of the QR code or manually enter the mnemonic key (28 words). I took a picture of the certificate QR code on my phone and then use the first option "Scan with Webcam", then you go through account recovery by entering the 6 words:

Now that you have imported the account into Anchor Wallet, jump over to Using Anchor Wallet to see how to interact with XPR Network.
Using Anchor Wallet on a mobile device
Anchor Wallet is open-source and runs on Windows, Linux and macOS as well as Android and iOS. The desktop version also allows integration with Ledger devices but not the mobile version. So if you are using Anchor + Ledger on your desktop you will need to add another authentication device for your account so that you can use it on a mobile device. That can be done at the webauth.com website and it is a focus of another post.
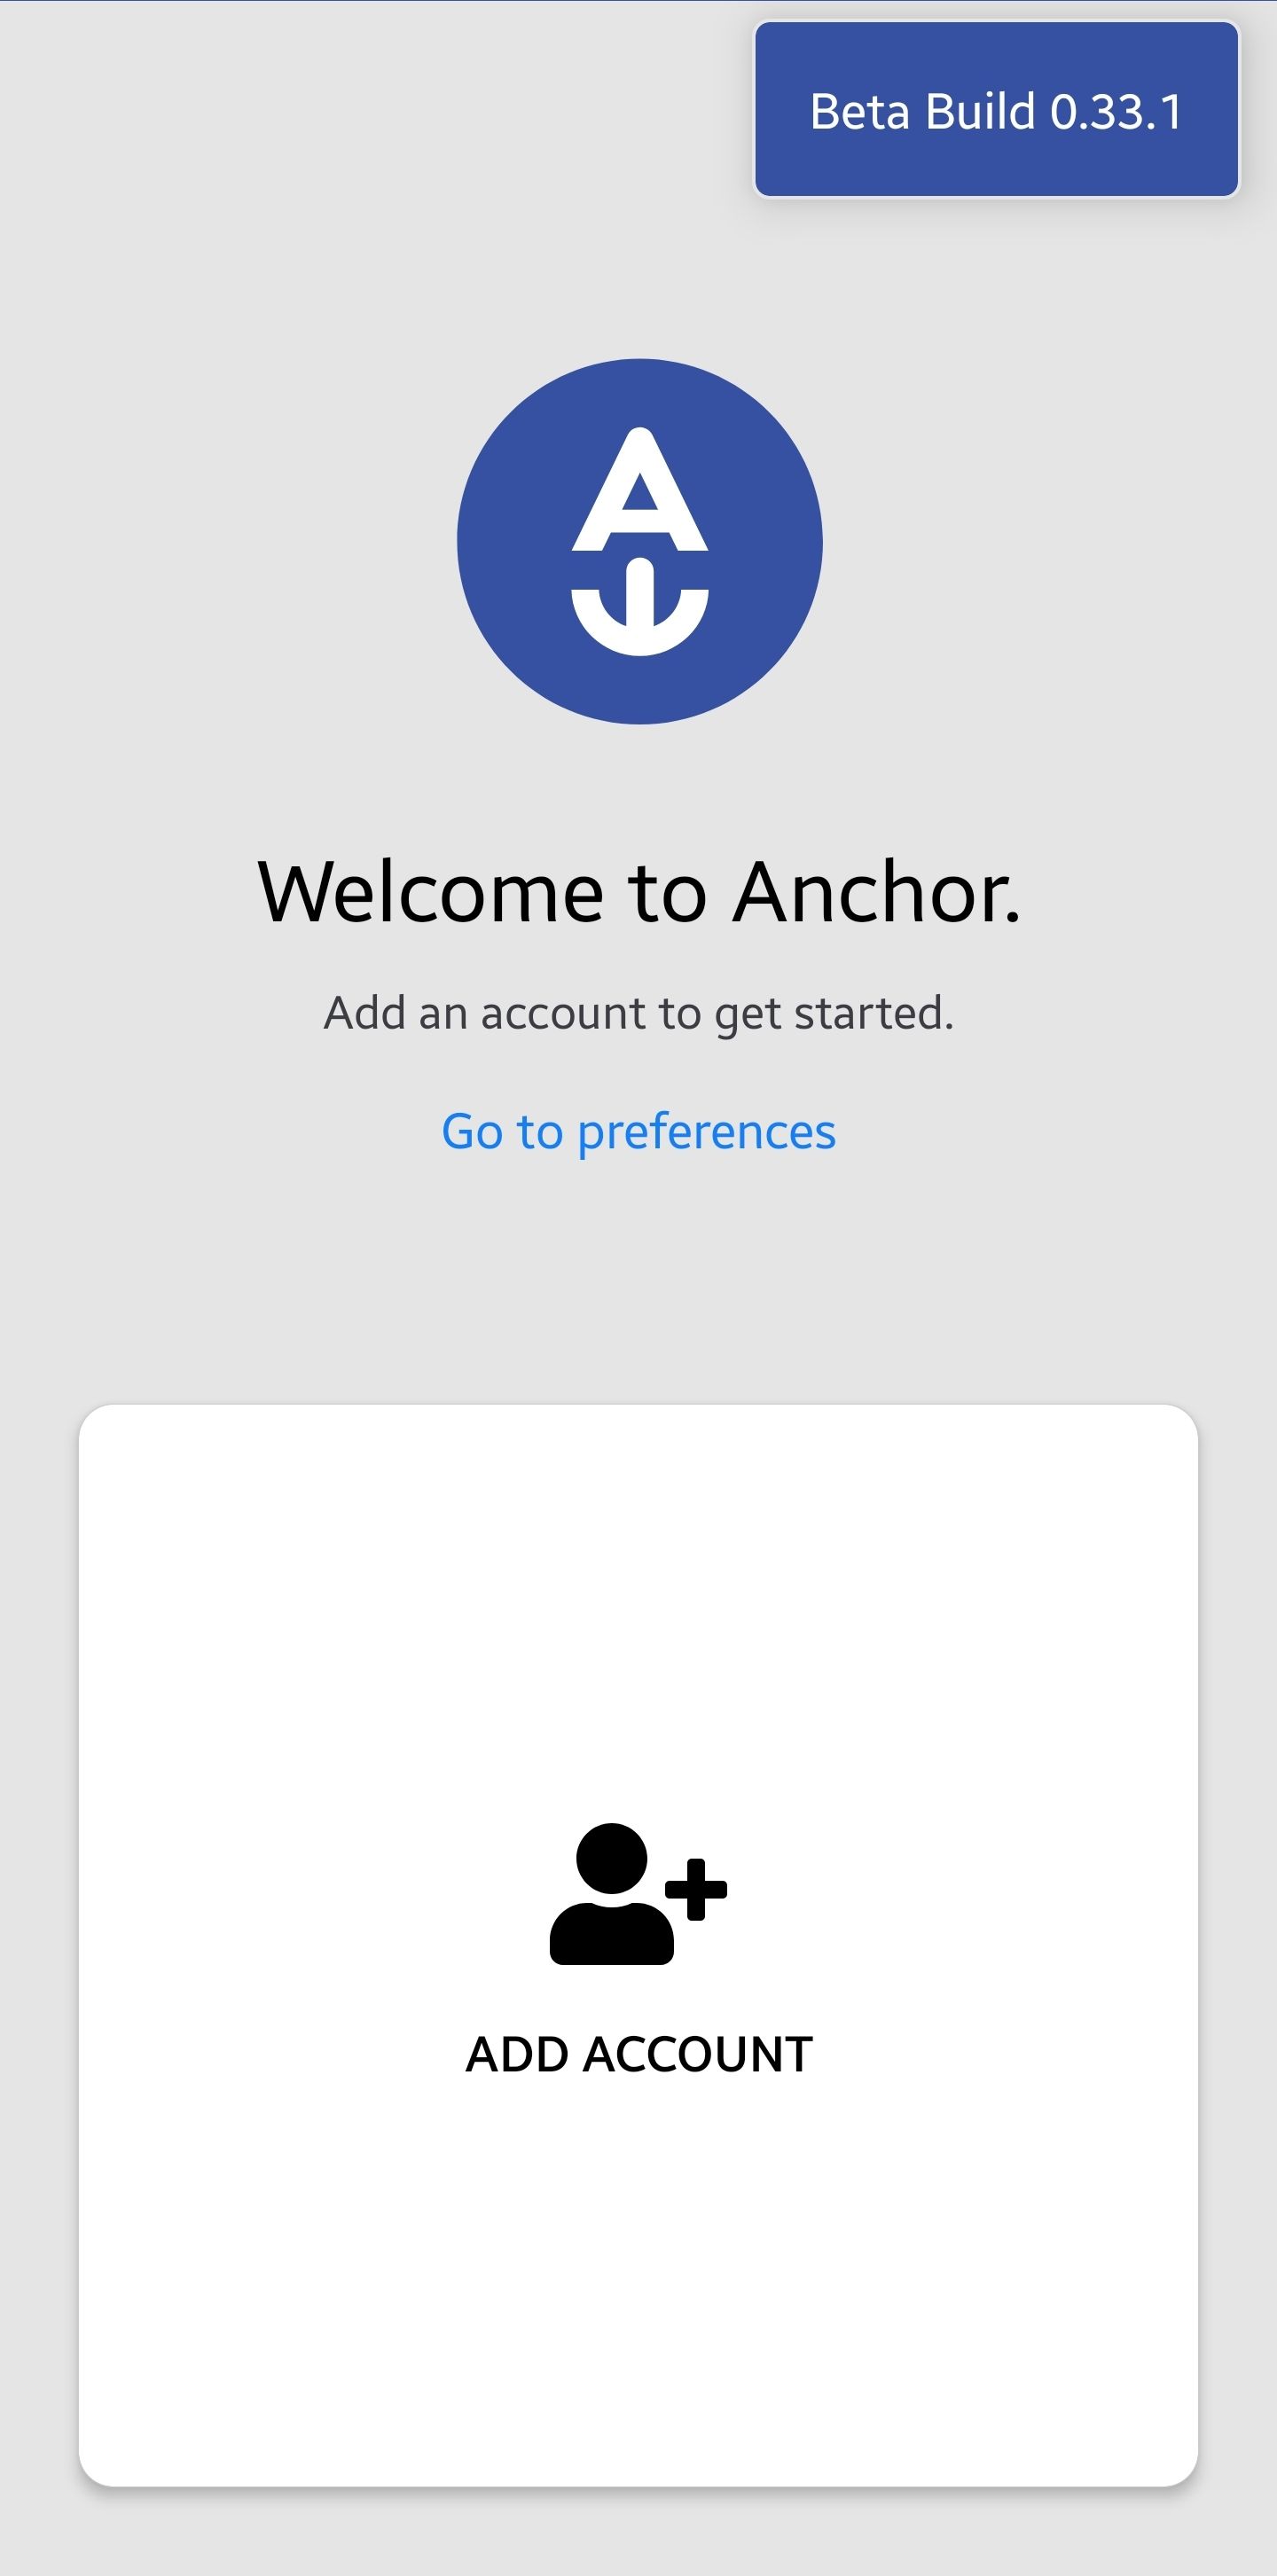
Now because there are a lot of screenshots I won't be going through each one but insert them in a group of nine. They are more or self self-explanatory and easy to follow.
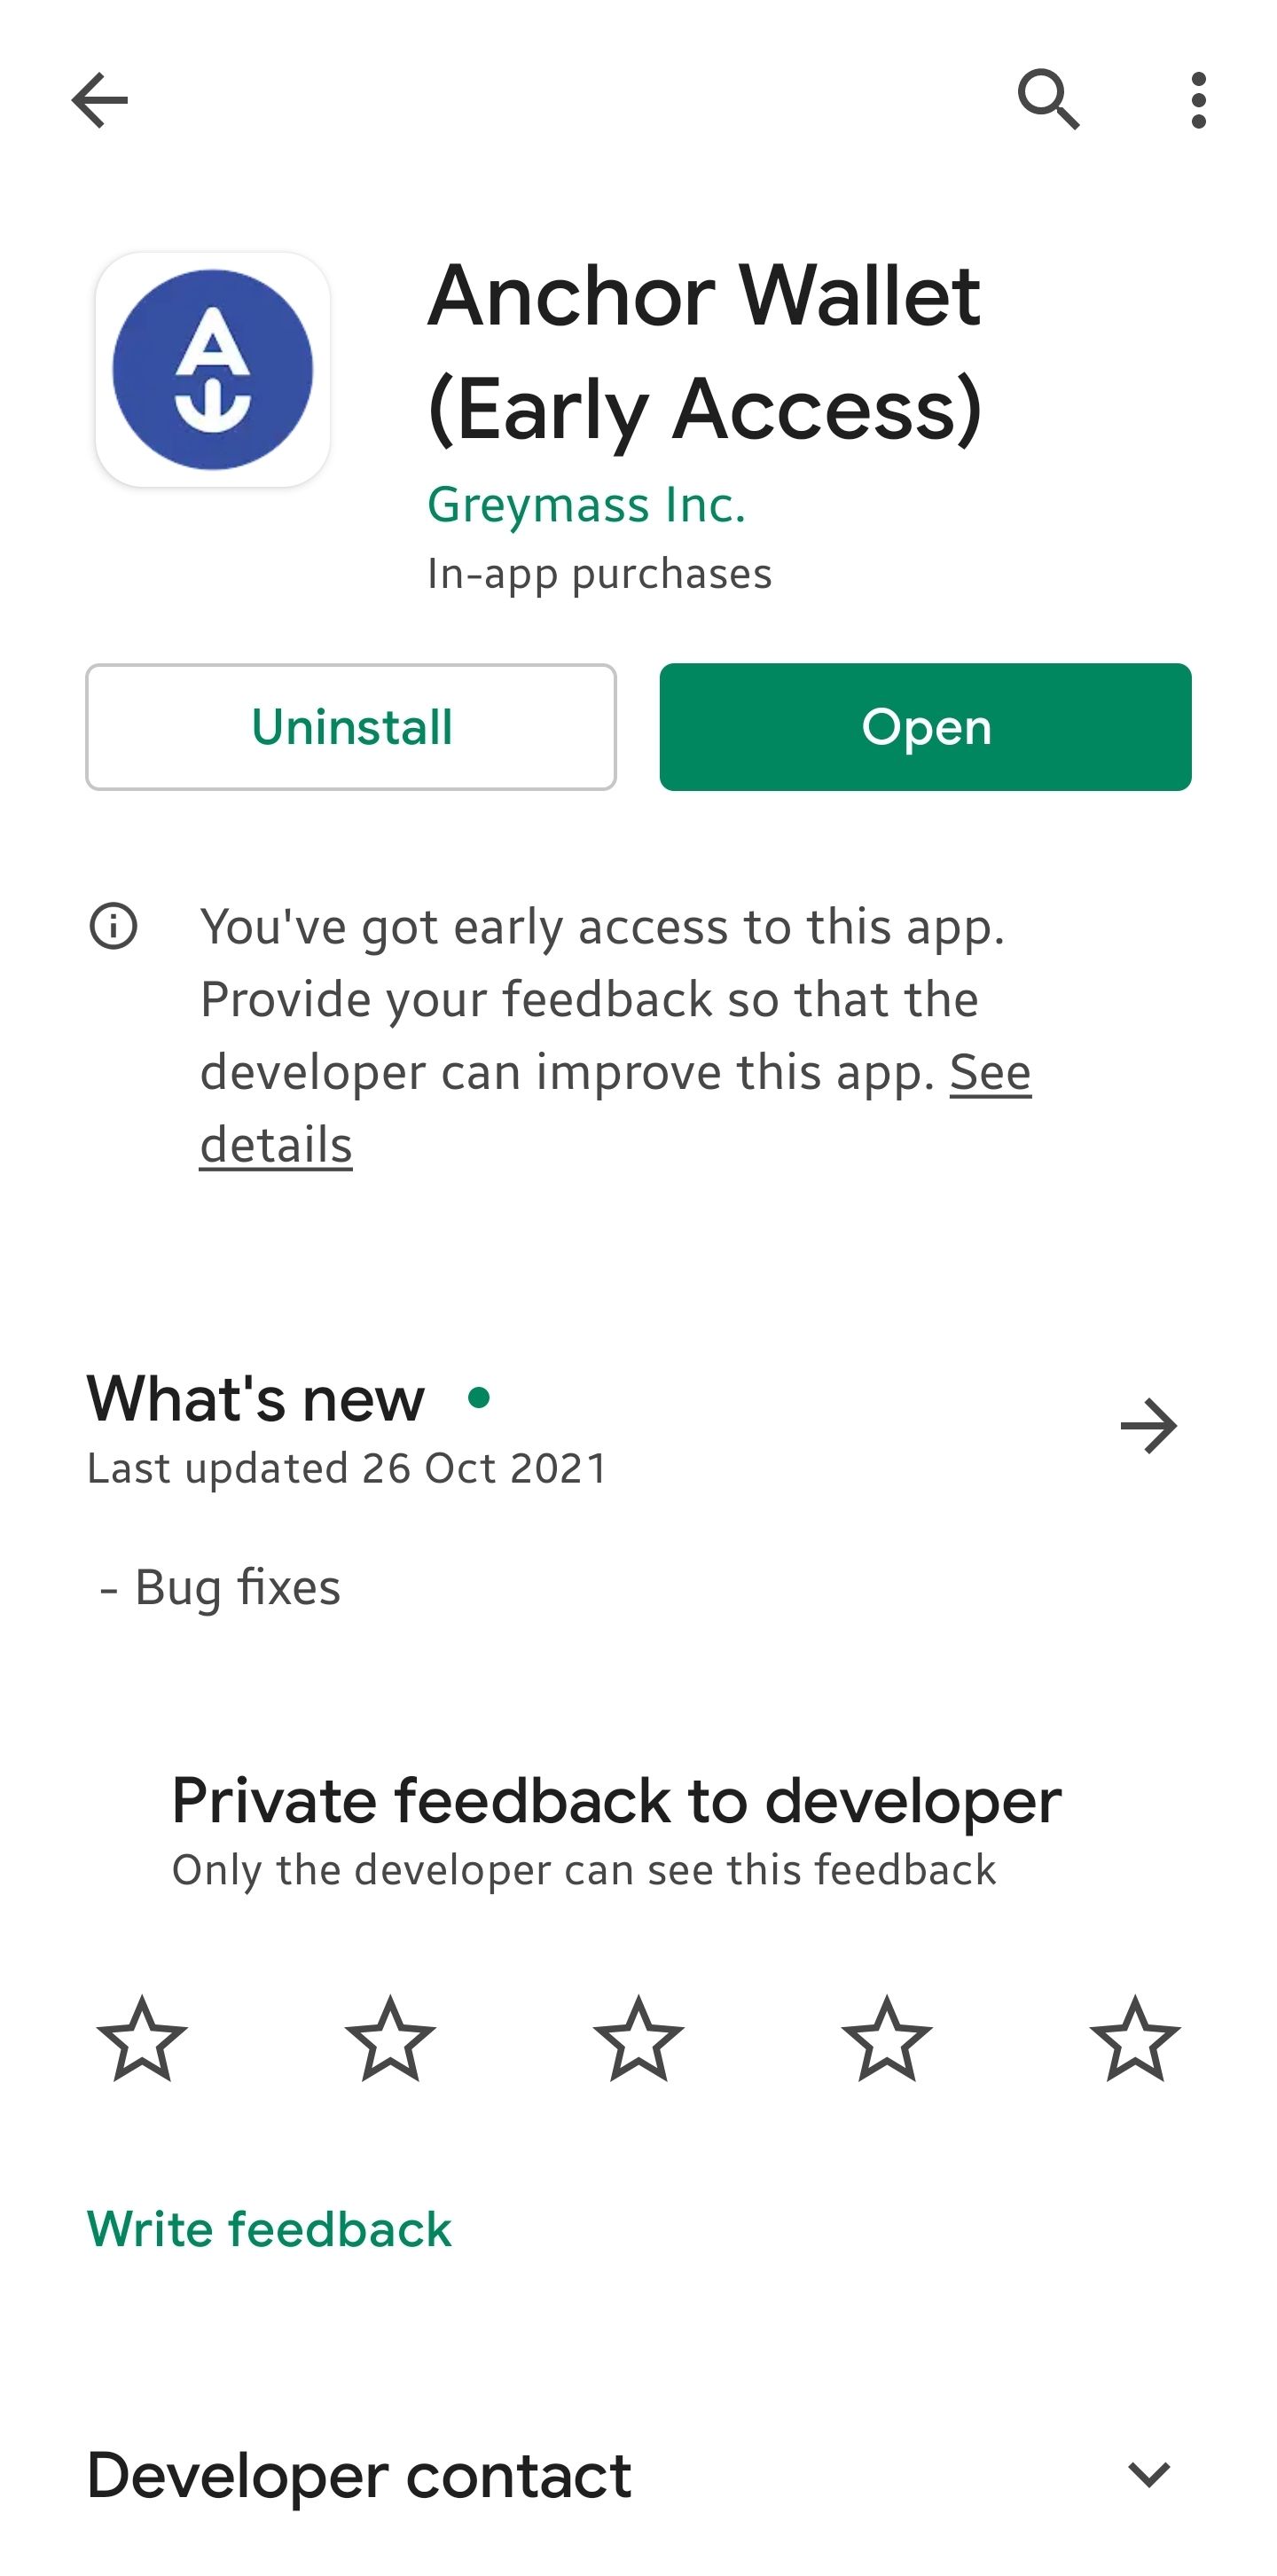
Start by downloading and installing Anchor on your mobile device, Android phone was used for this demo. Once you install the wallet you can either create or import a wallet. Unlike the Desktop version, here, on the mobile, you can create an account directly and no need to visit external URLs.
Create wallet
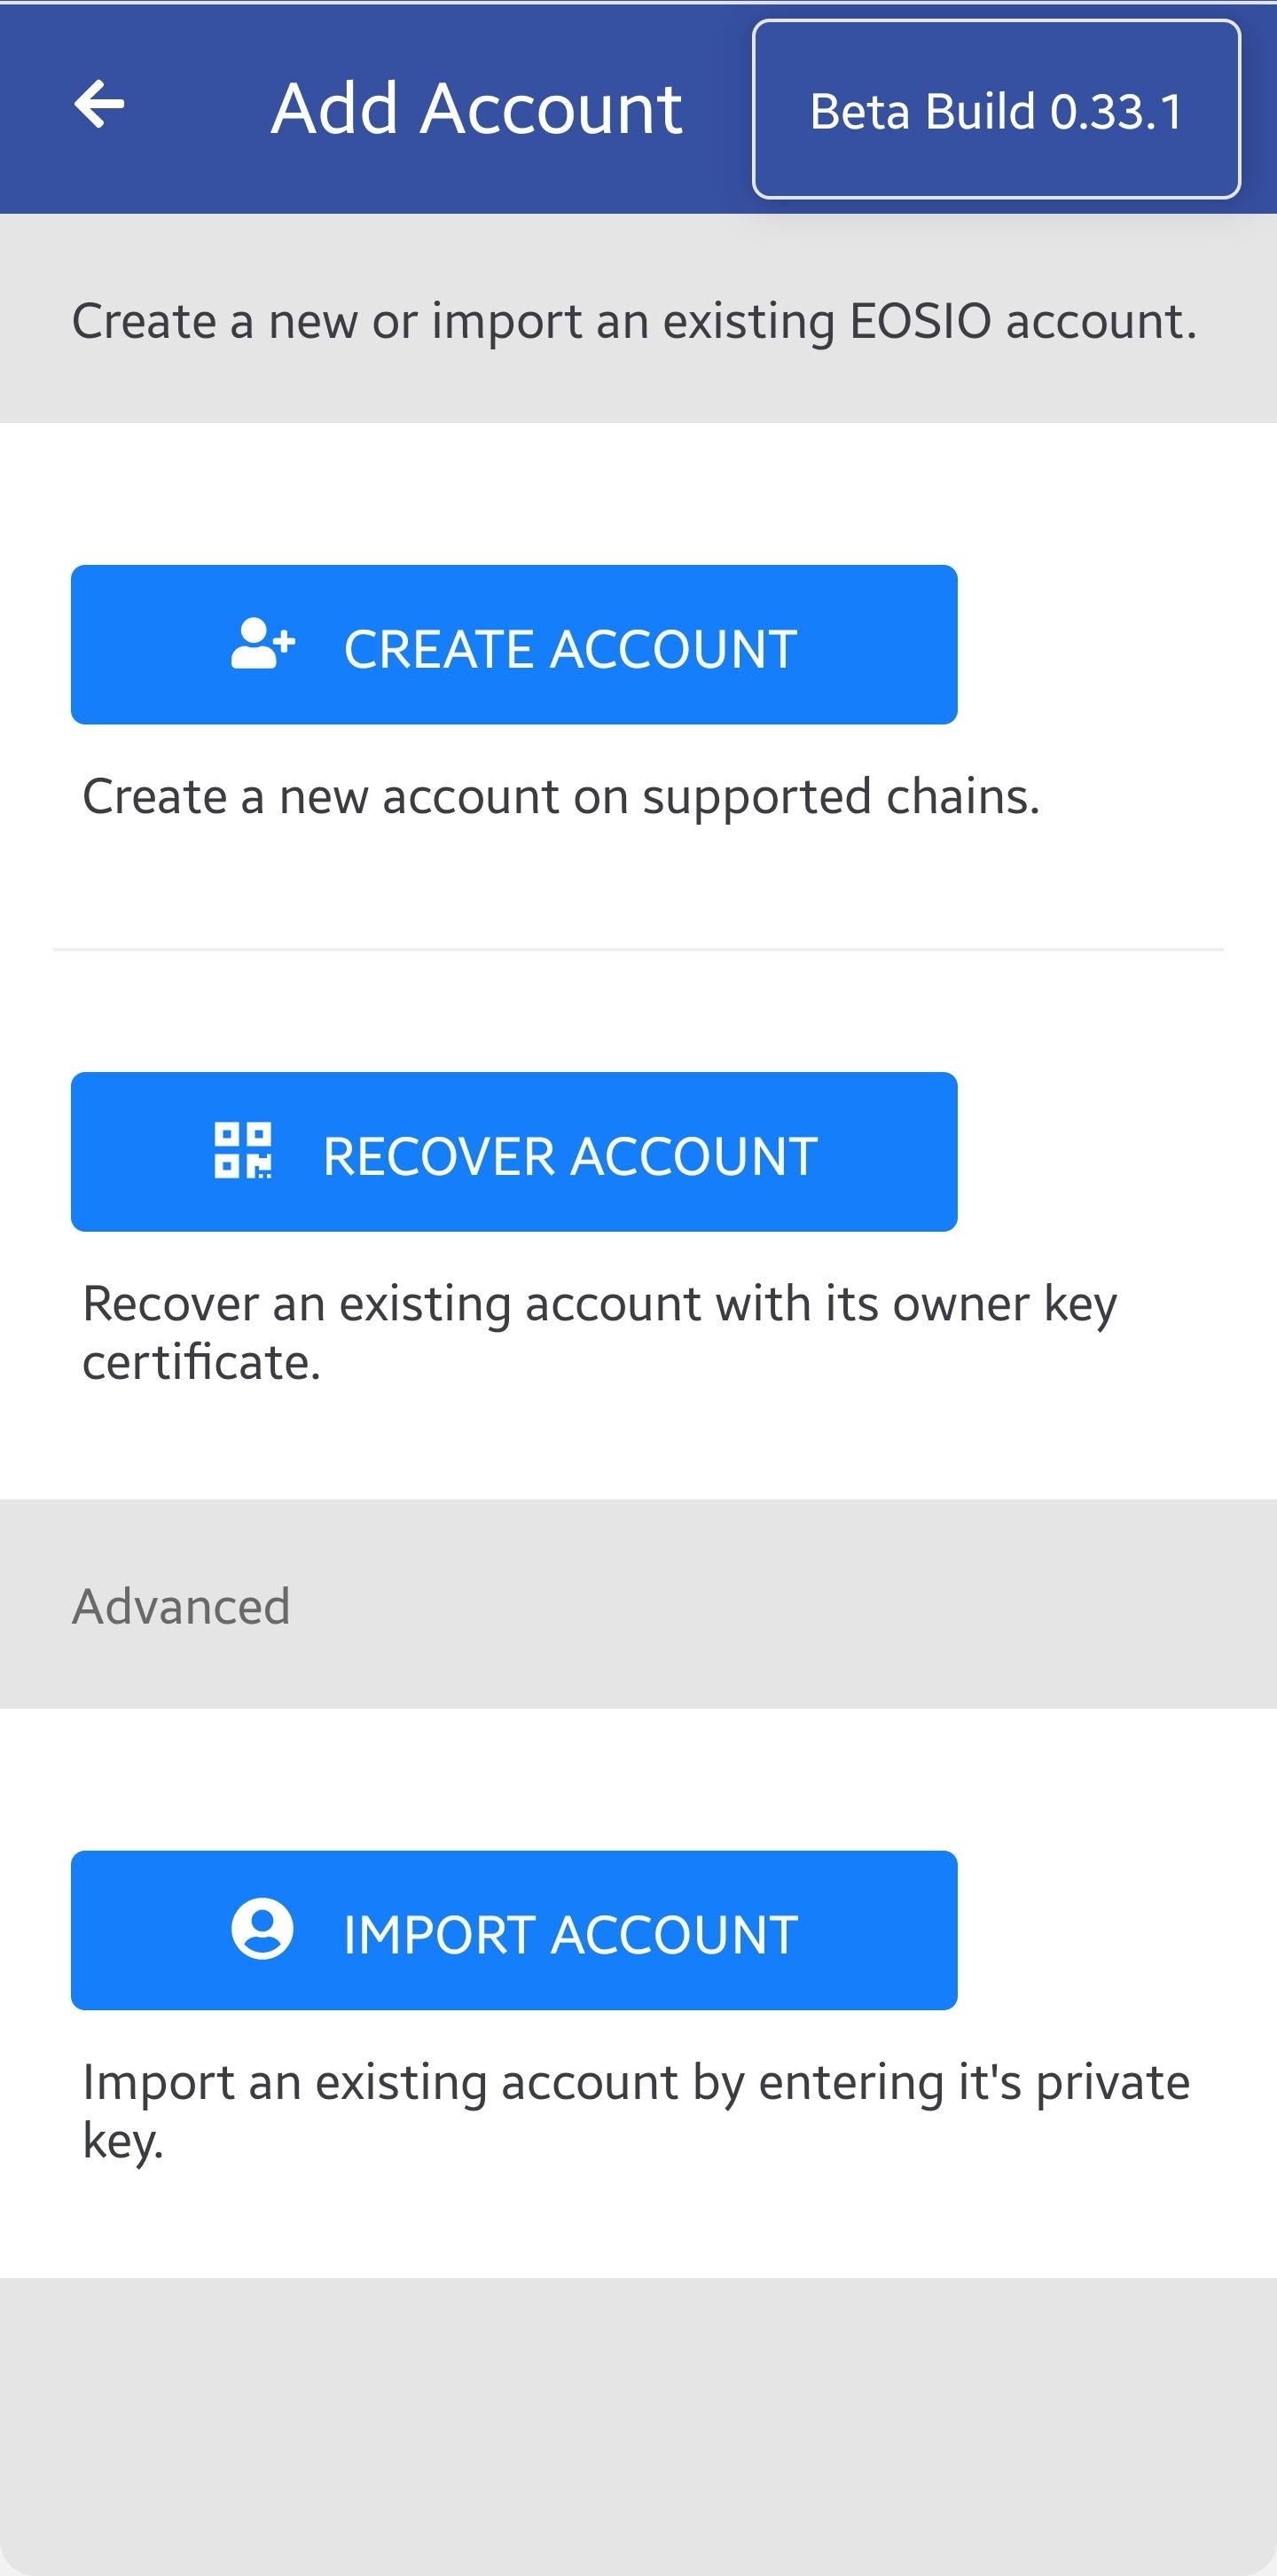
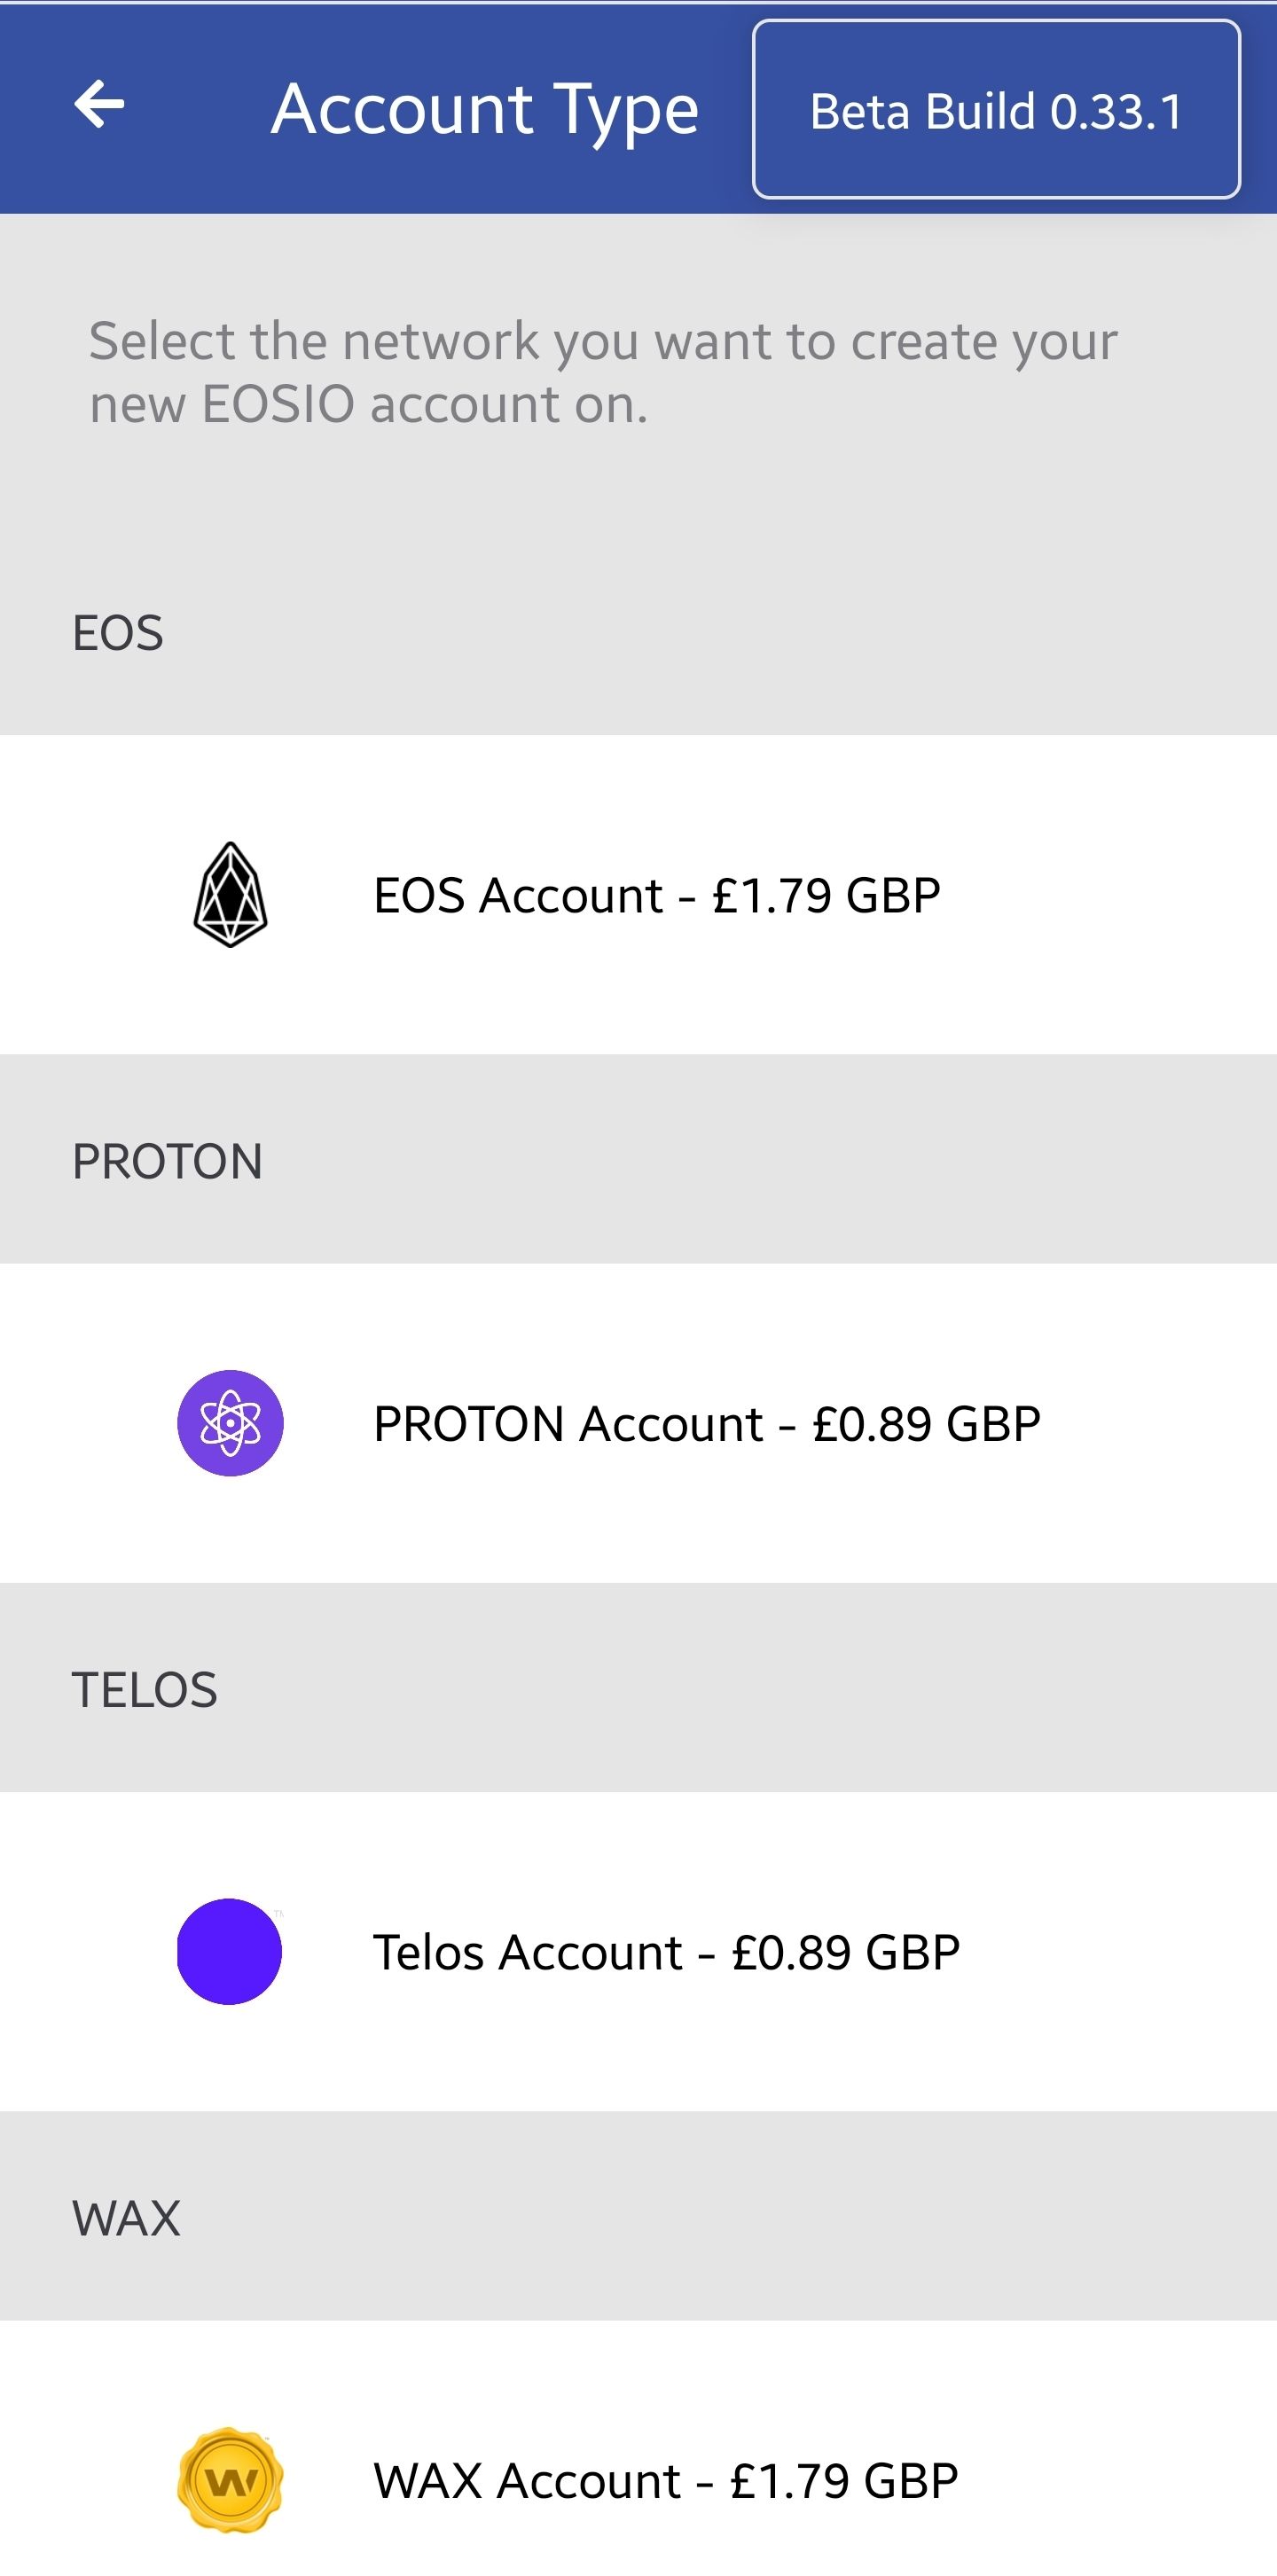
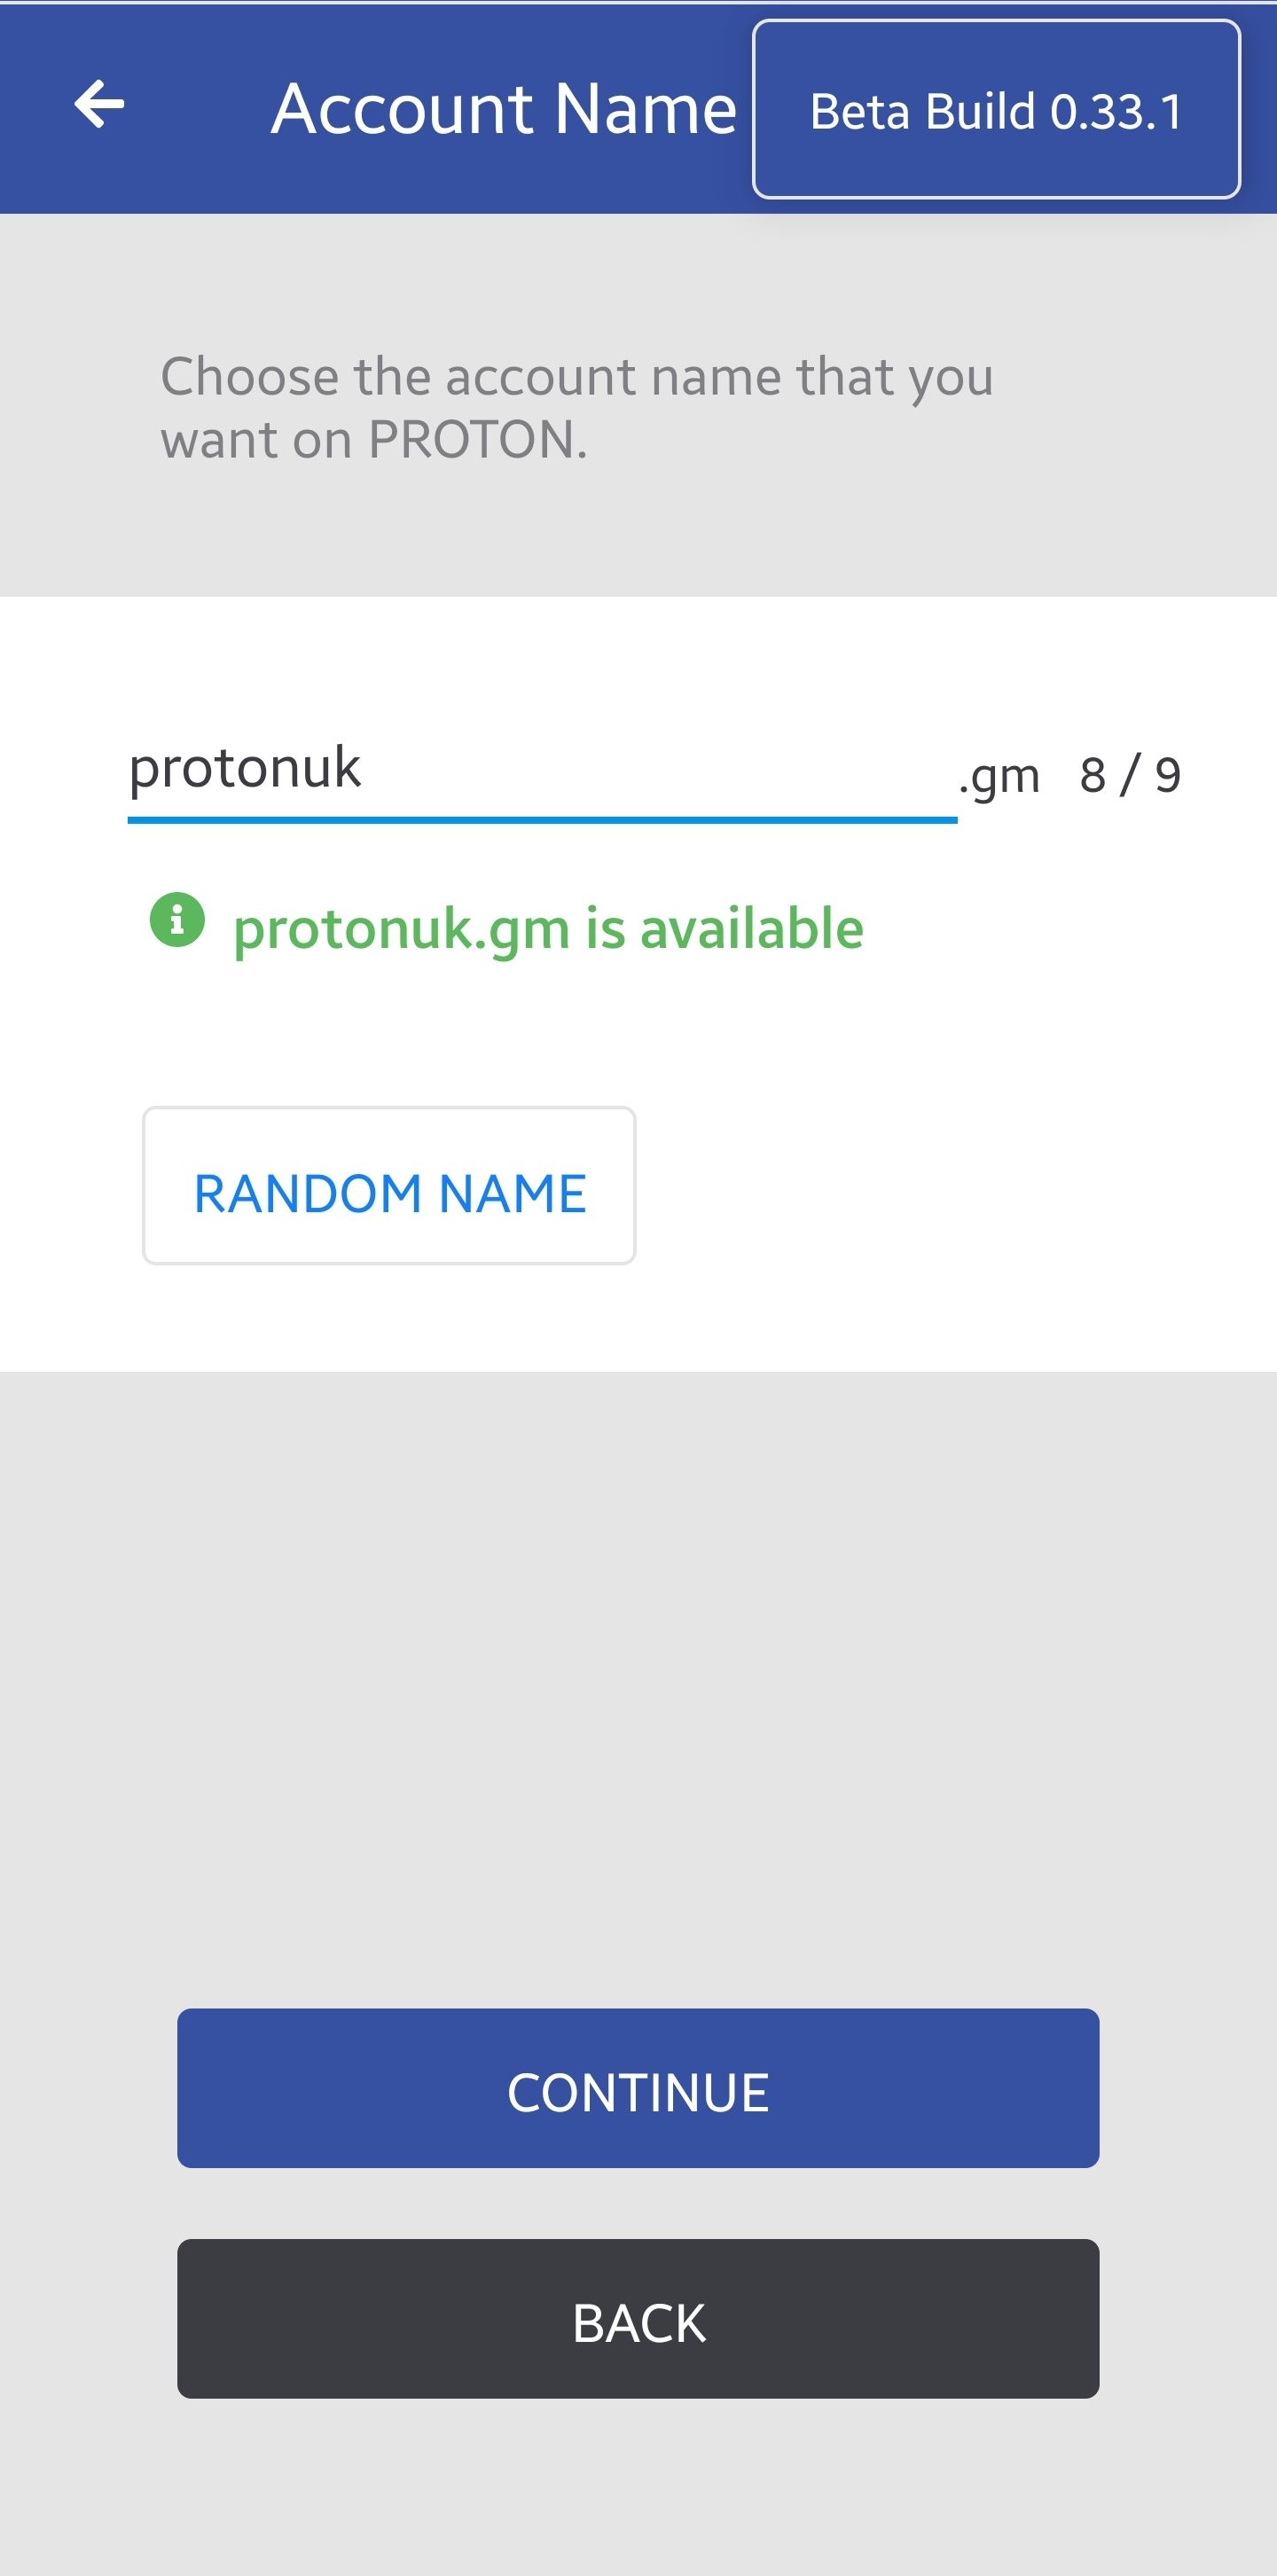
Open Anchor Wallet on your mobile, click on Add Account and then Create Account. Select Proton Account on the next page and then pick up a name. Please note that the account maximum length on Proton chain is 12 characters and accounts created using Anchor get an extension (.gm) as part of it. This leaves you with 9 characters max for your username. Review the account, pay the fee of $1:
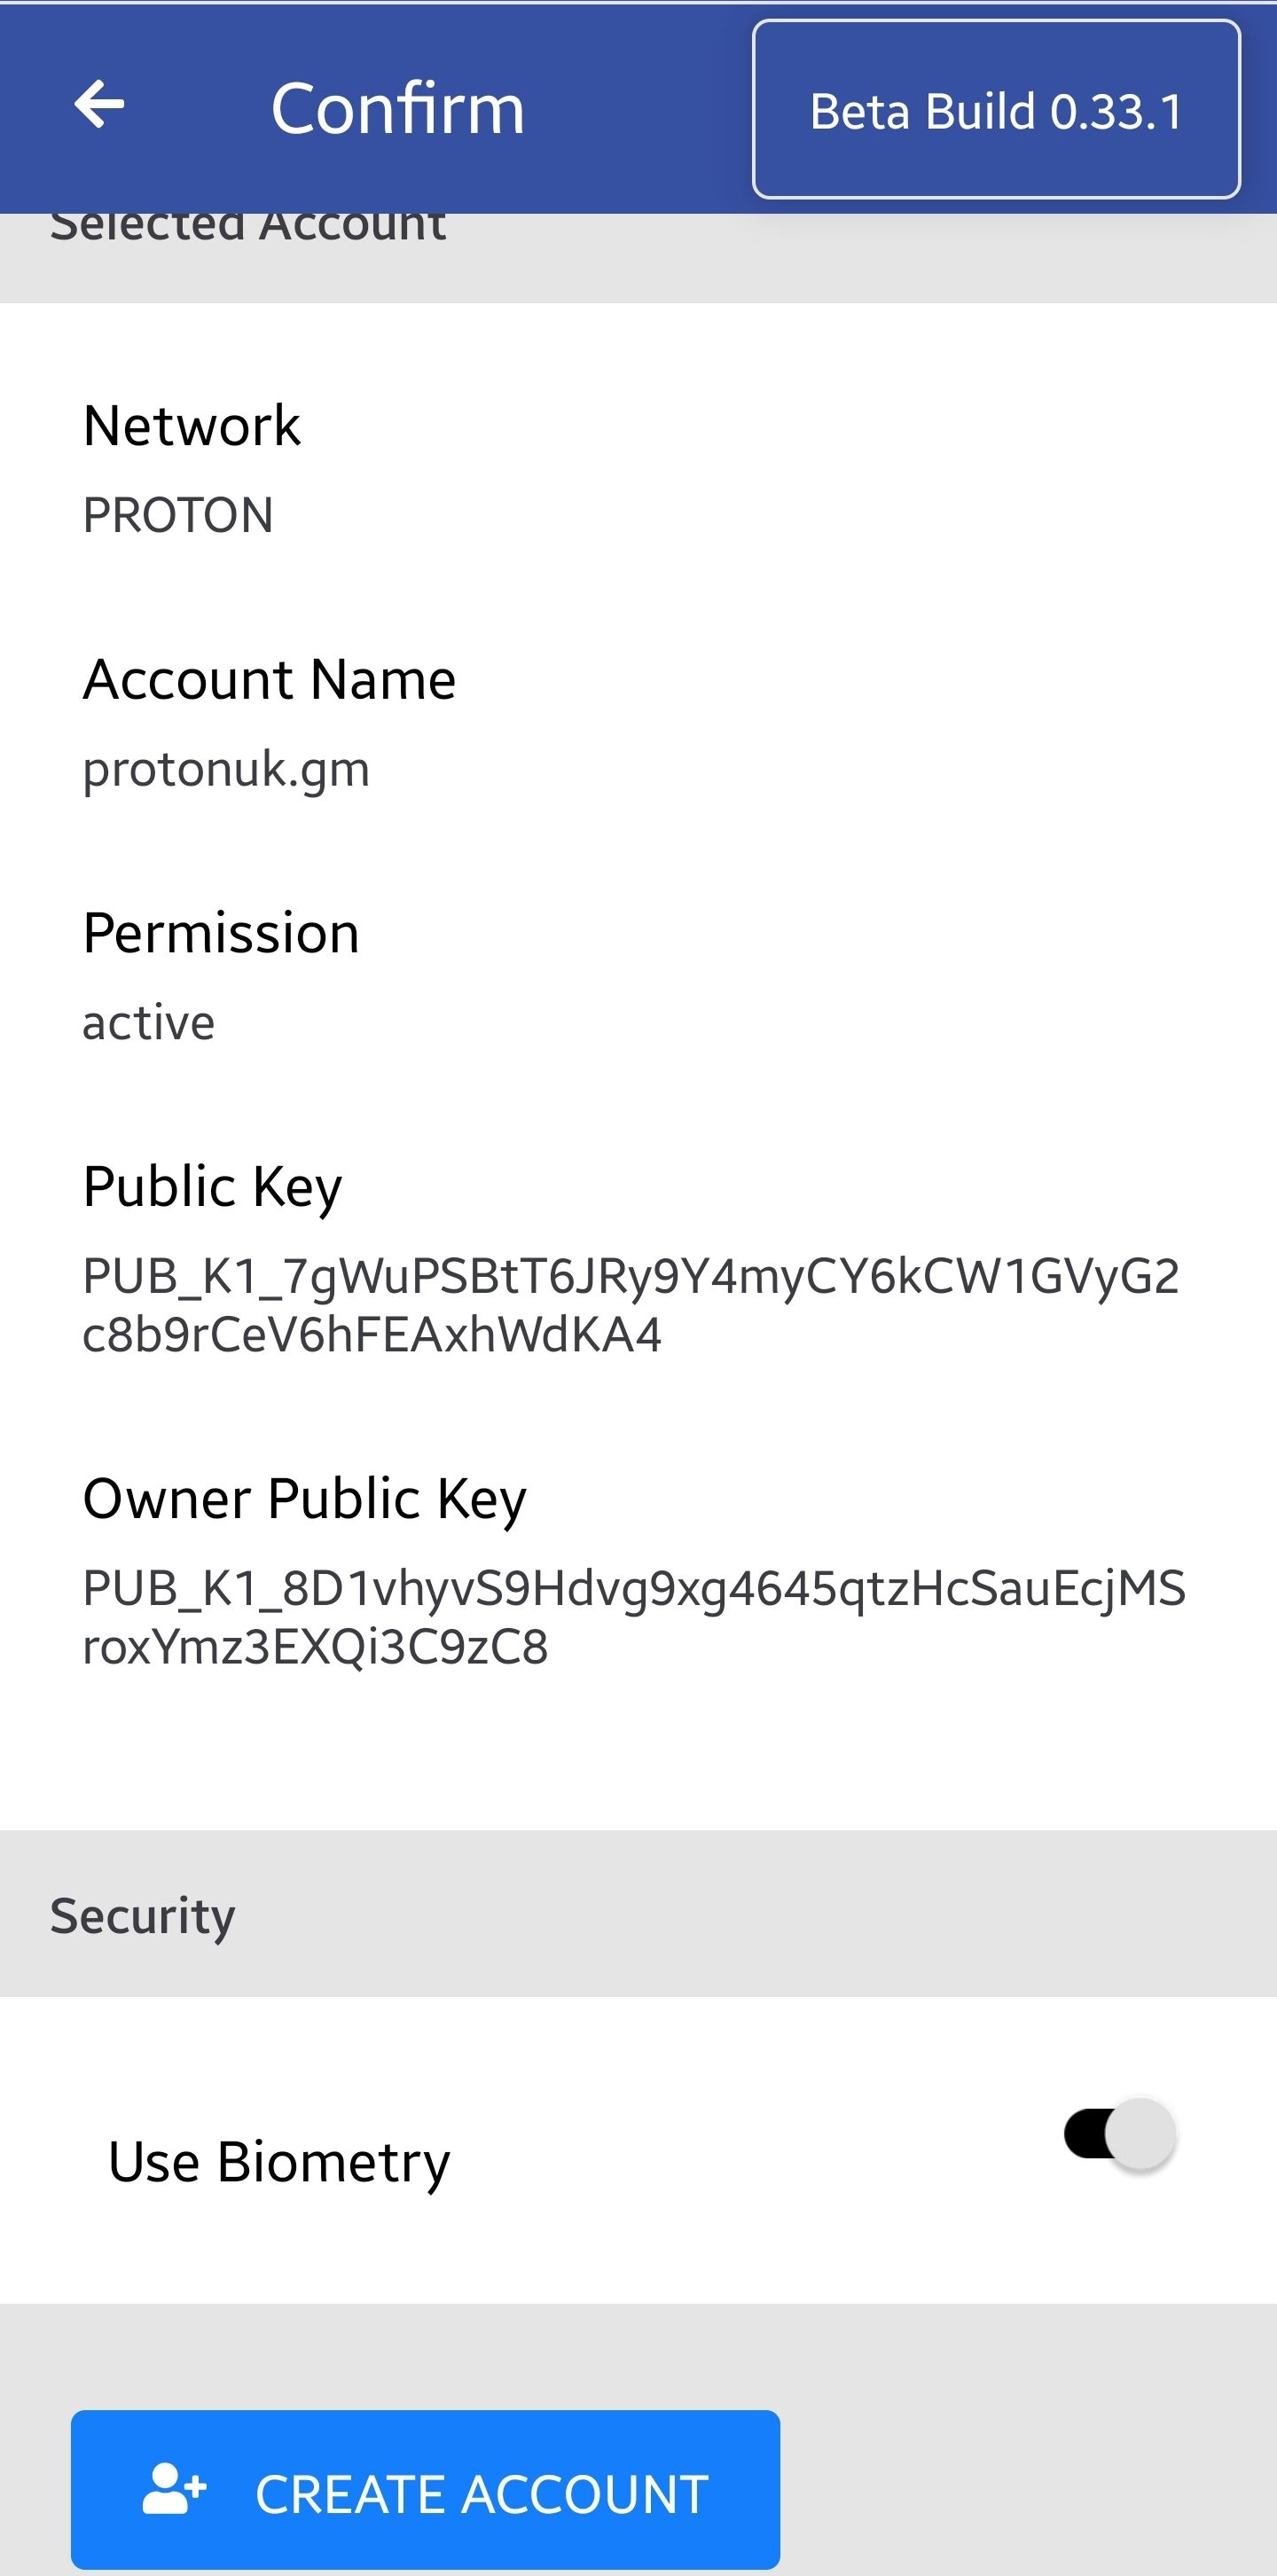
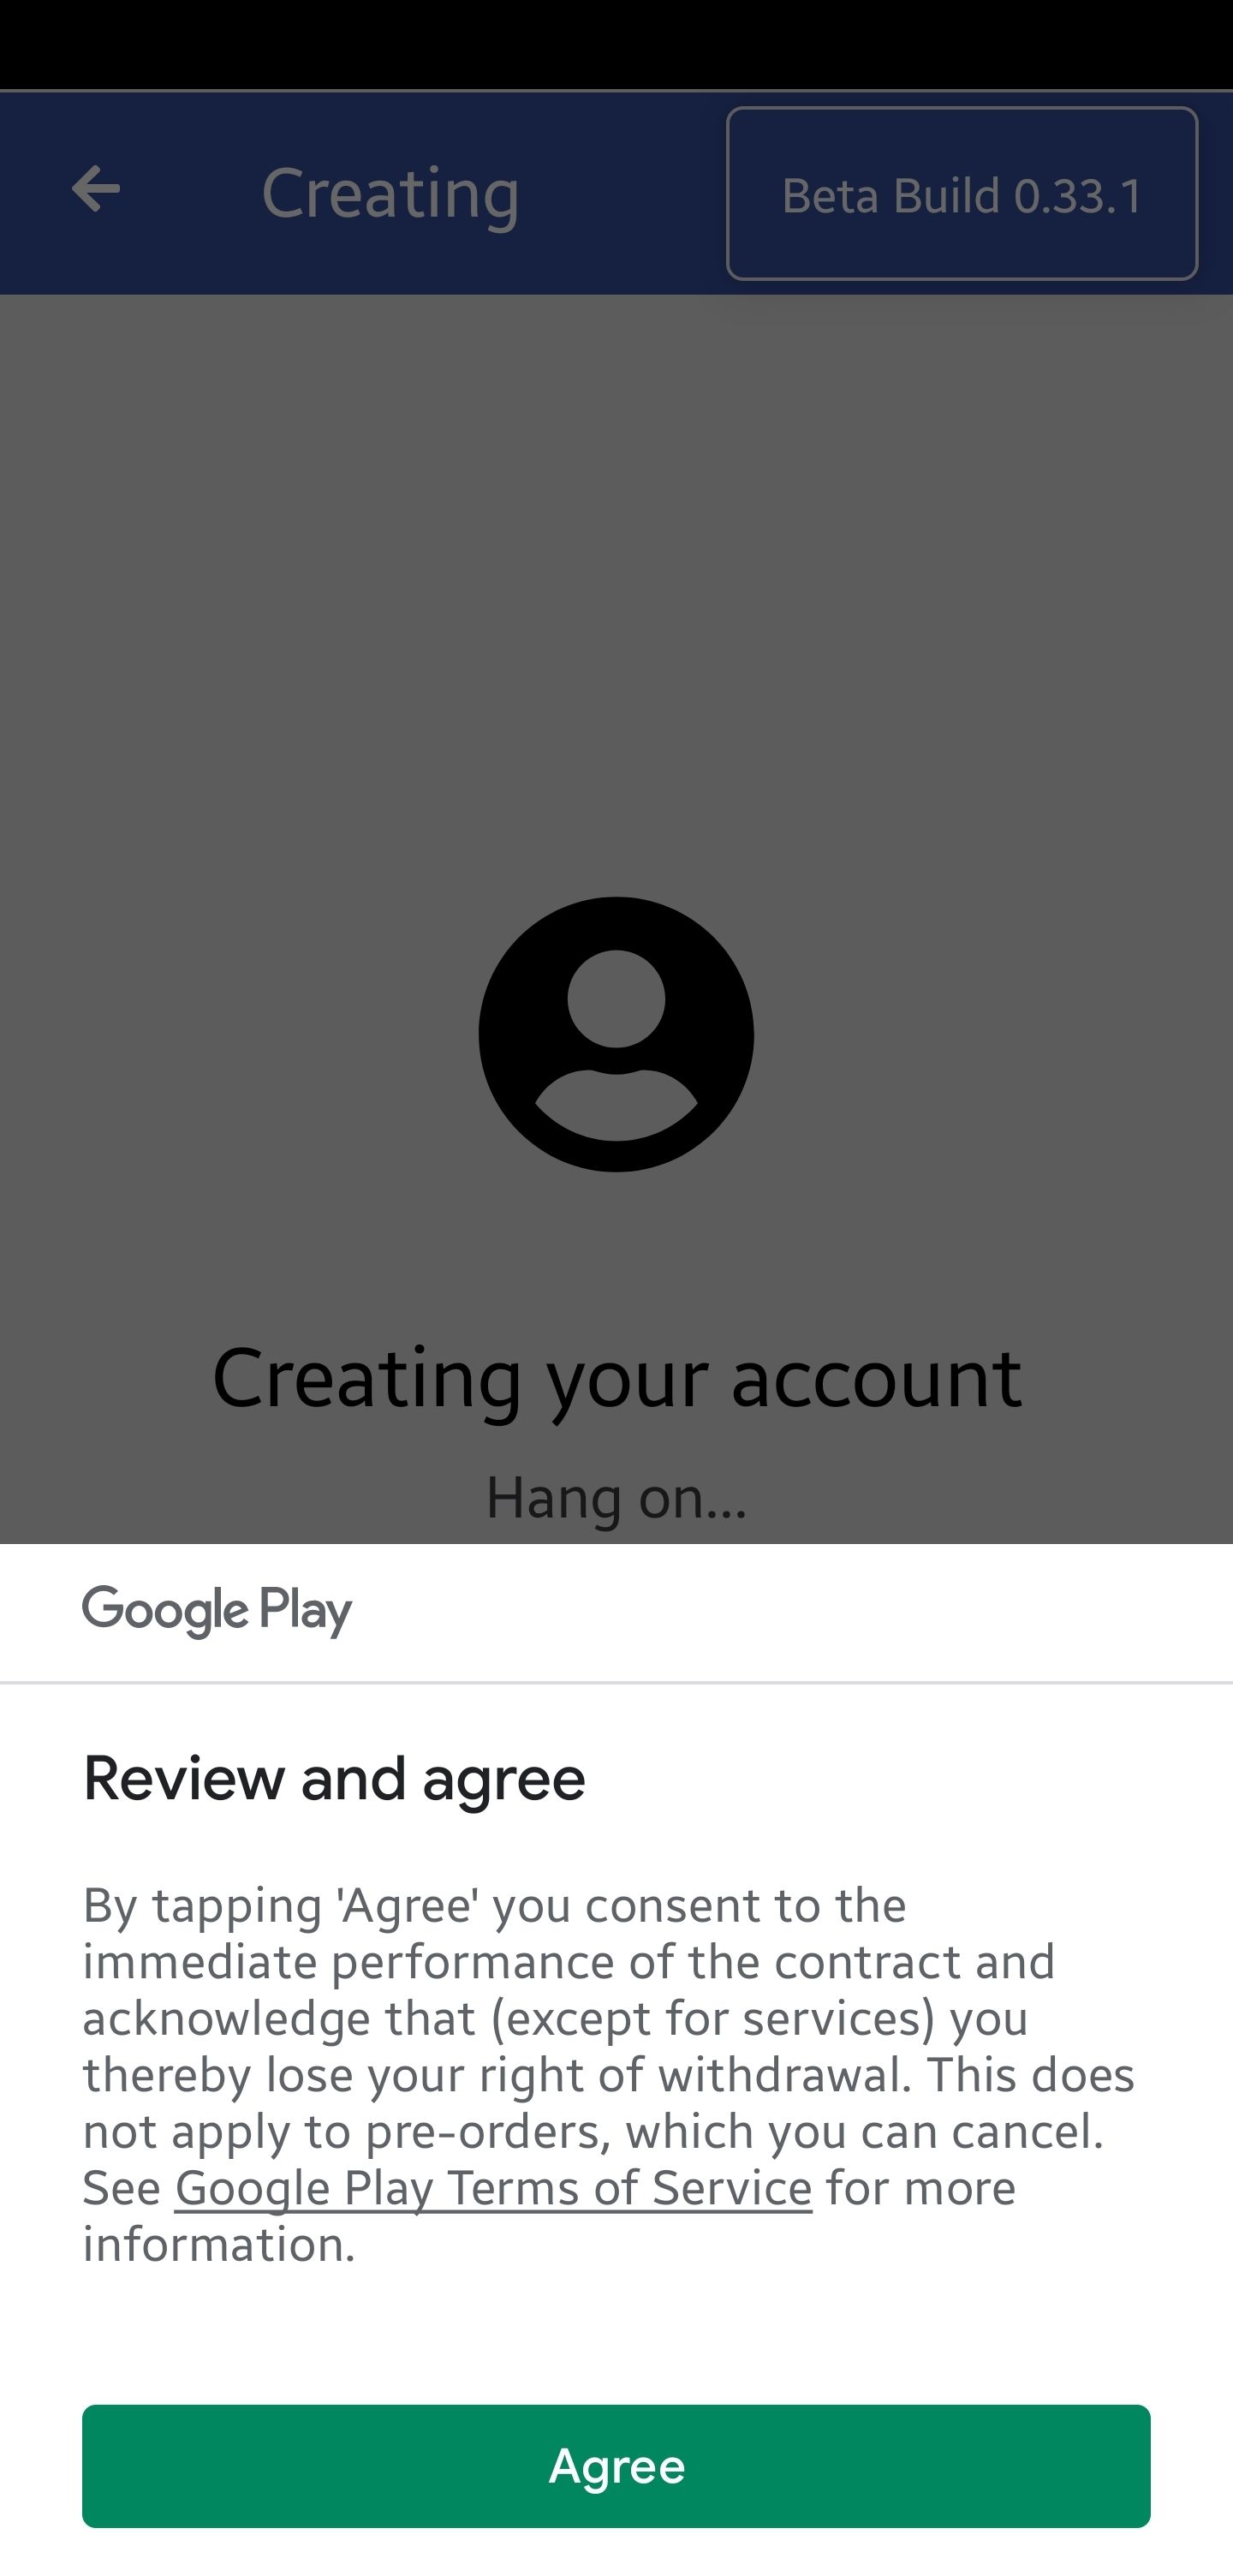
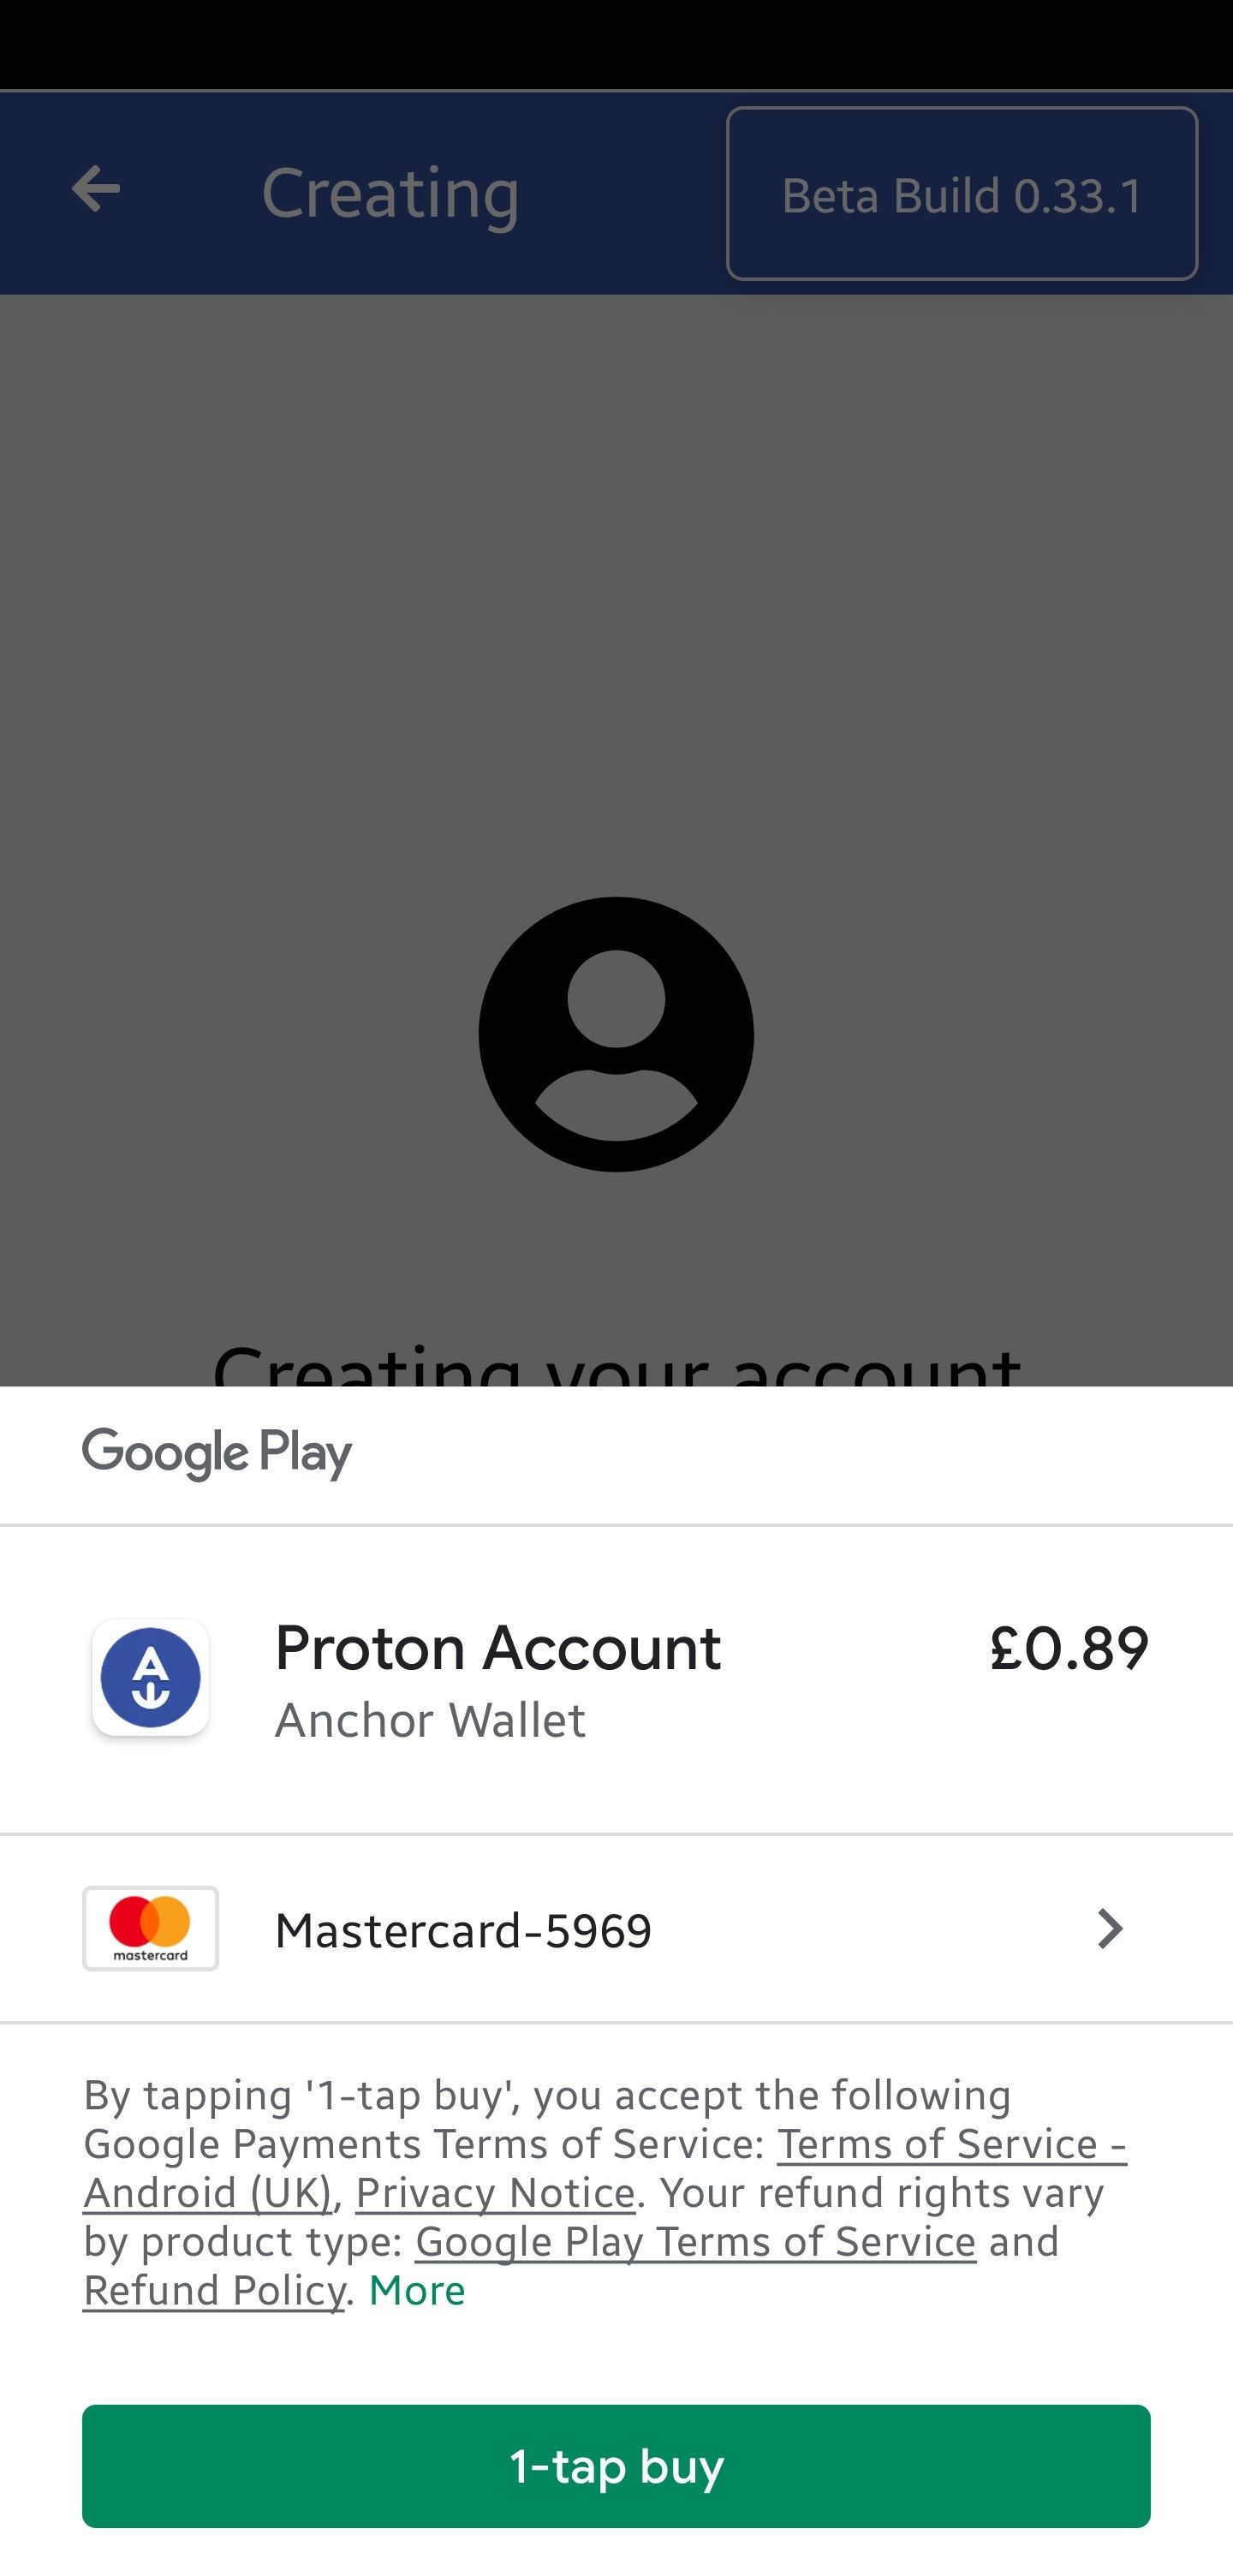
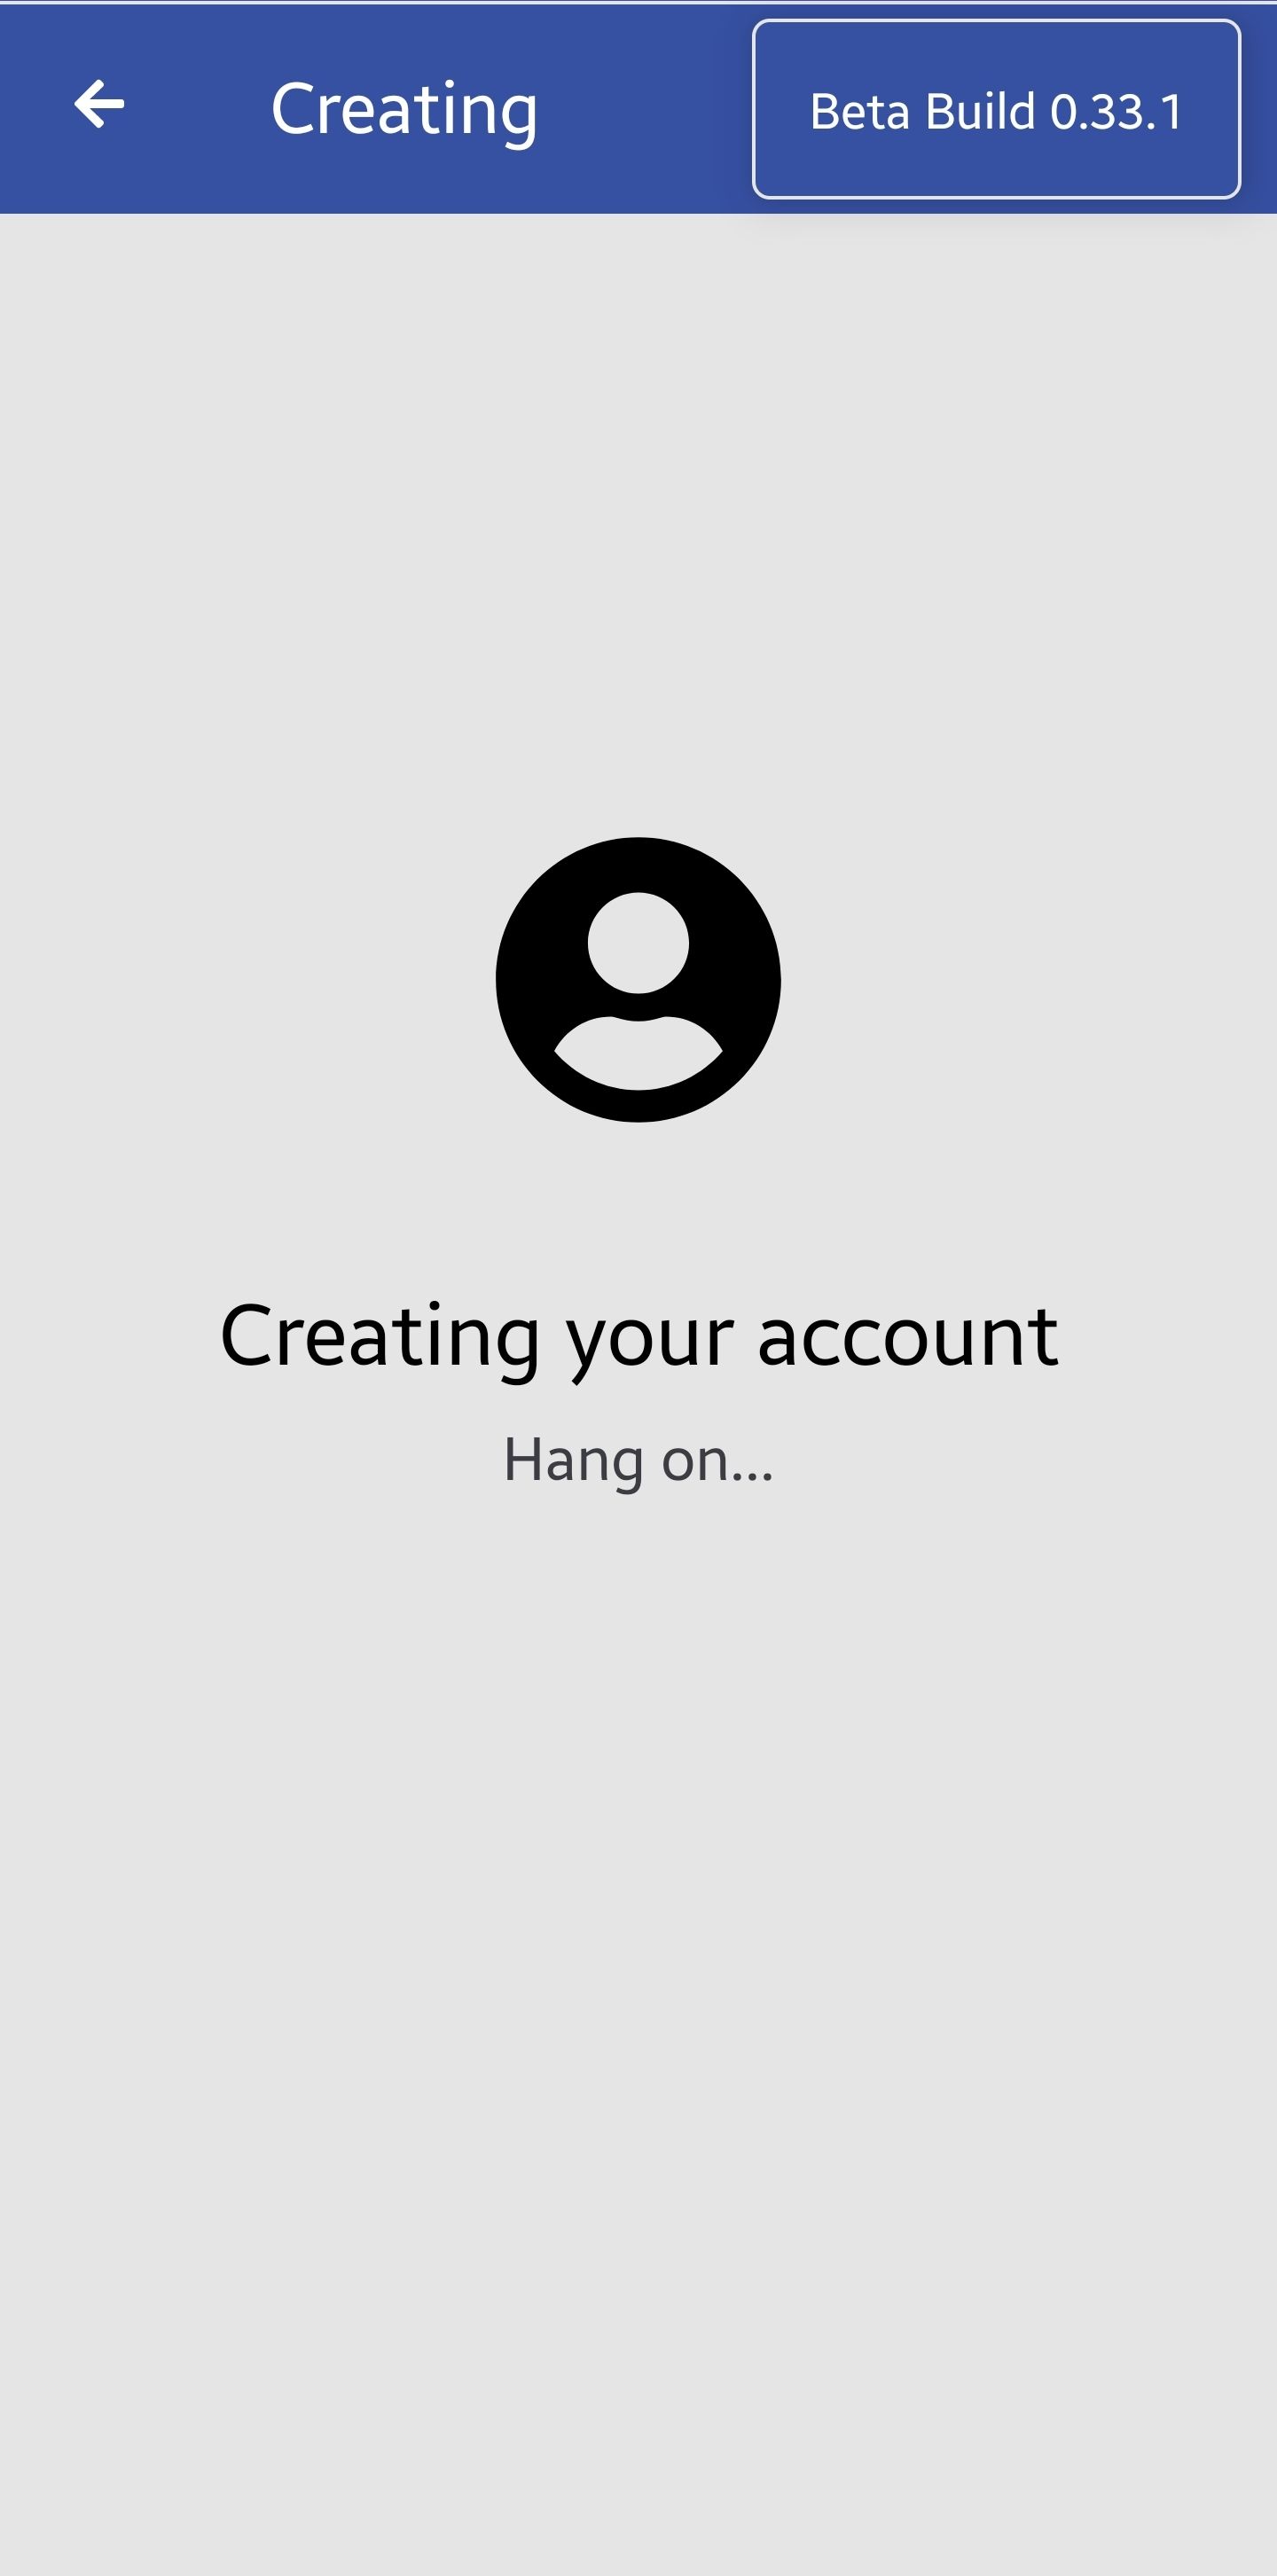
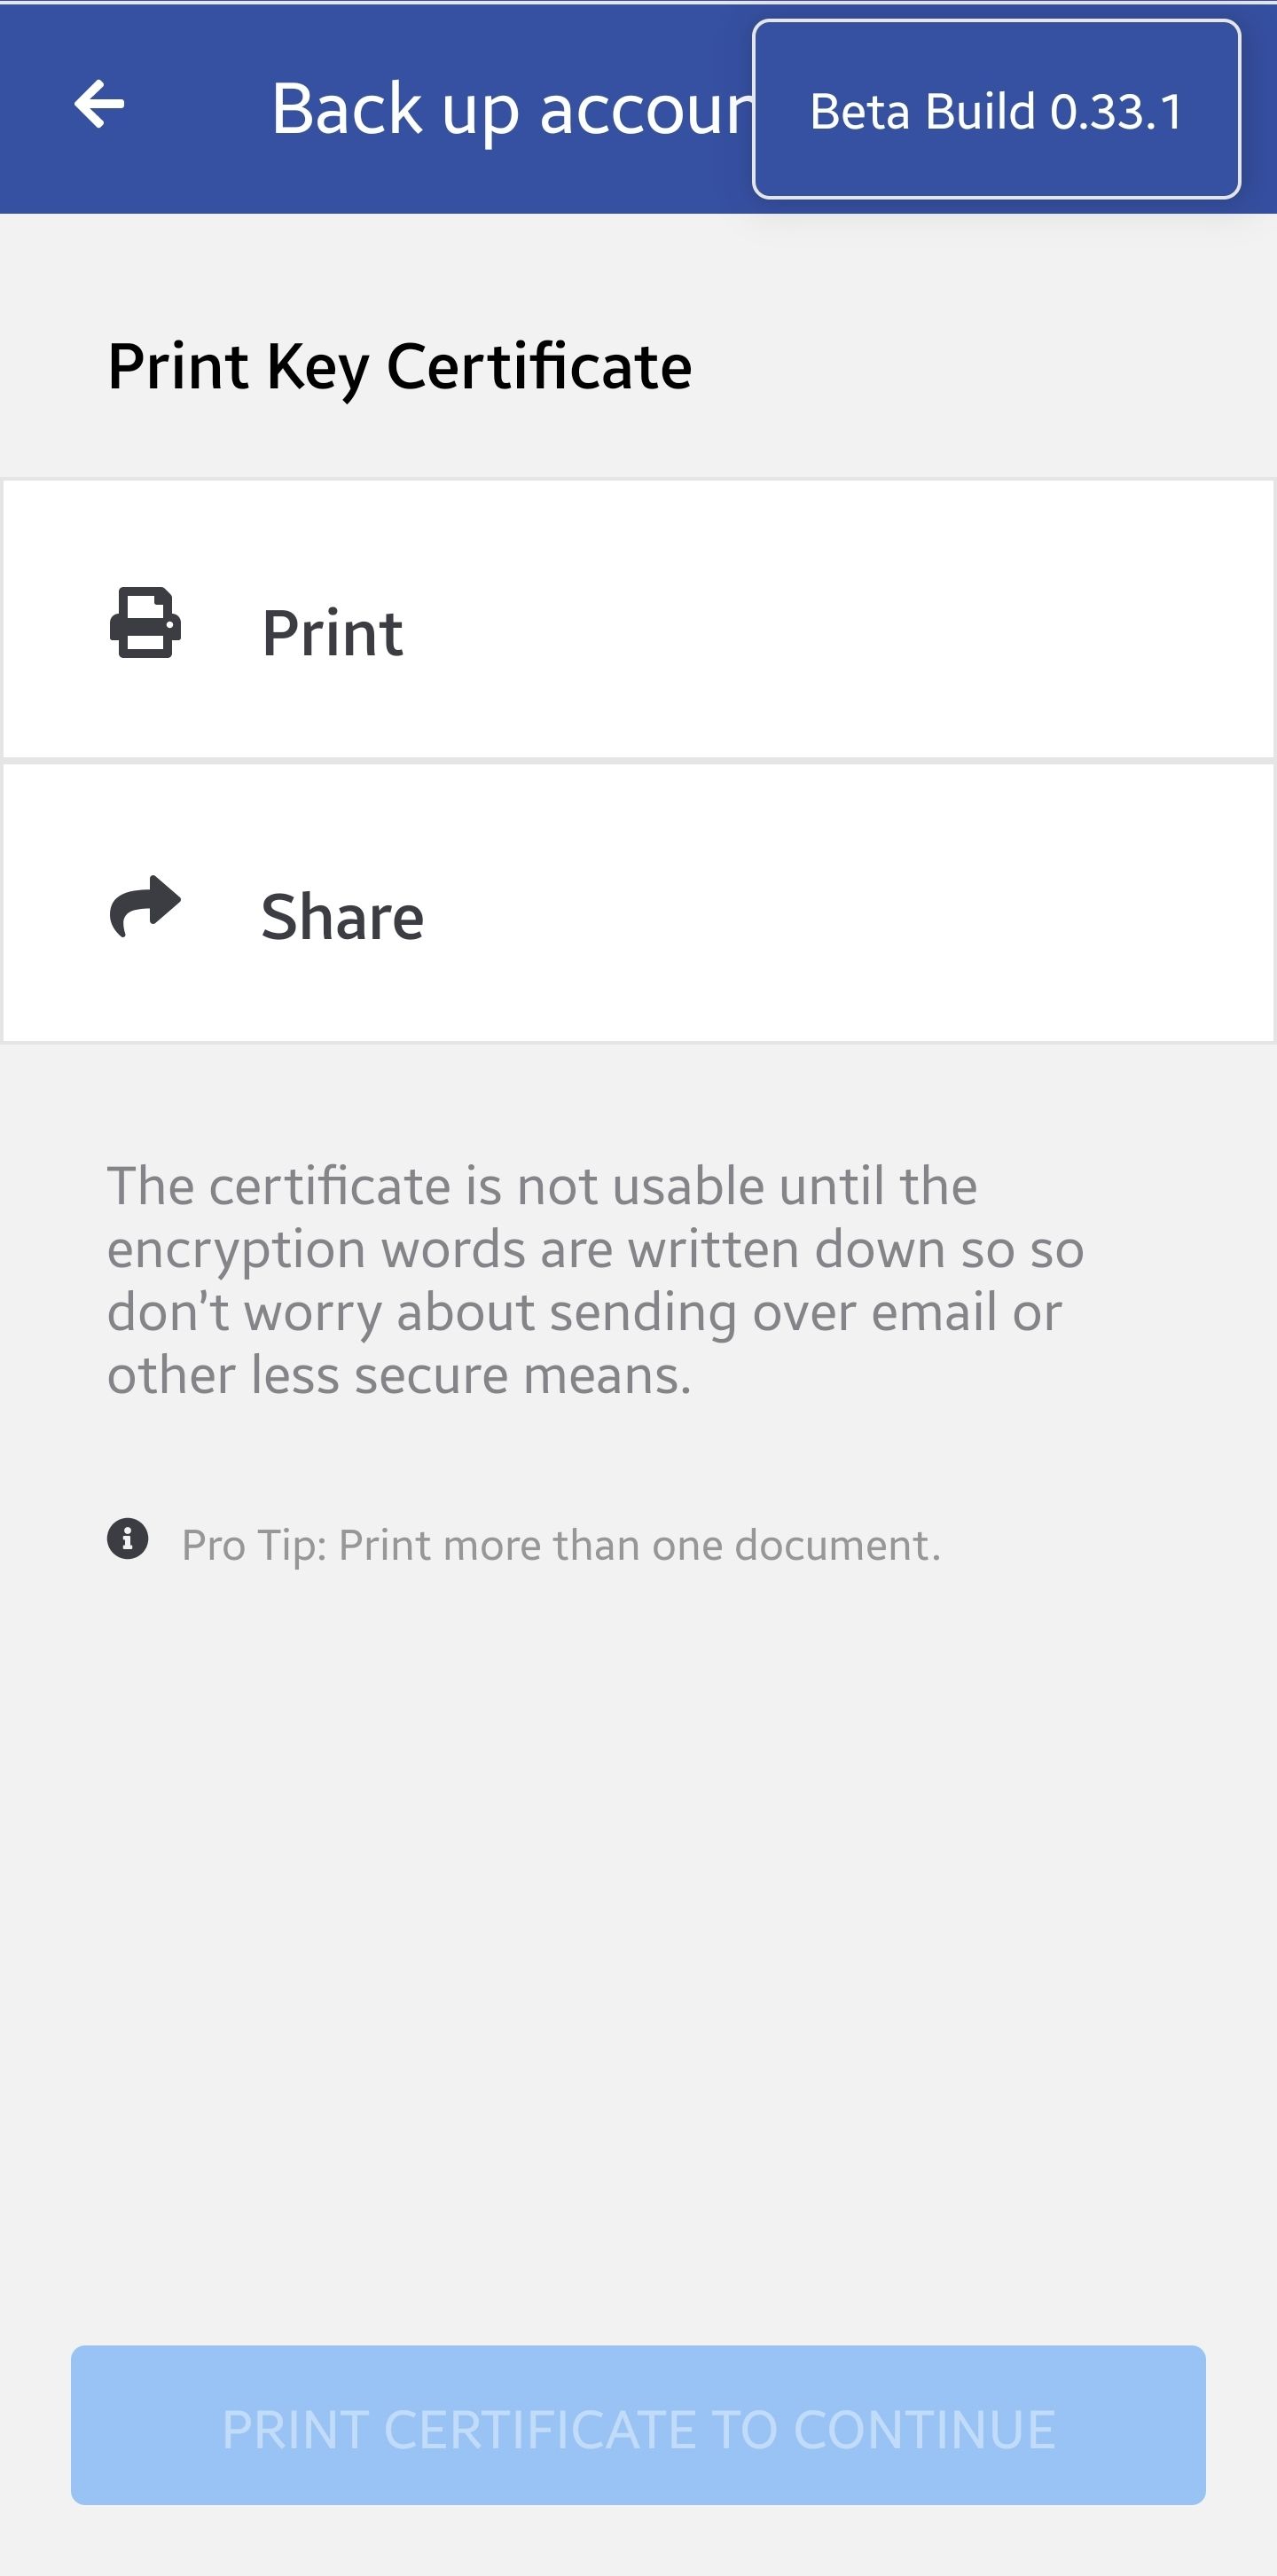
Once you pay the fee your account will be created. Next, you need to take a backup of your key certificate, it holds your encrypted private key, all the recovery QR information needed to recover your account and encrypted private key as a mnemonic. Also, make sure you backup the 6 encryption words as they are required for restore too, you can print the certificate and write them at the bottom of it:
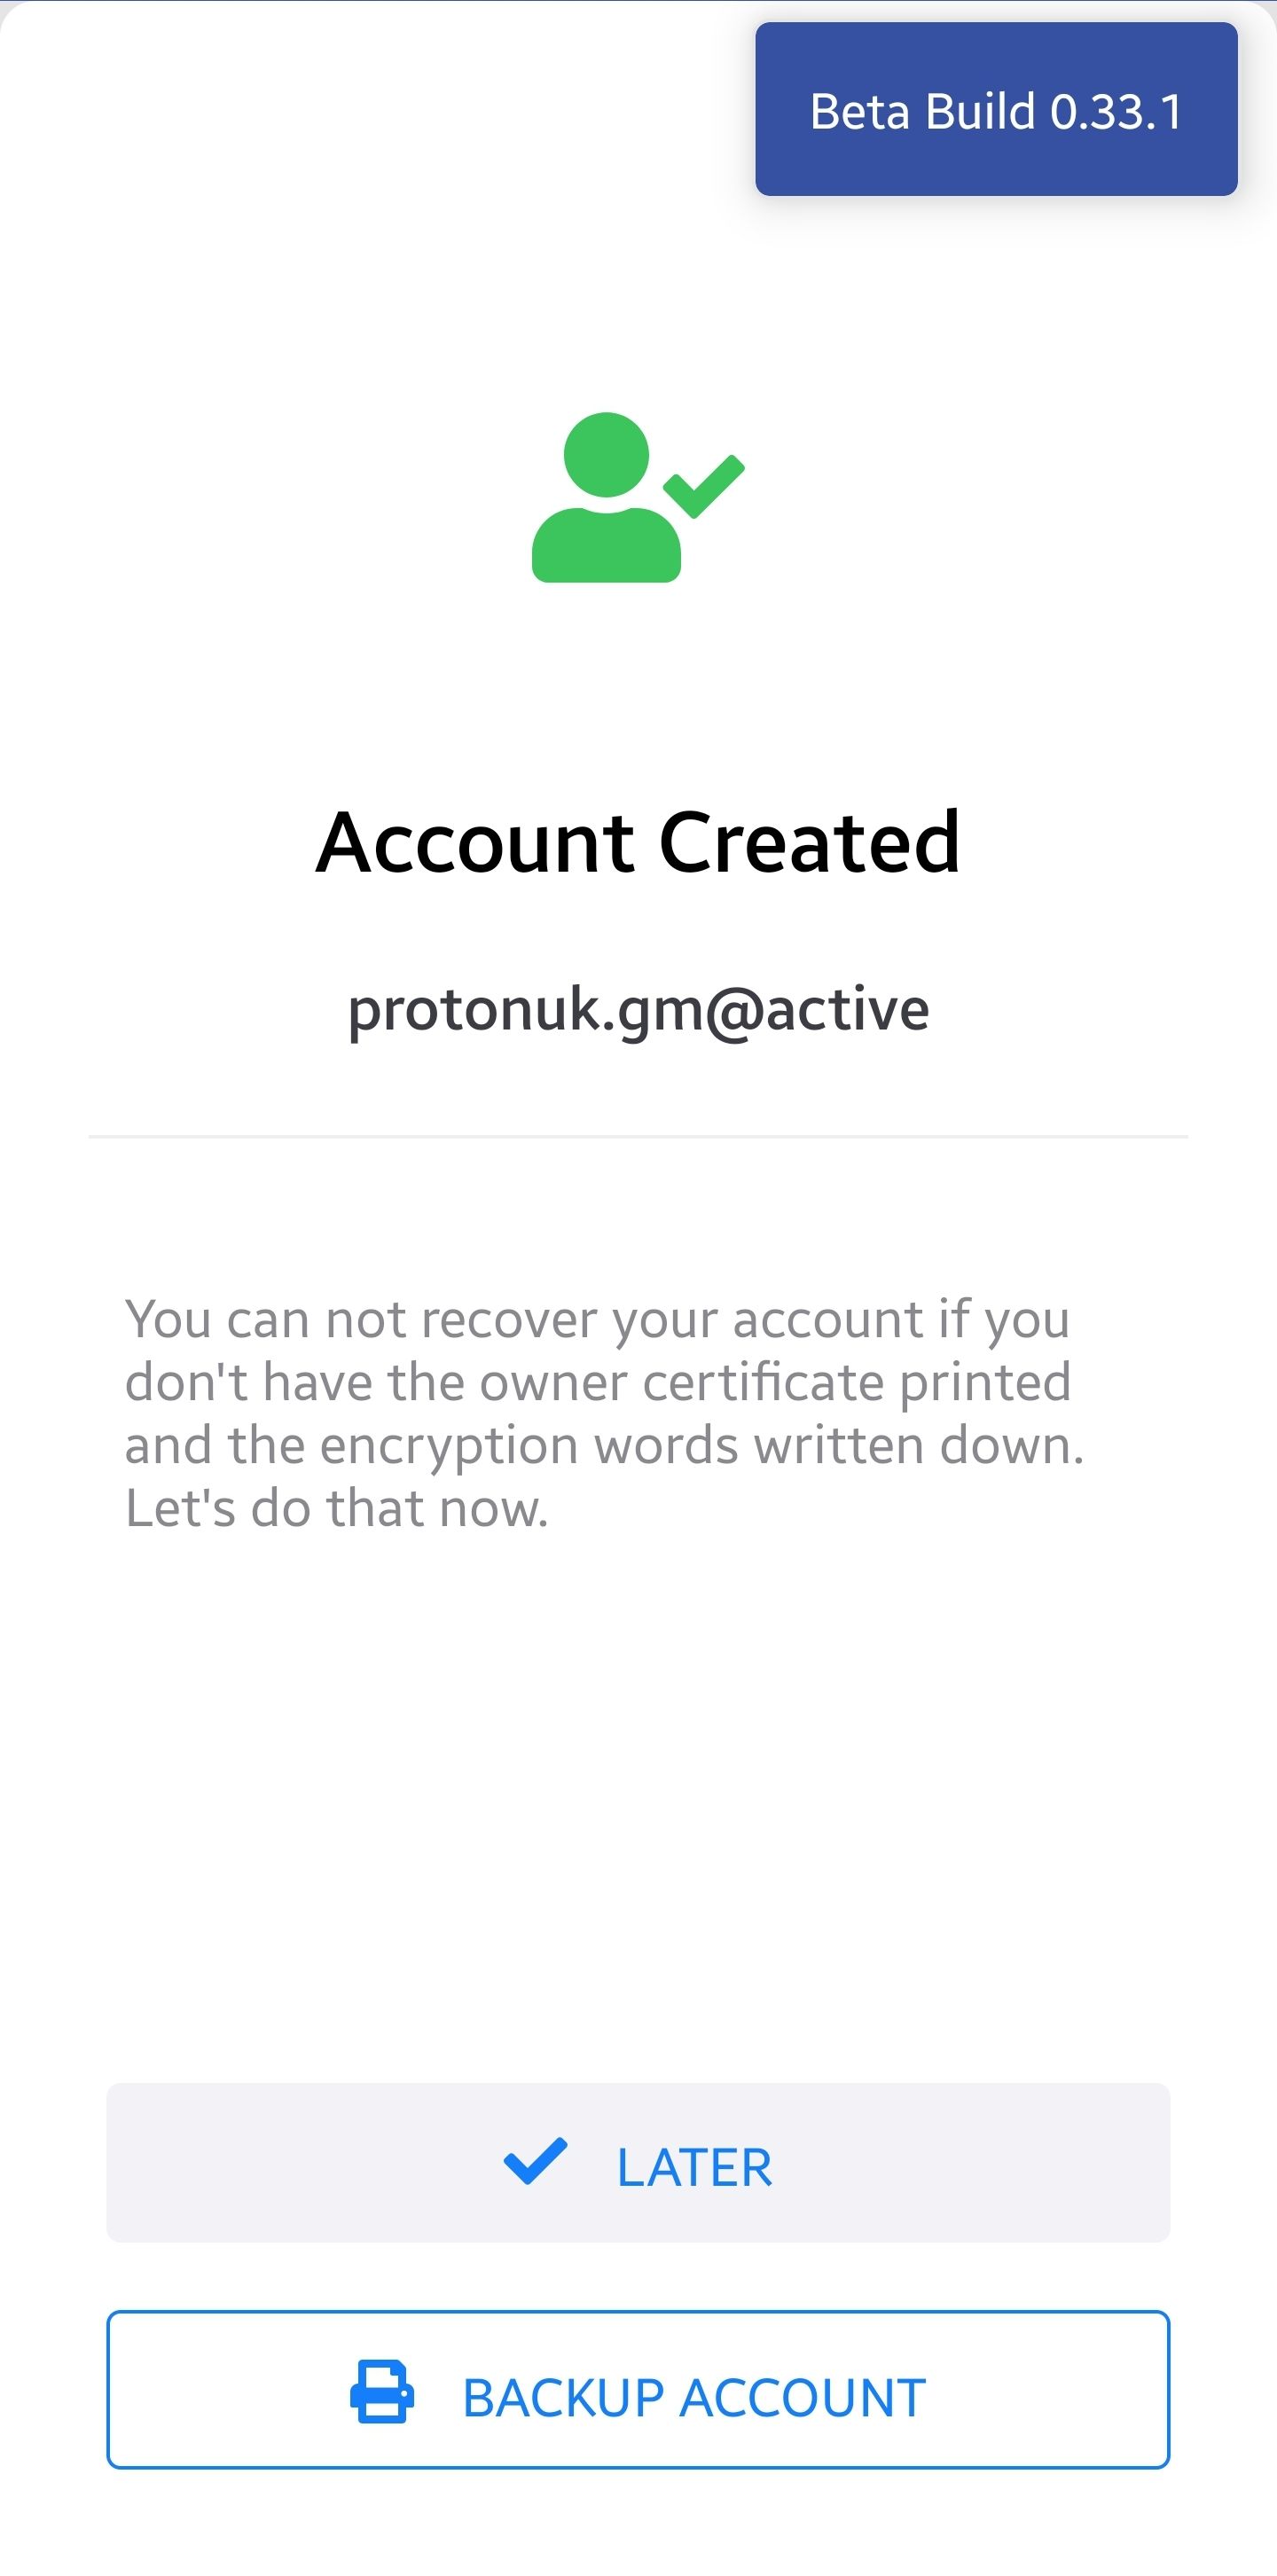
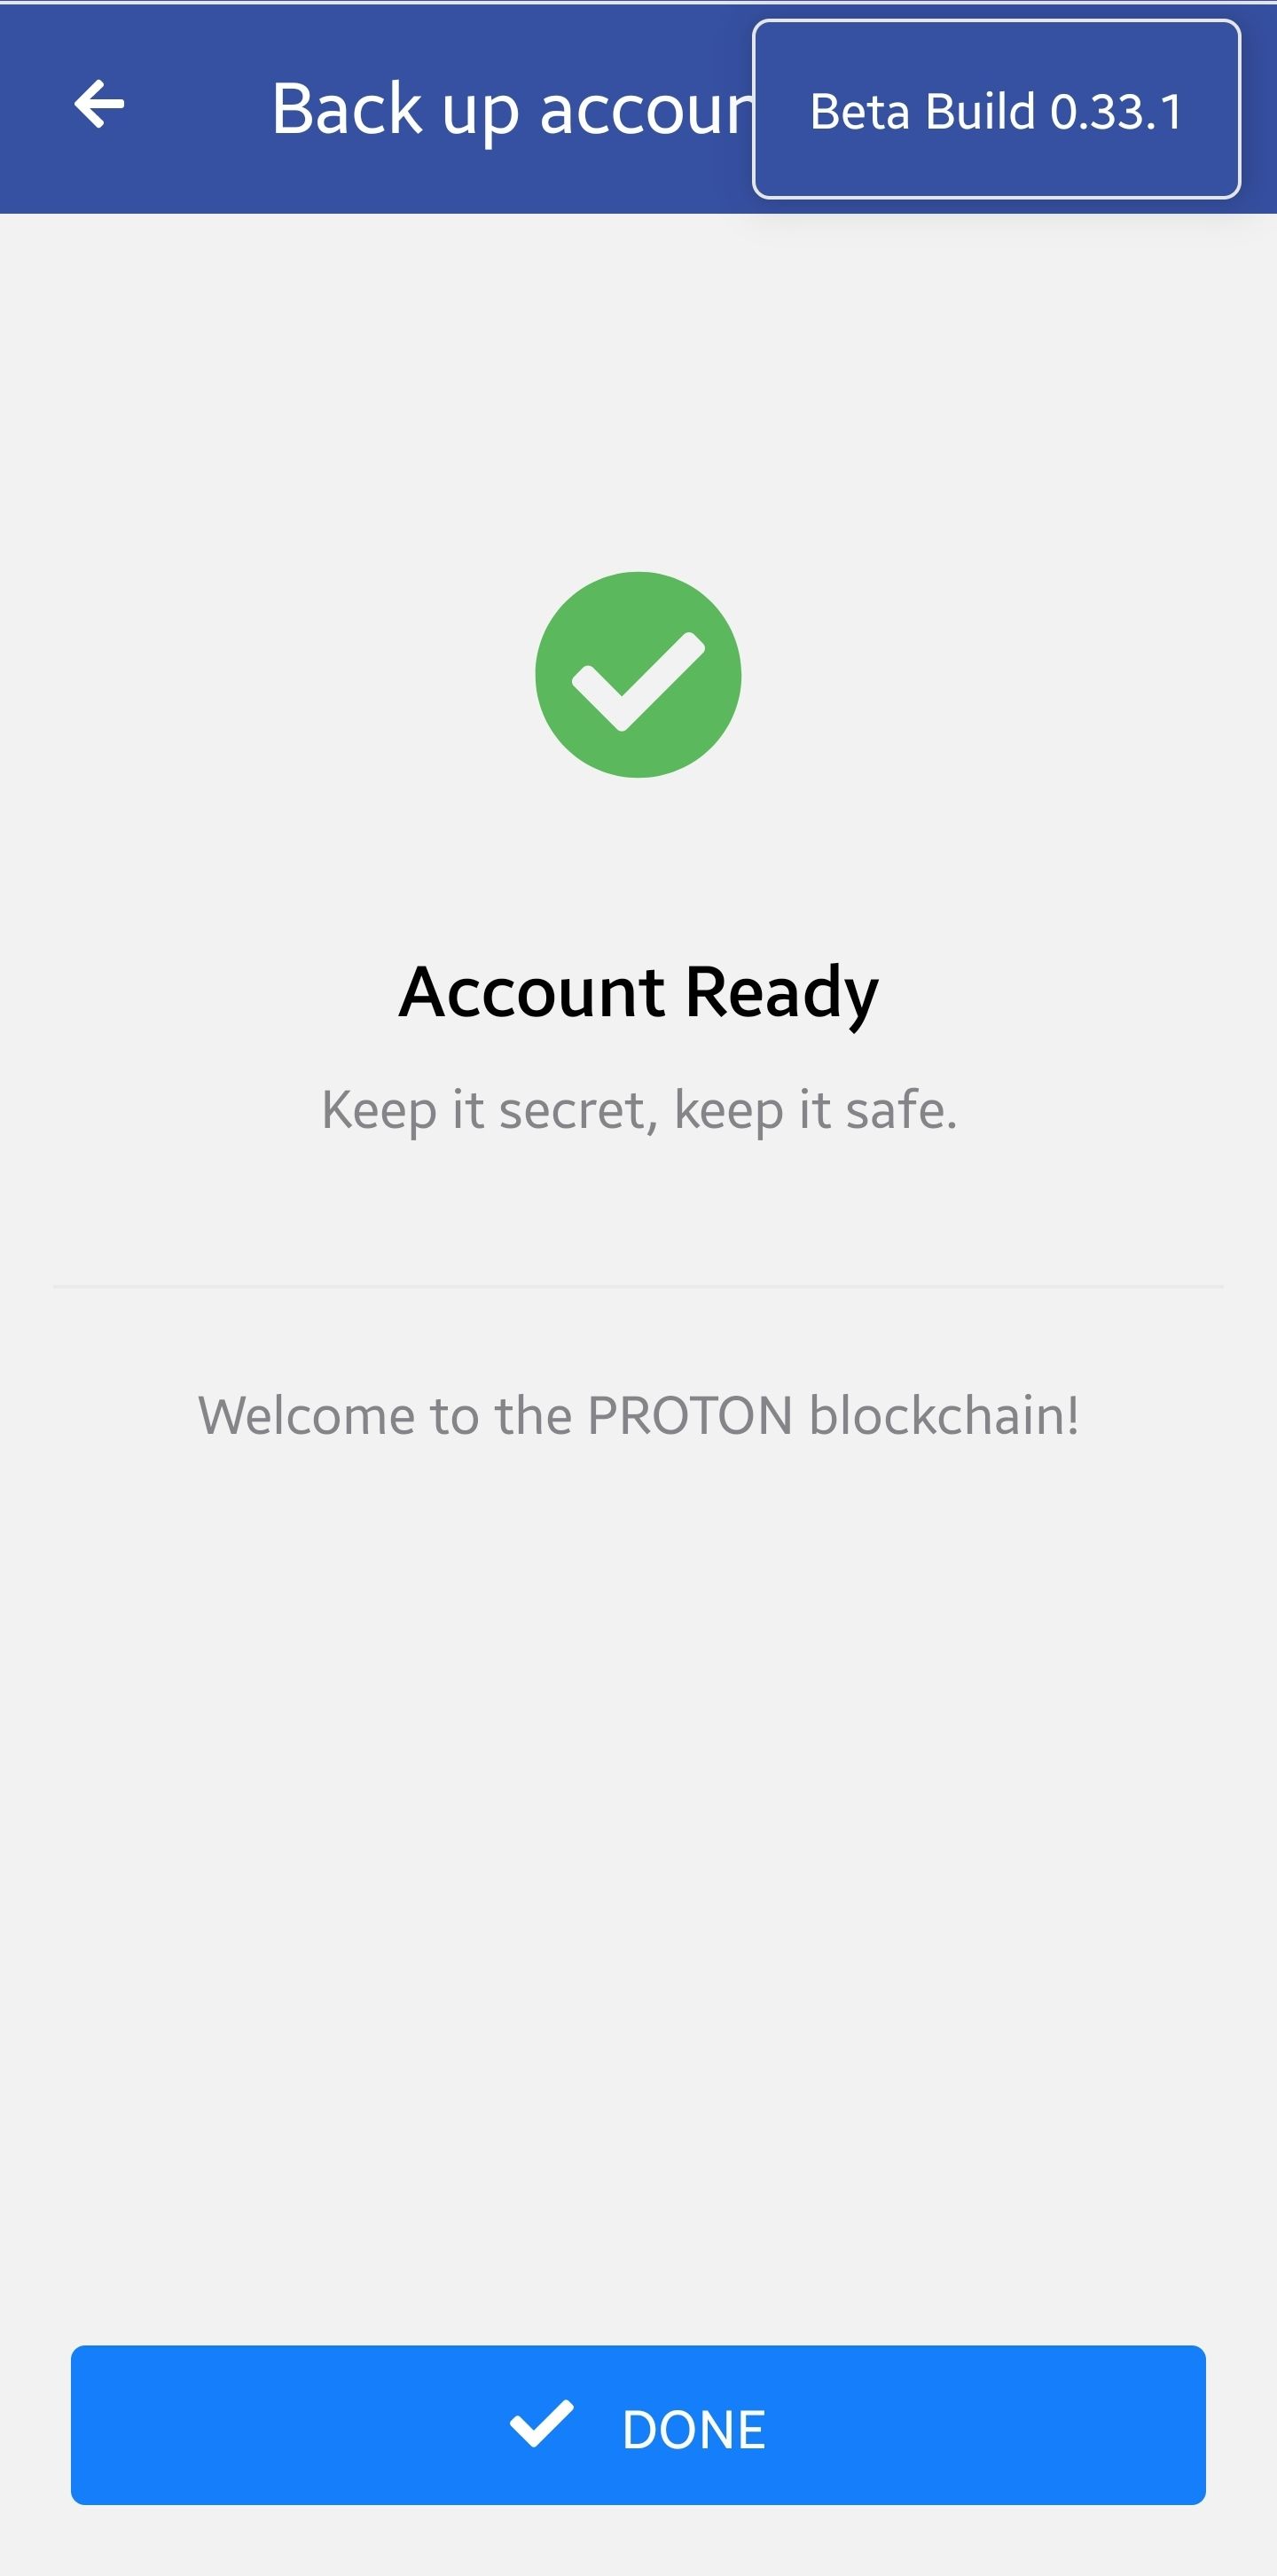
Now that you have created a new account using Anchor Wallet, jump over to Using Anchor Wallet to see how to interact with XPR Network.
Import key from WebAuth.com Wallet
The mobile Anchor Wallet also allows you to import existing WebAuth.com Wallets. To do that you need your WebAuth.com Wallet private key:
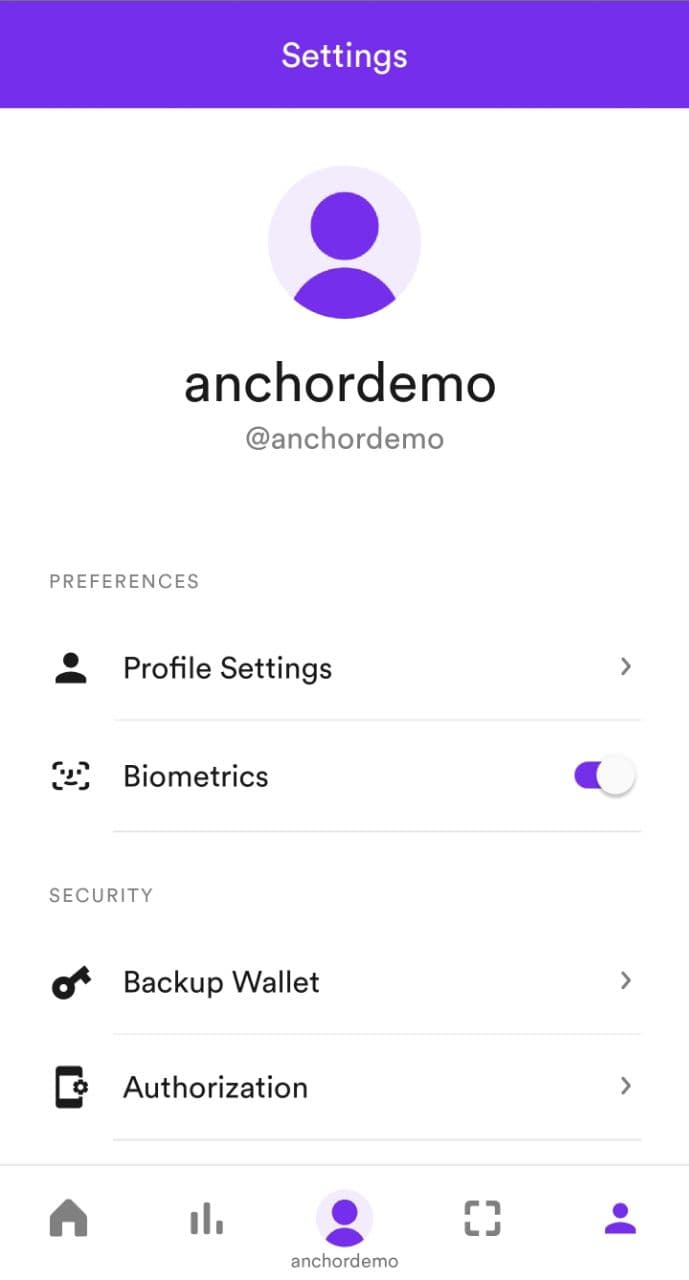
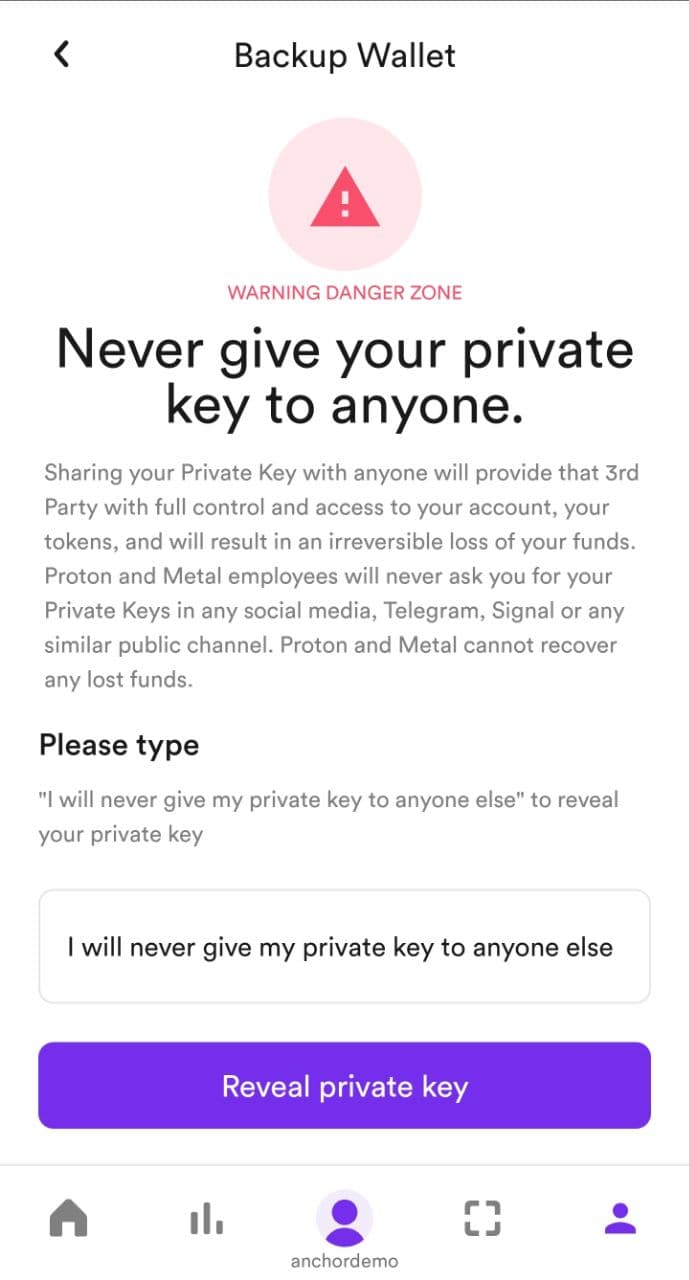
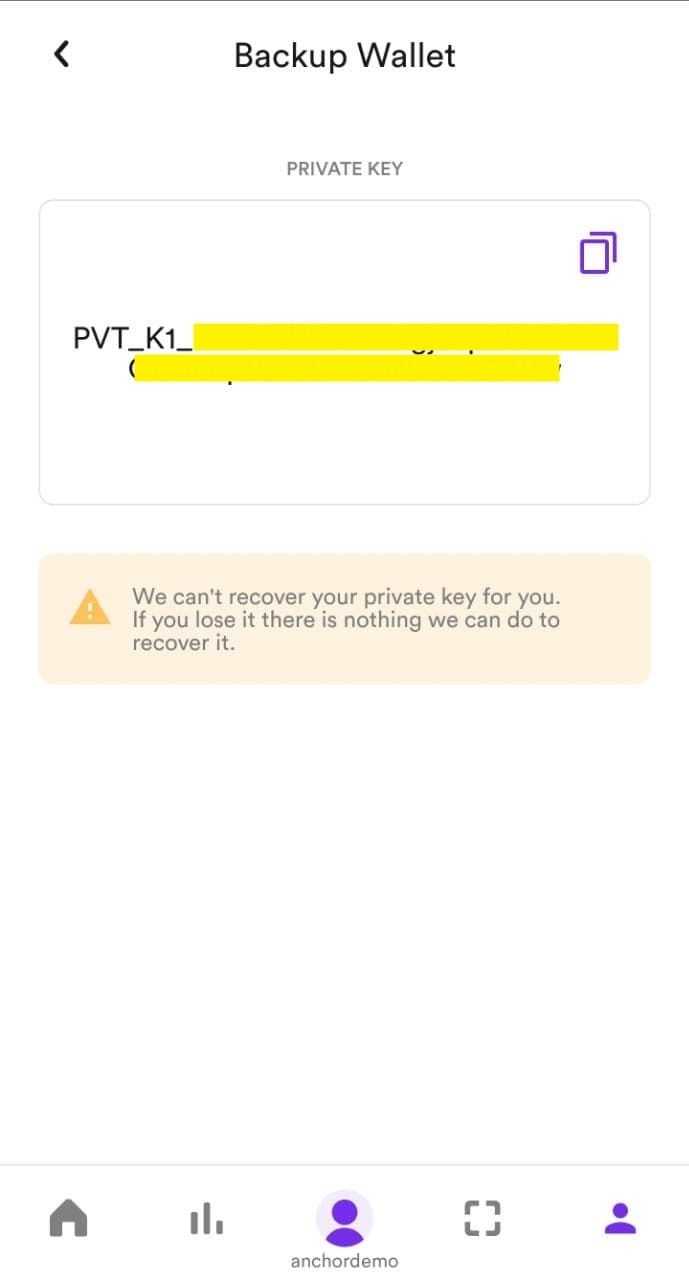
Once you have your WebAuth.com wallet private key, open Anchor Wallet, click on ADD ACCOUNT and then IMPORT ACCOUNT at the bottom of the screen:
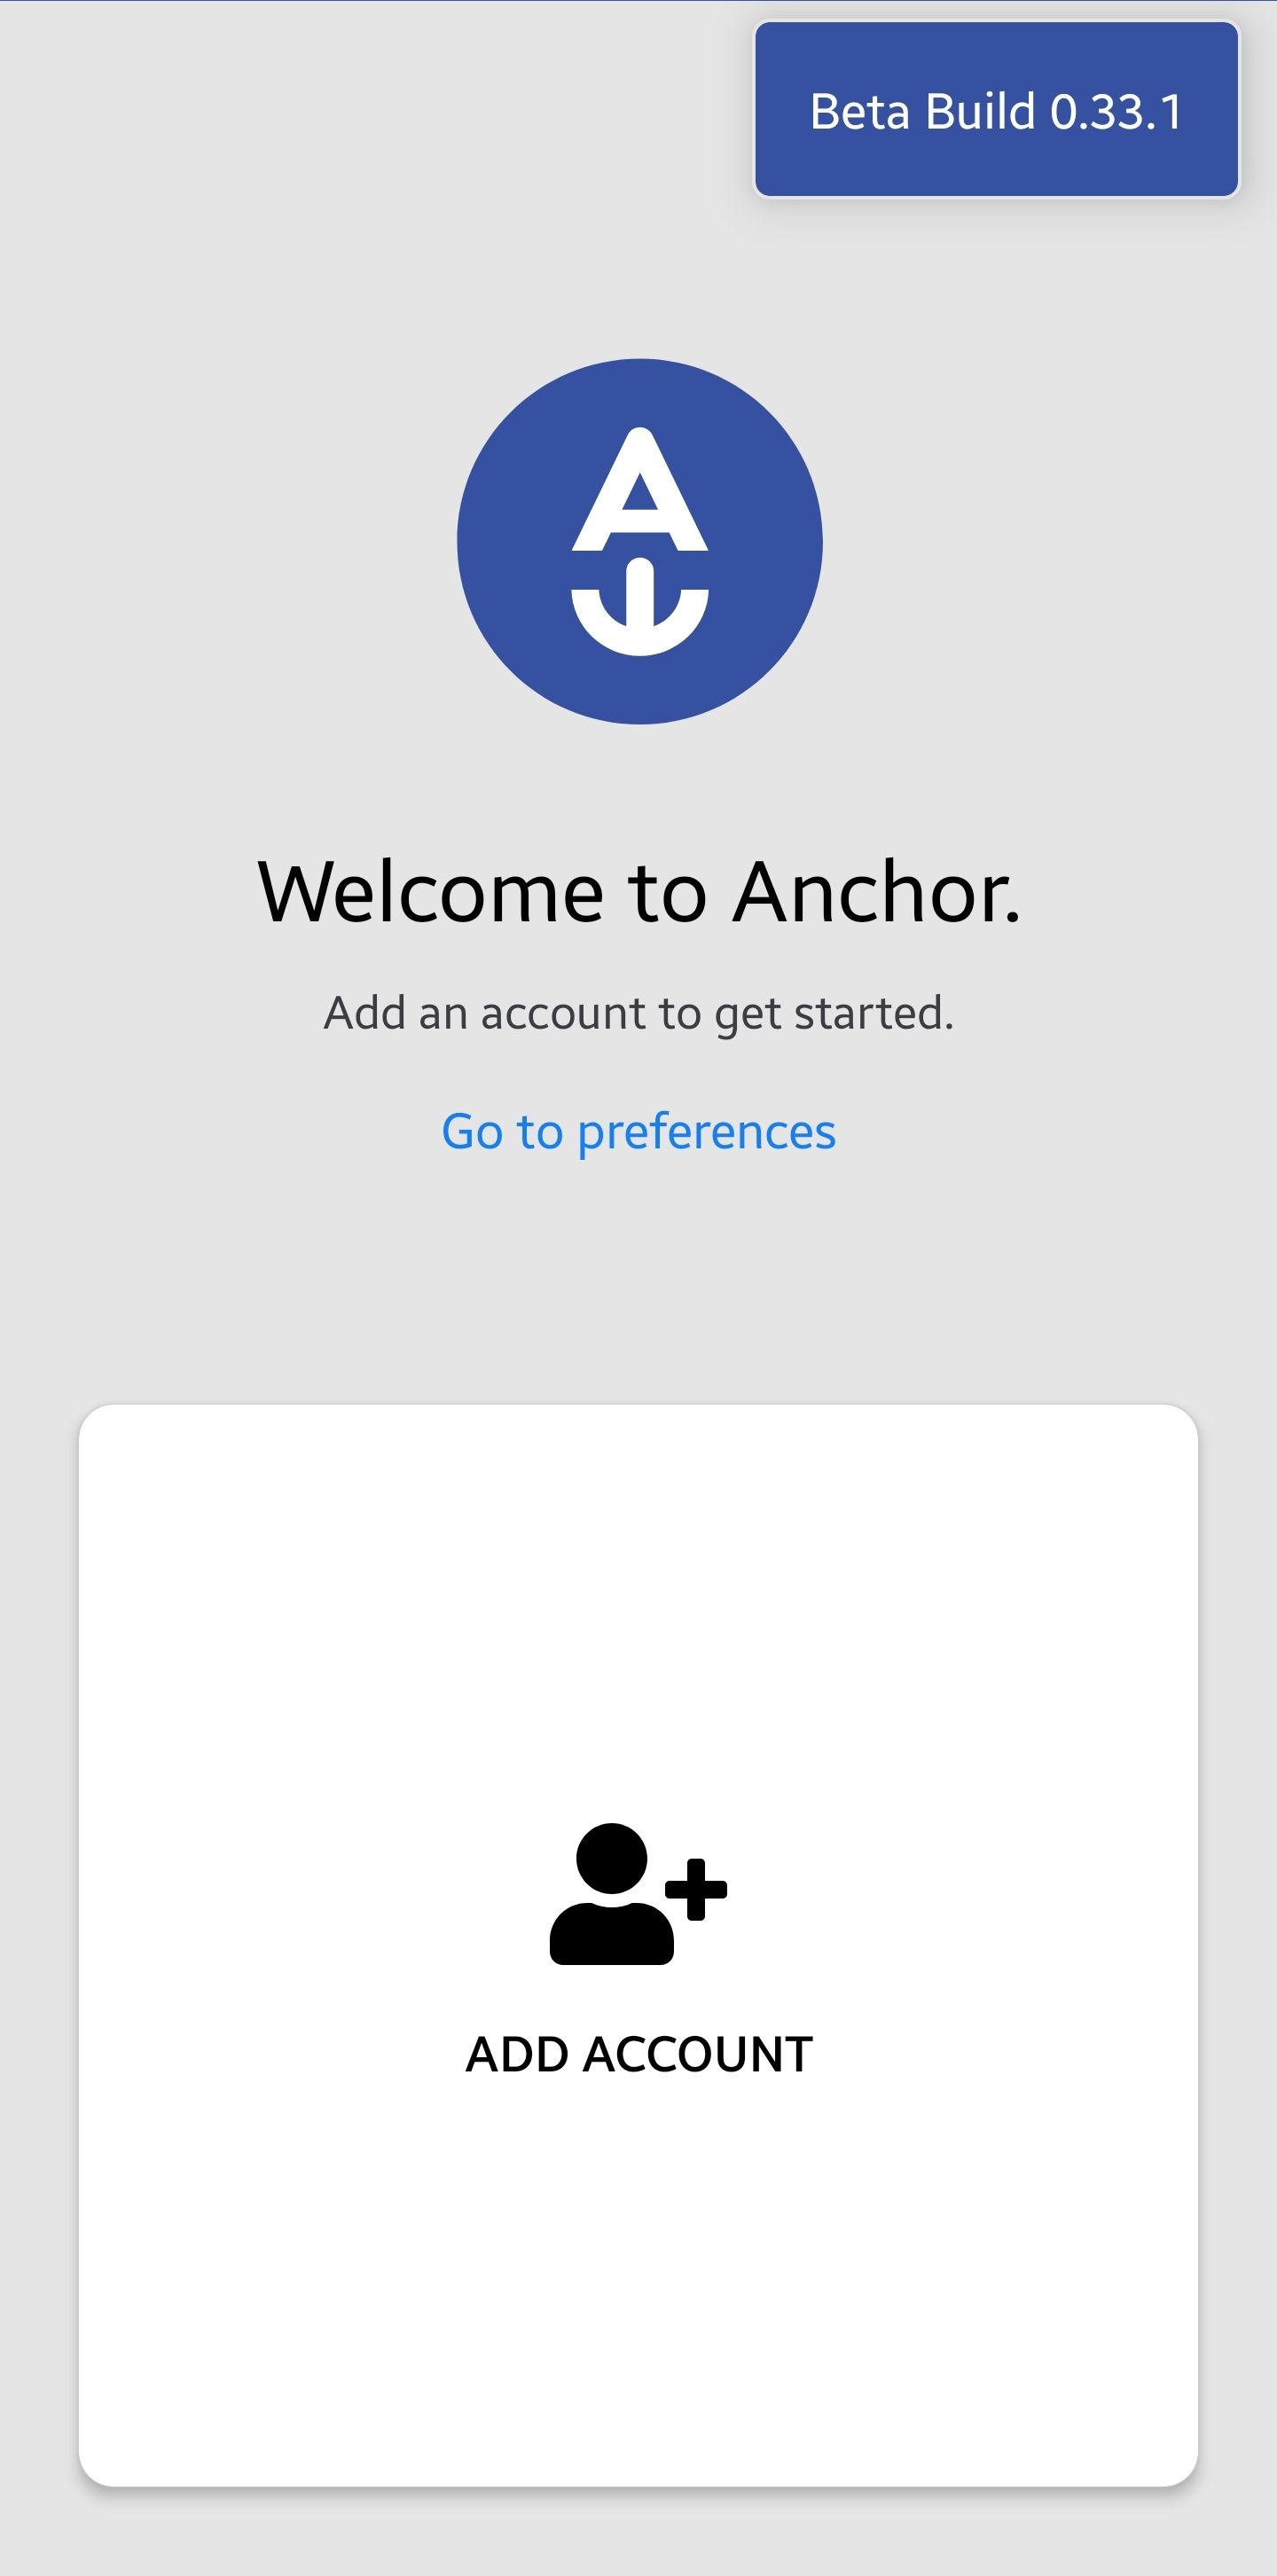
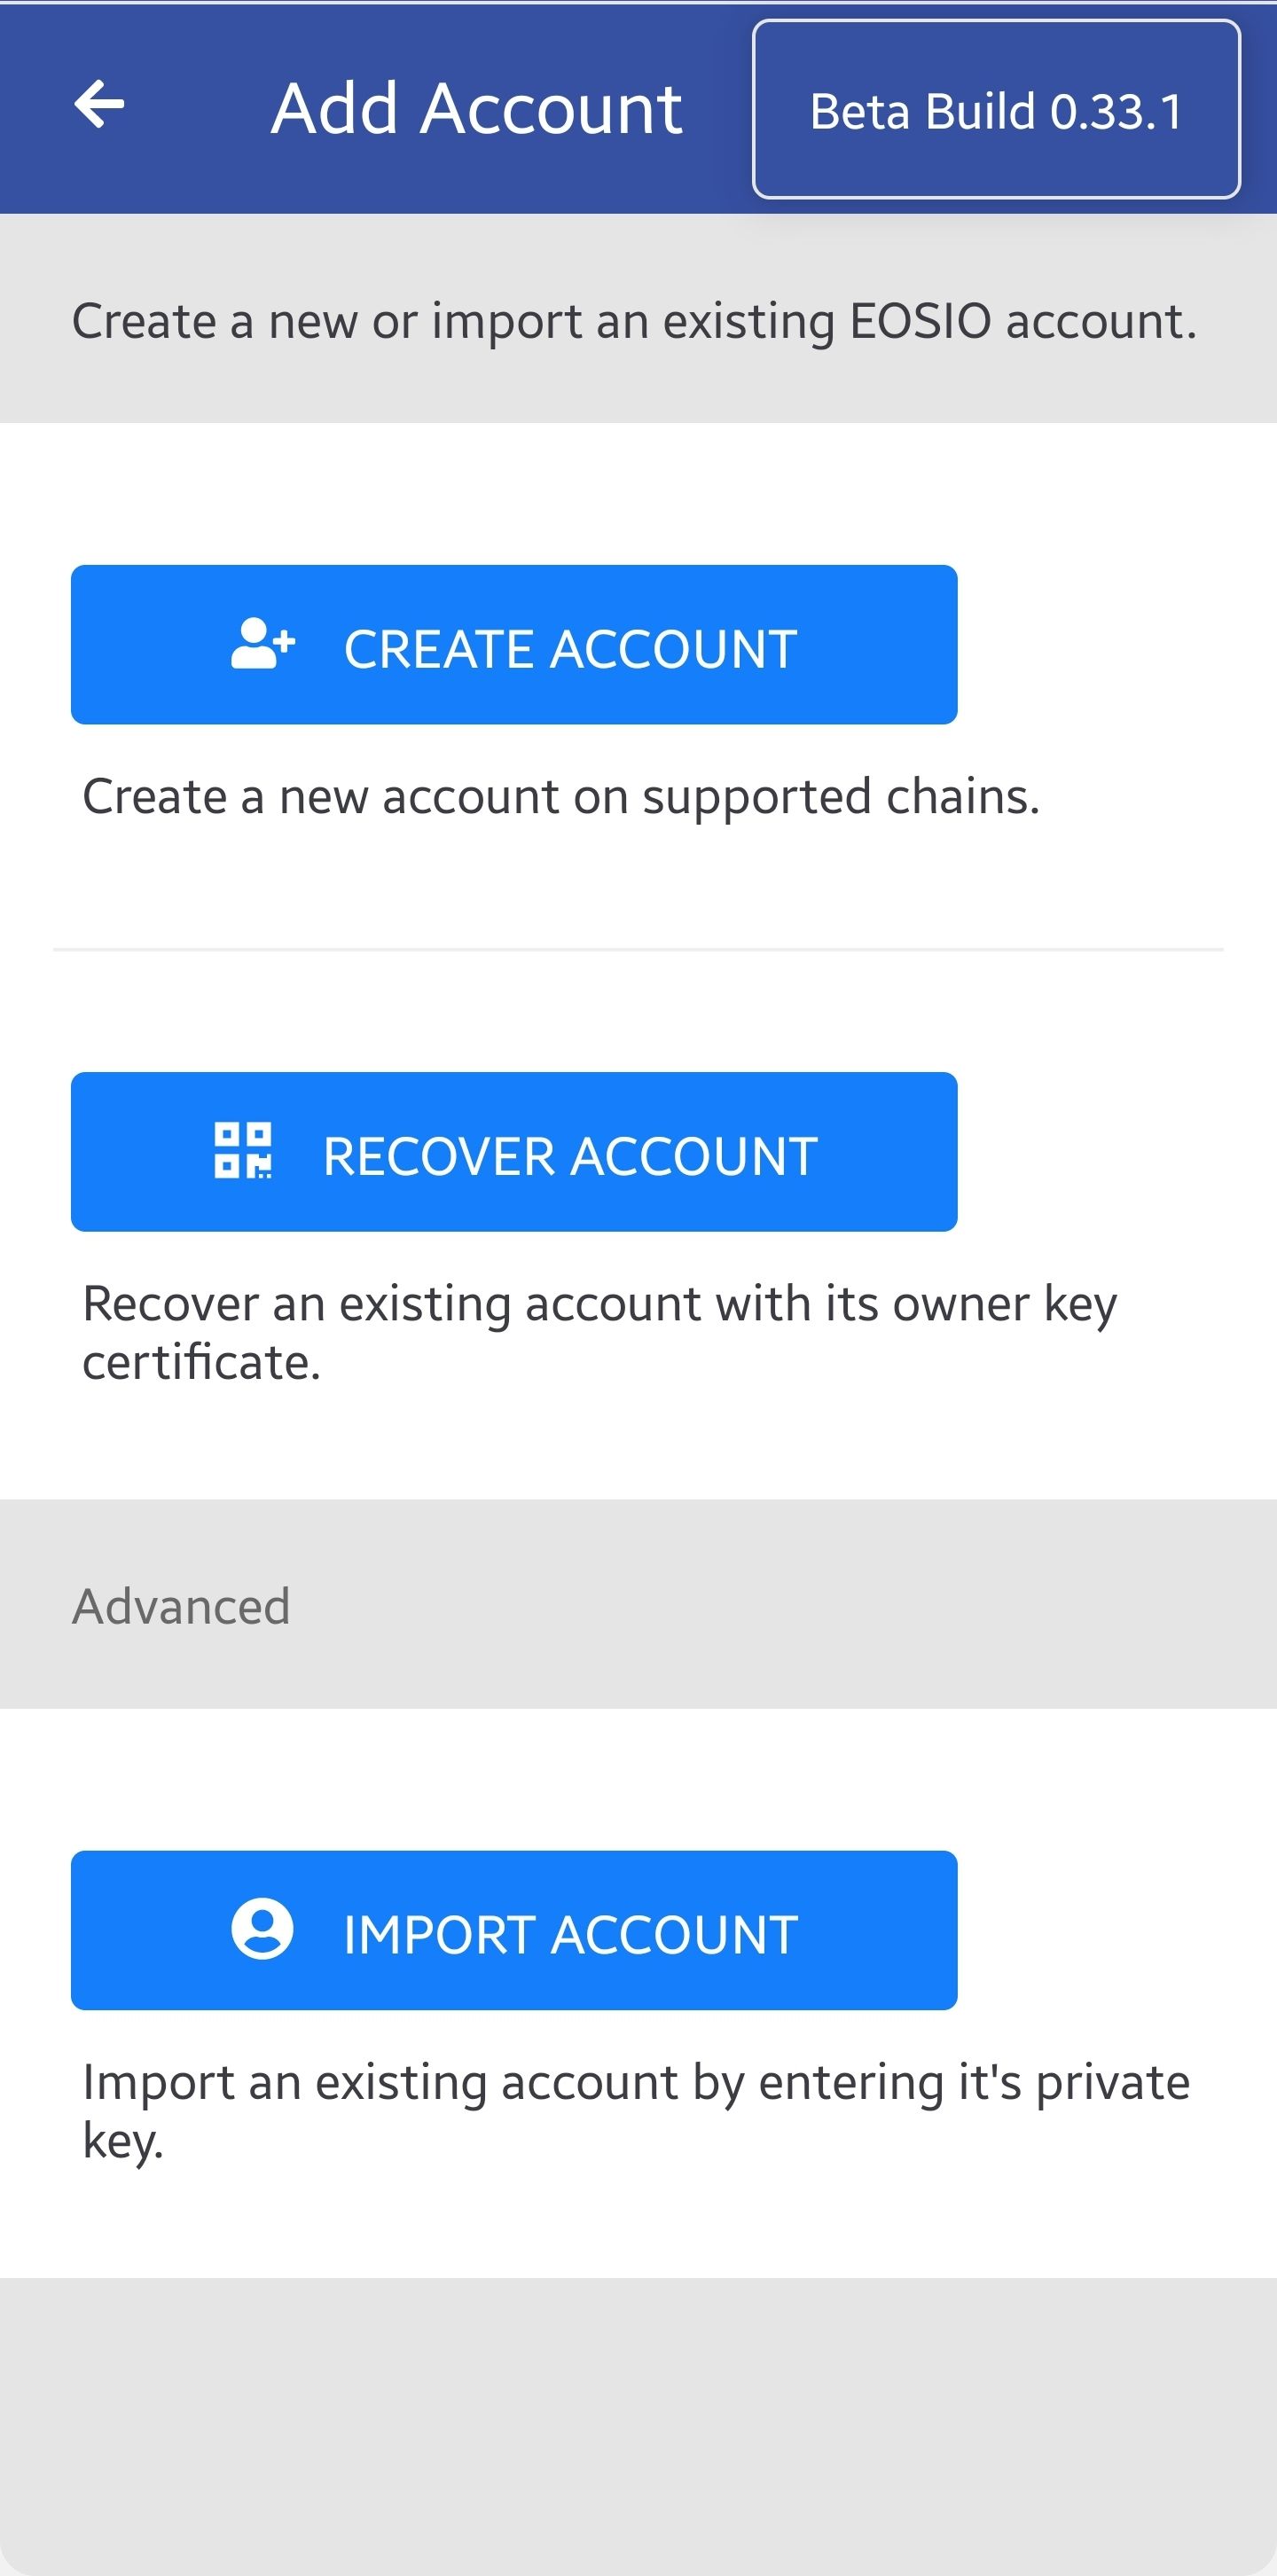
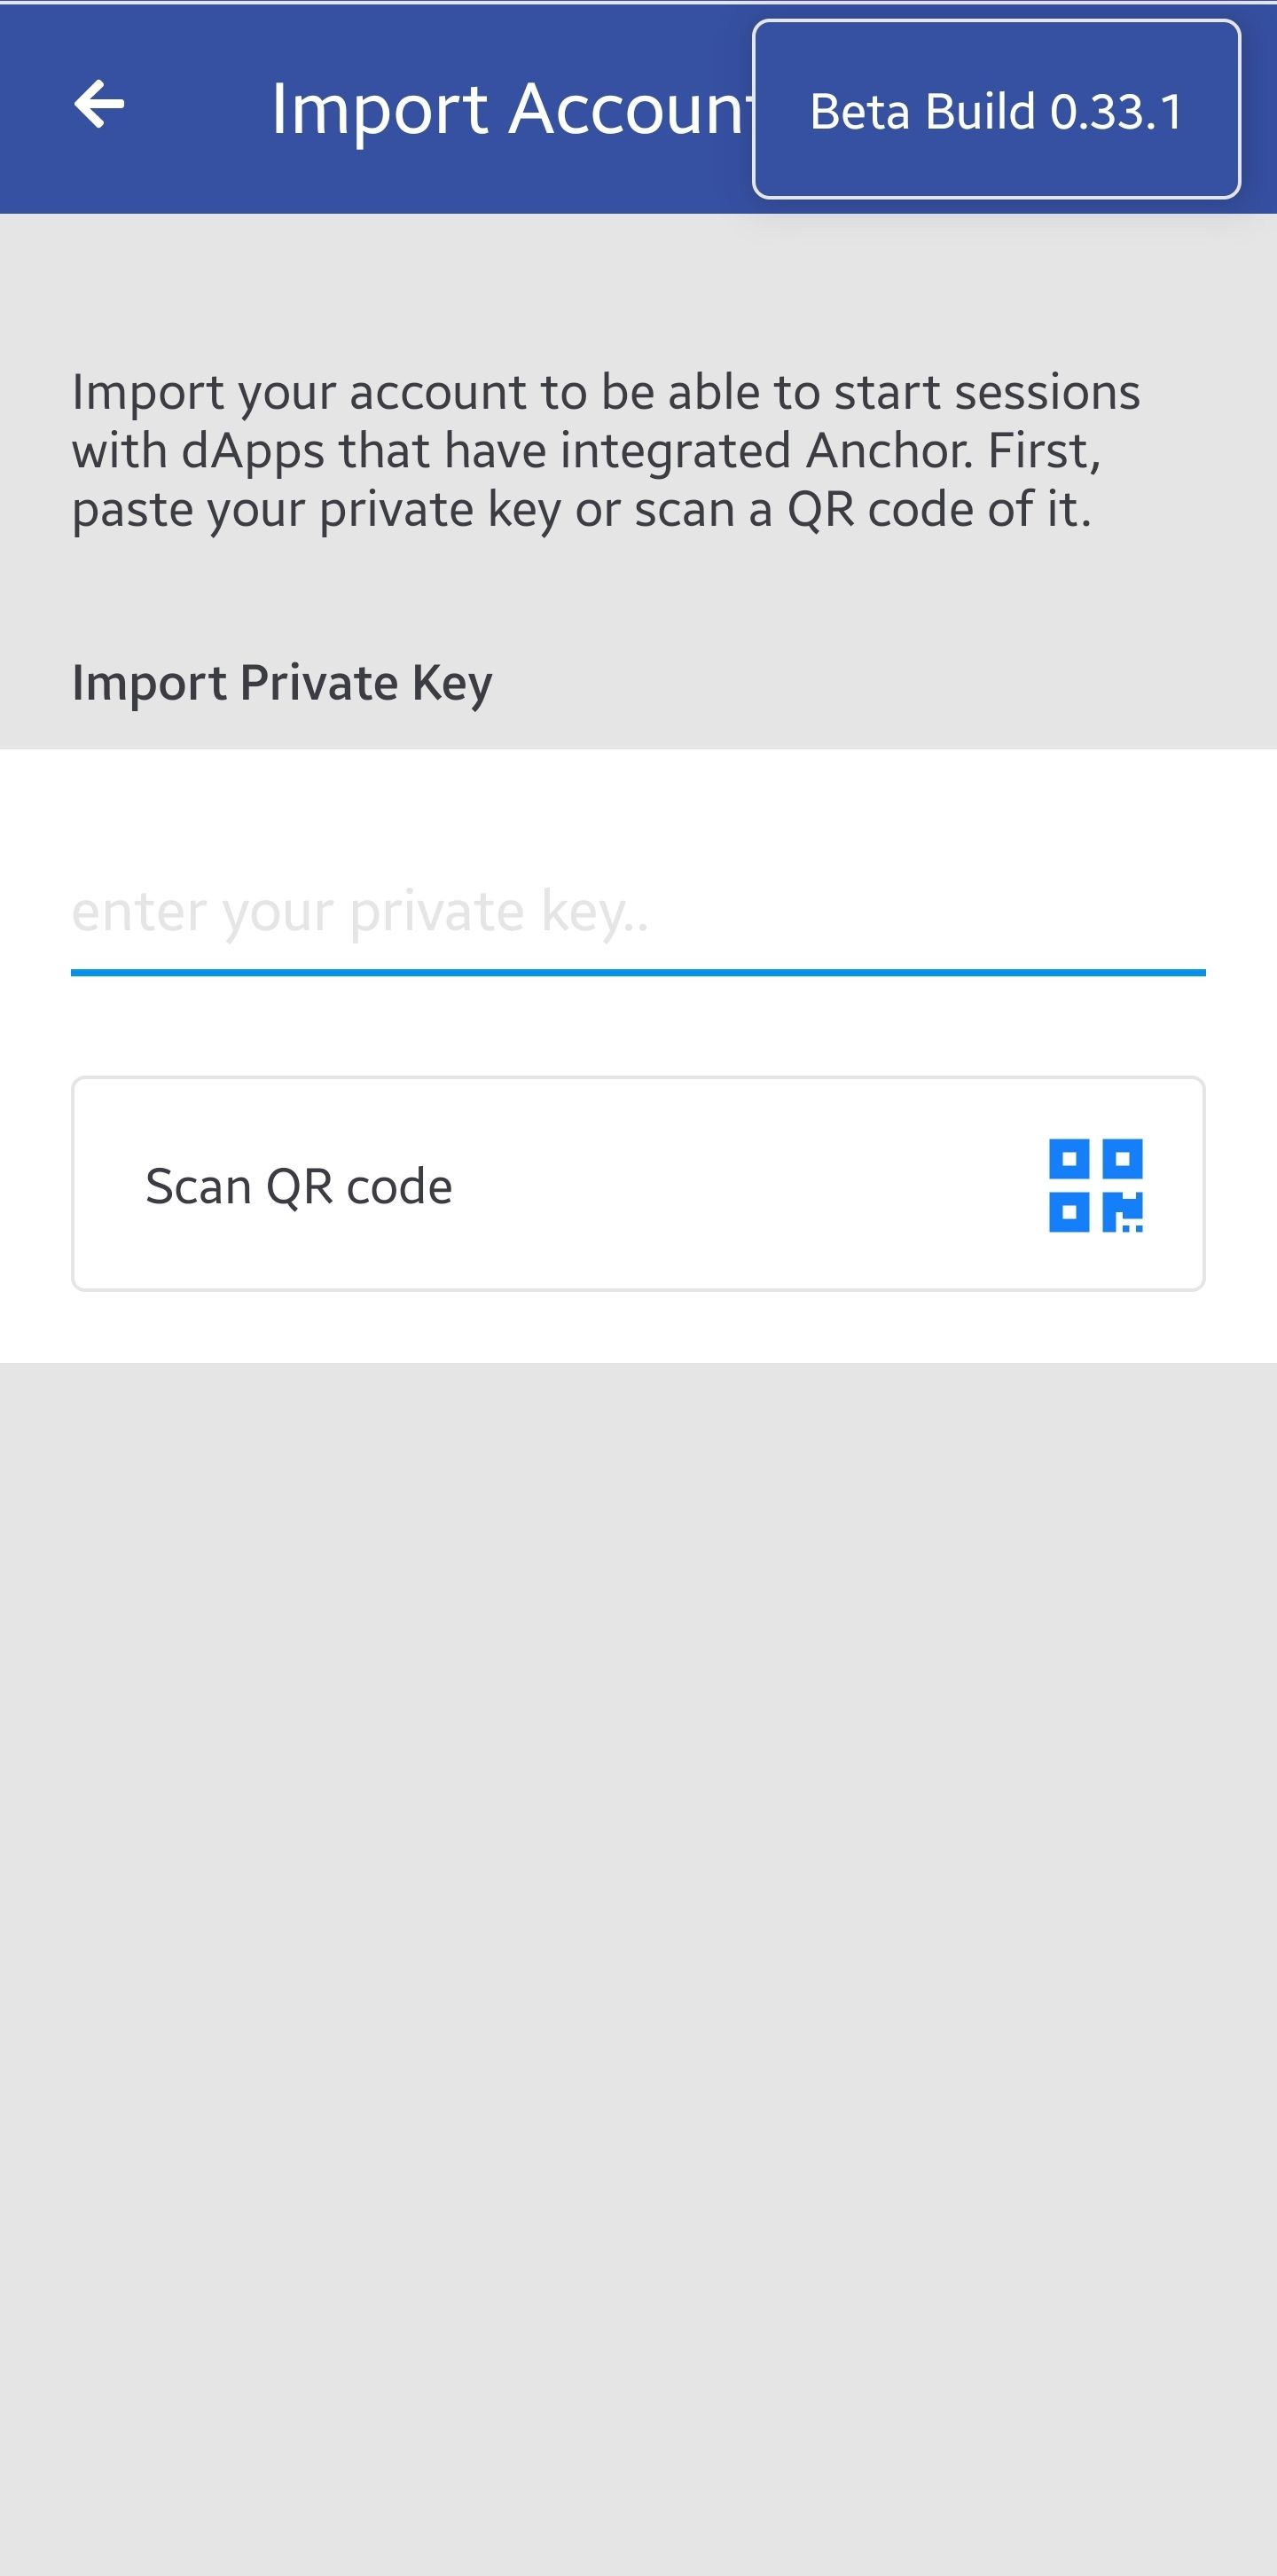
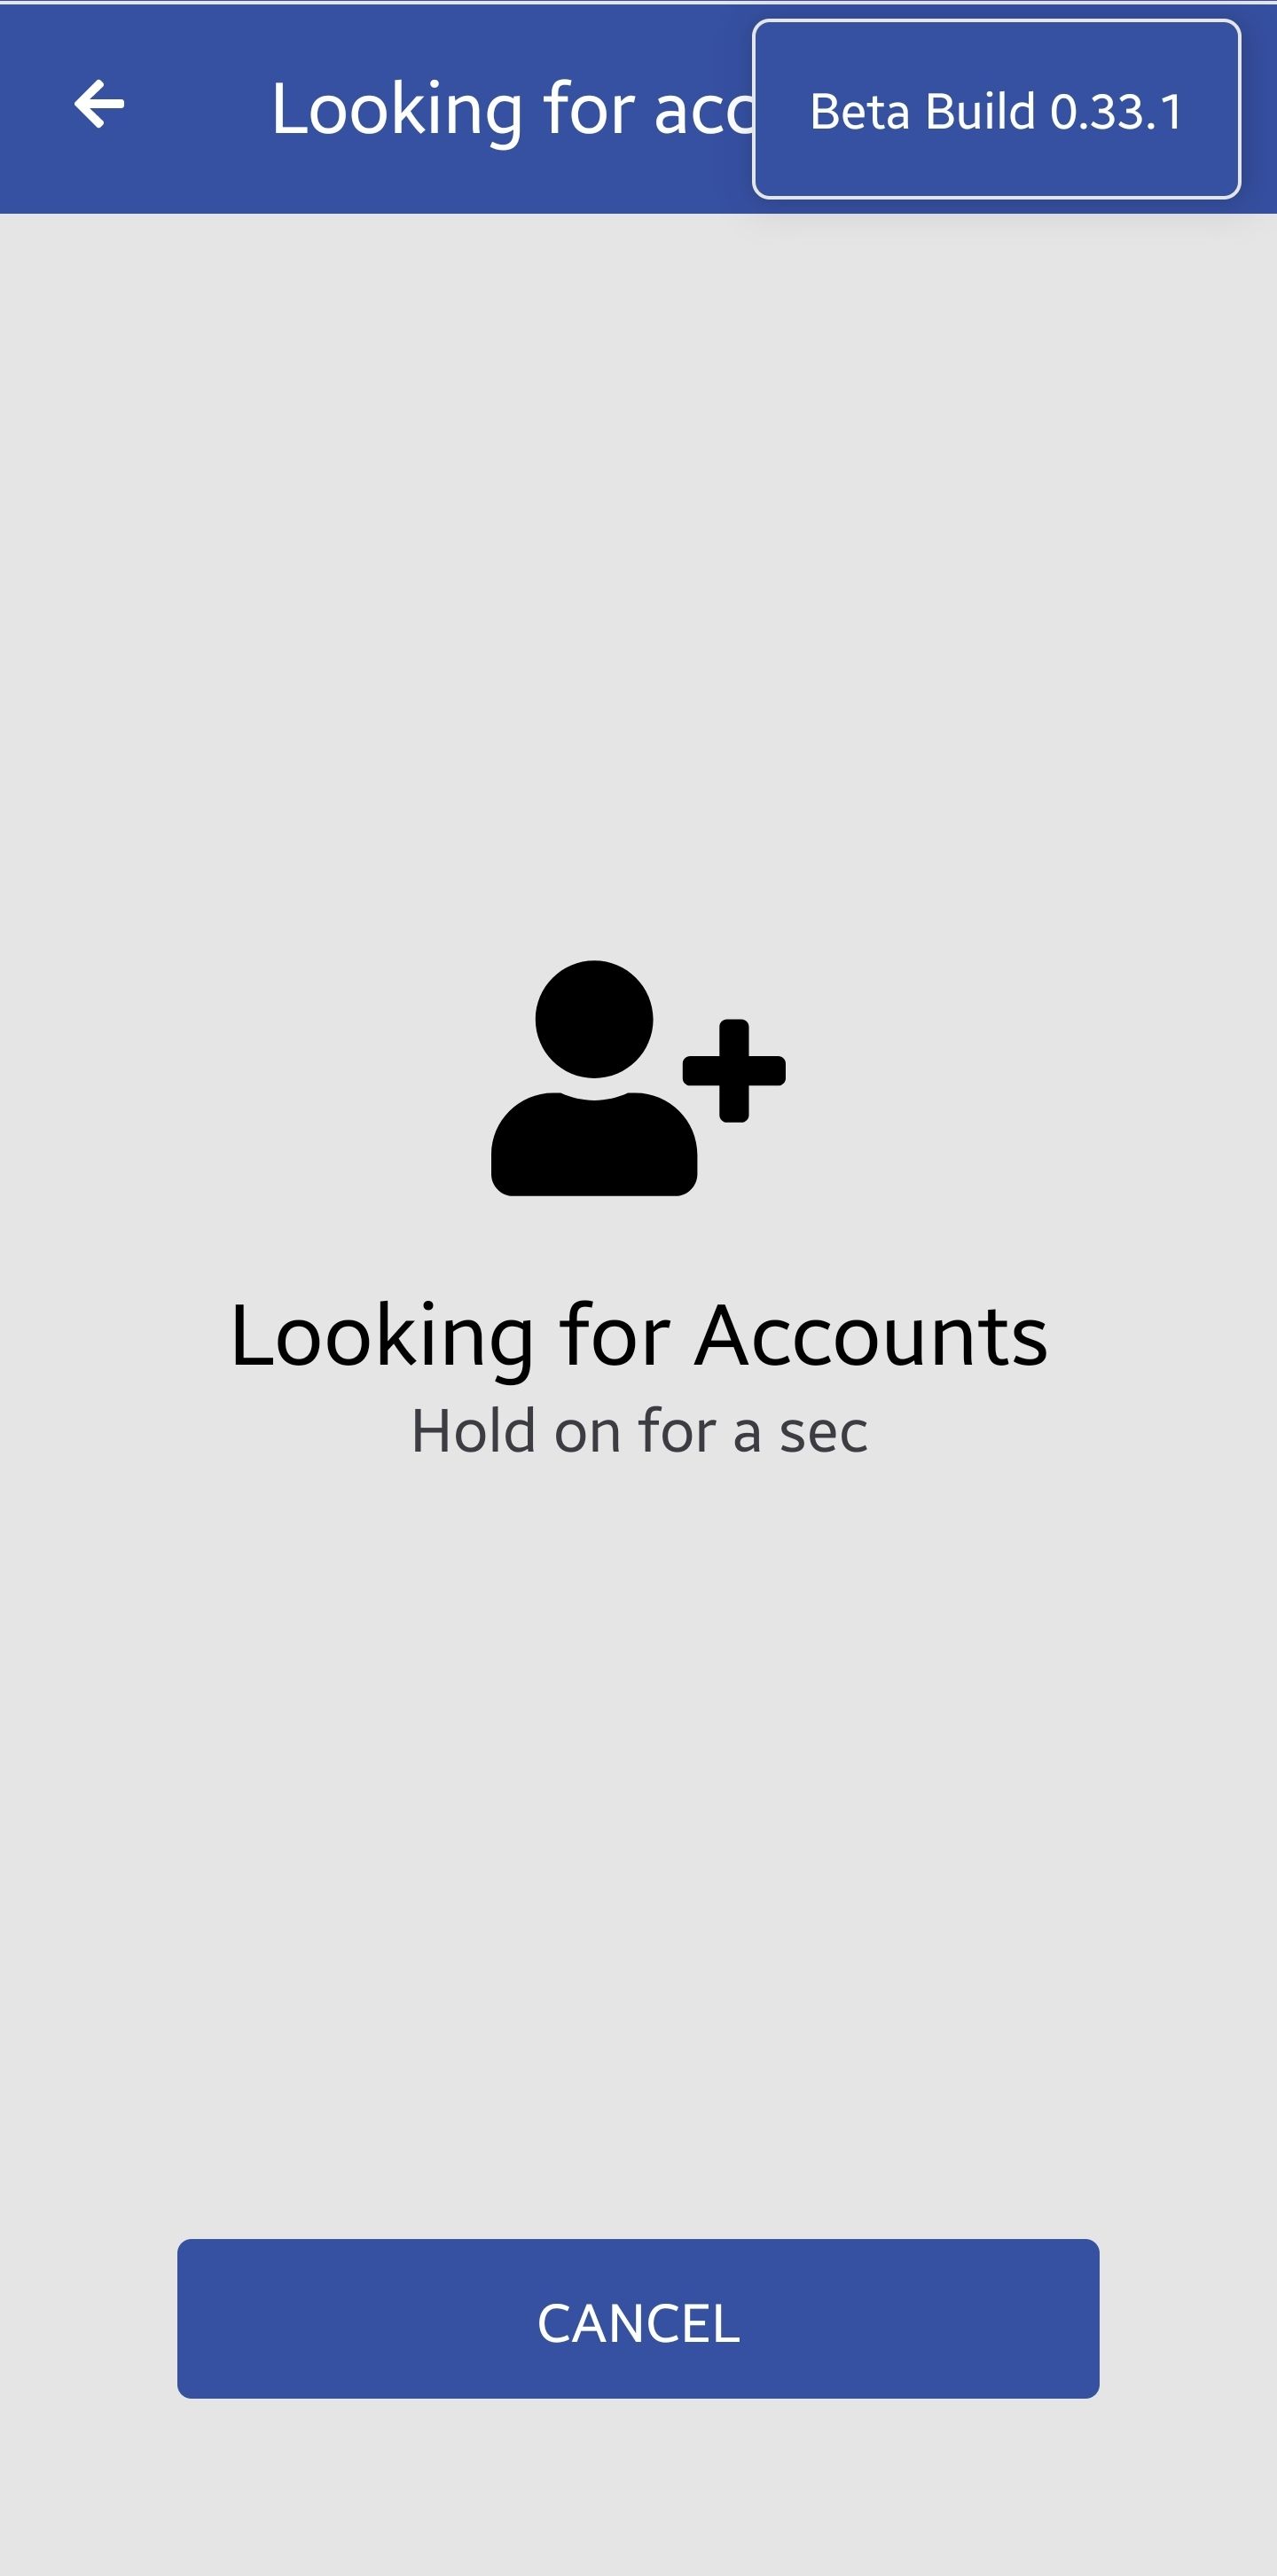
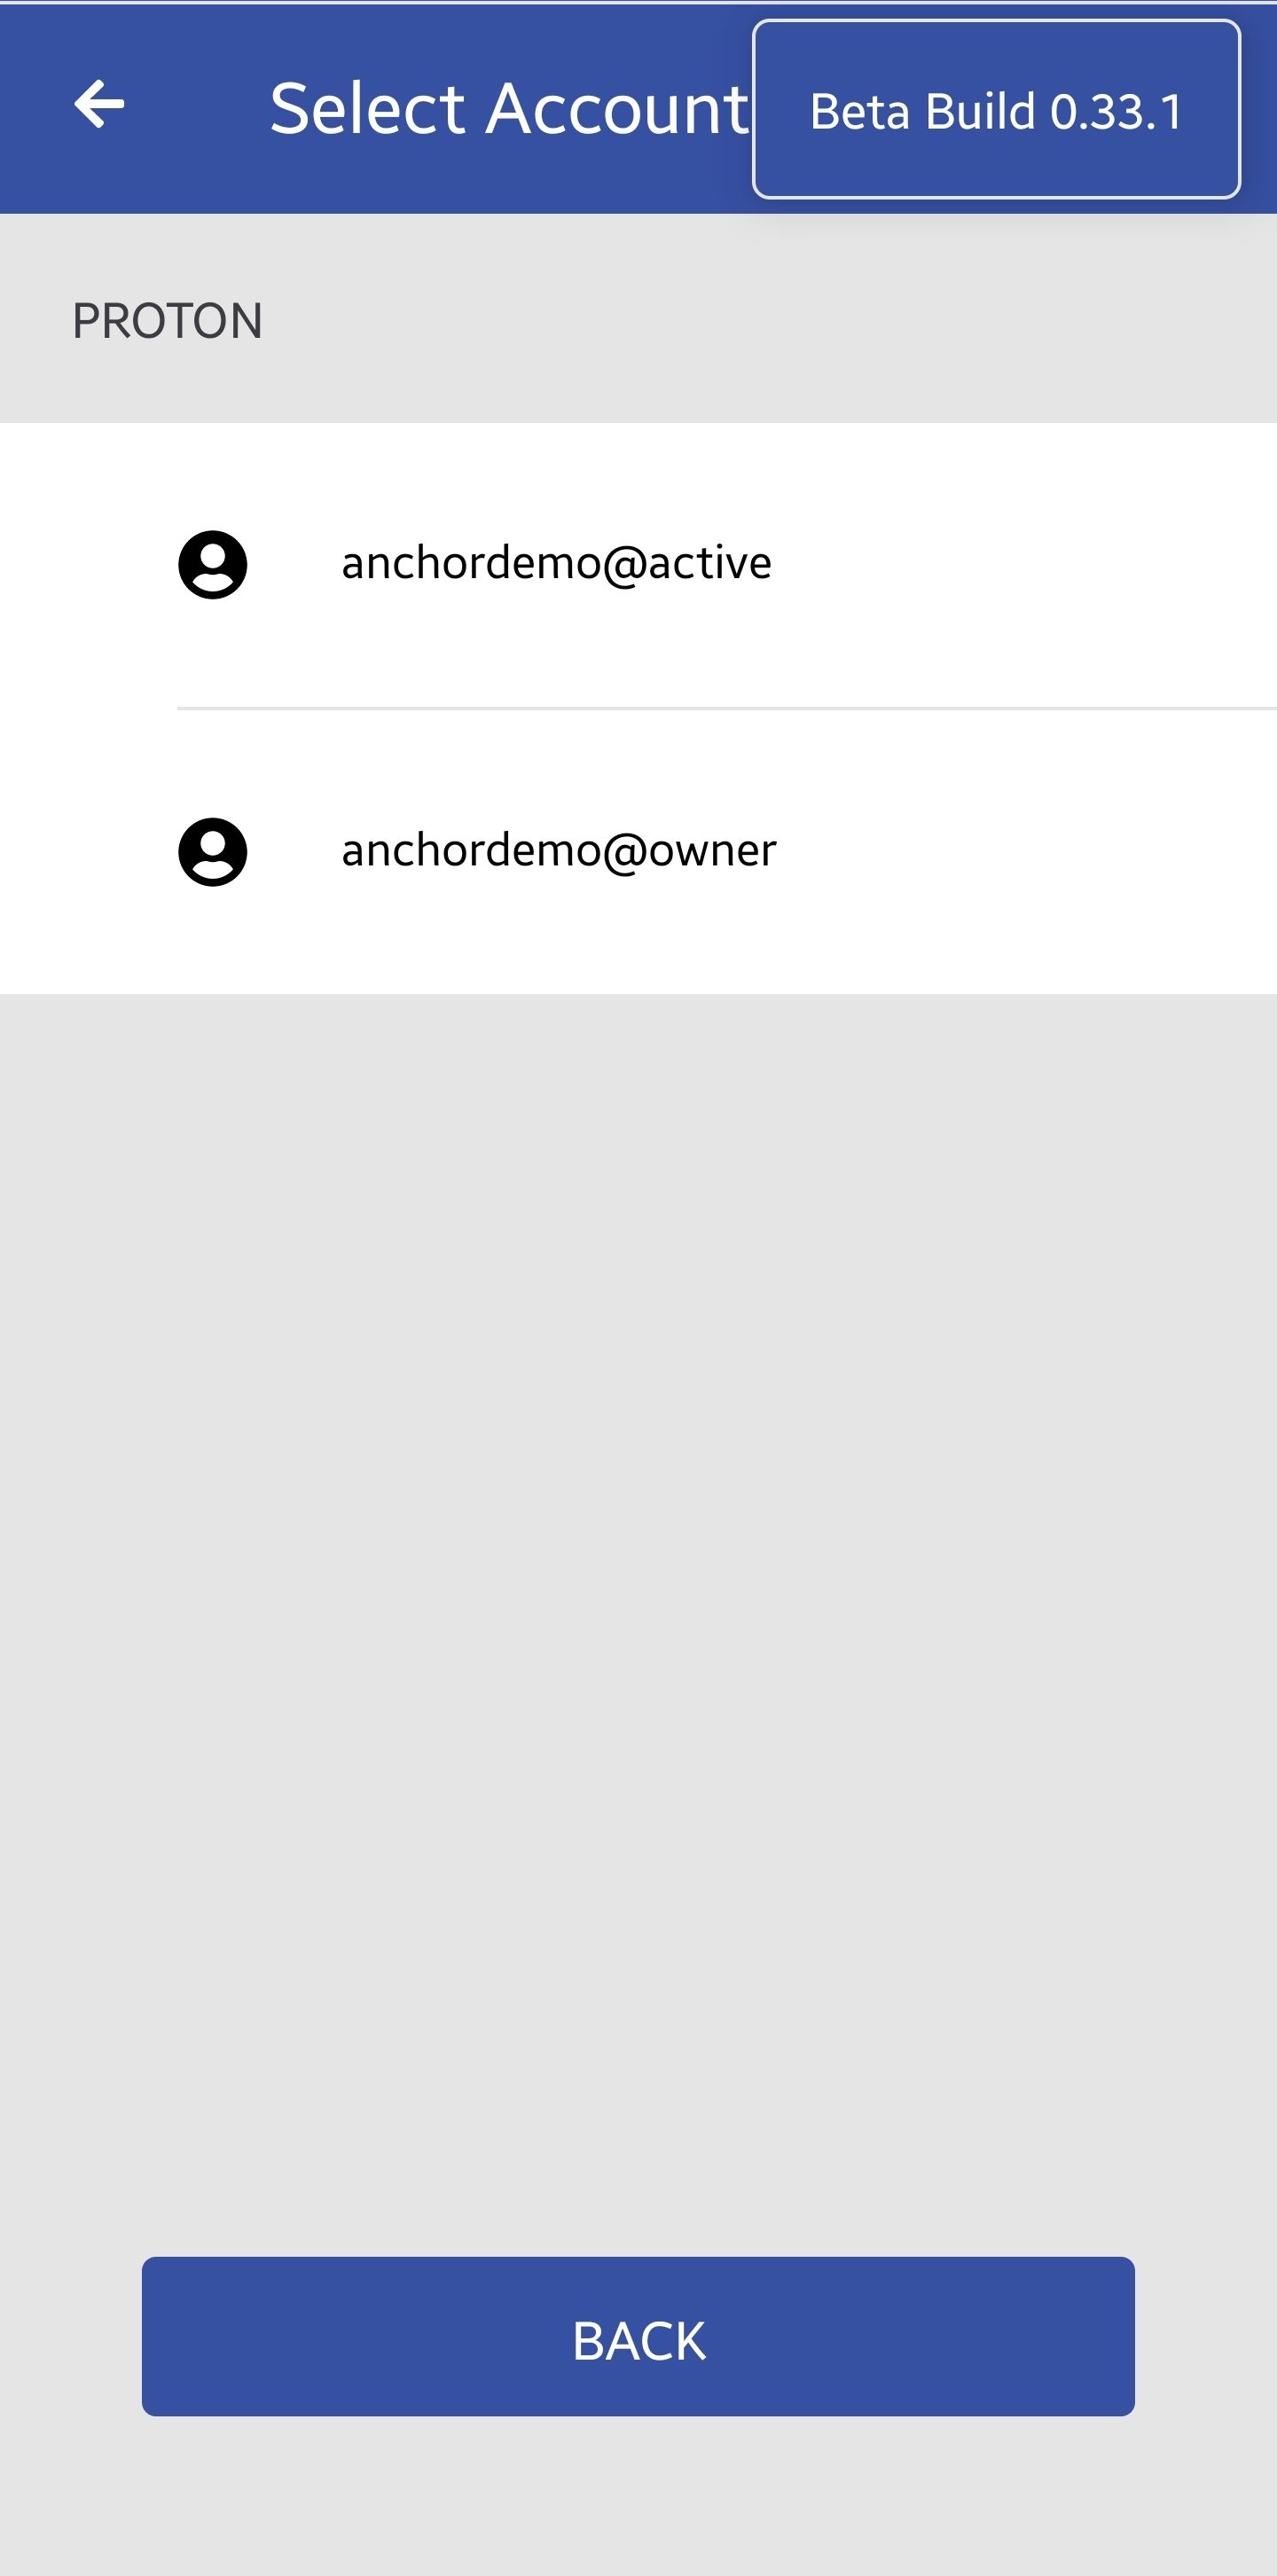
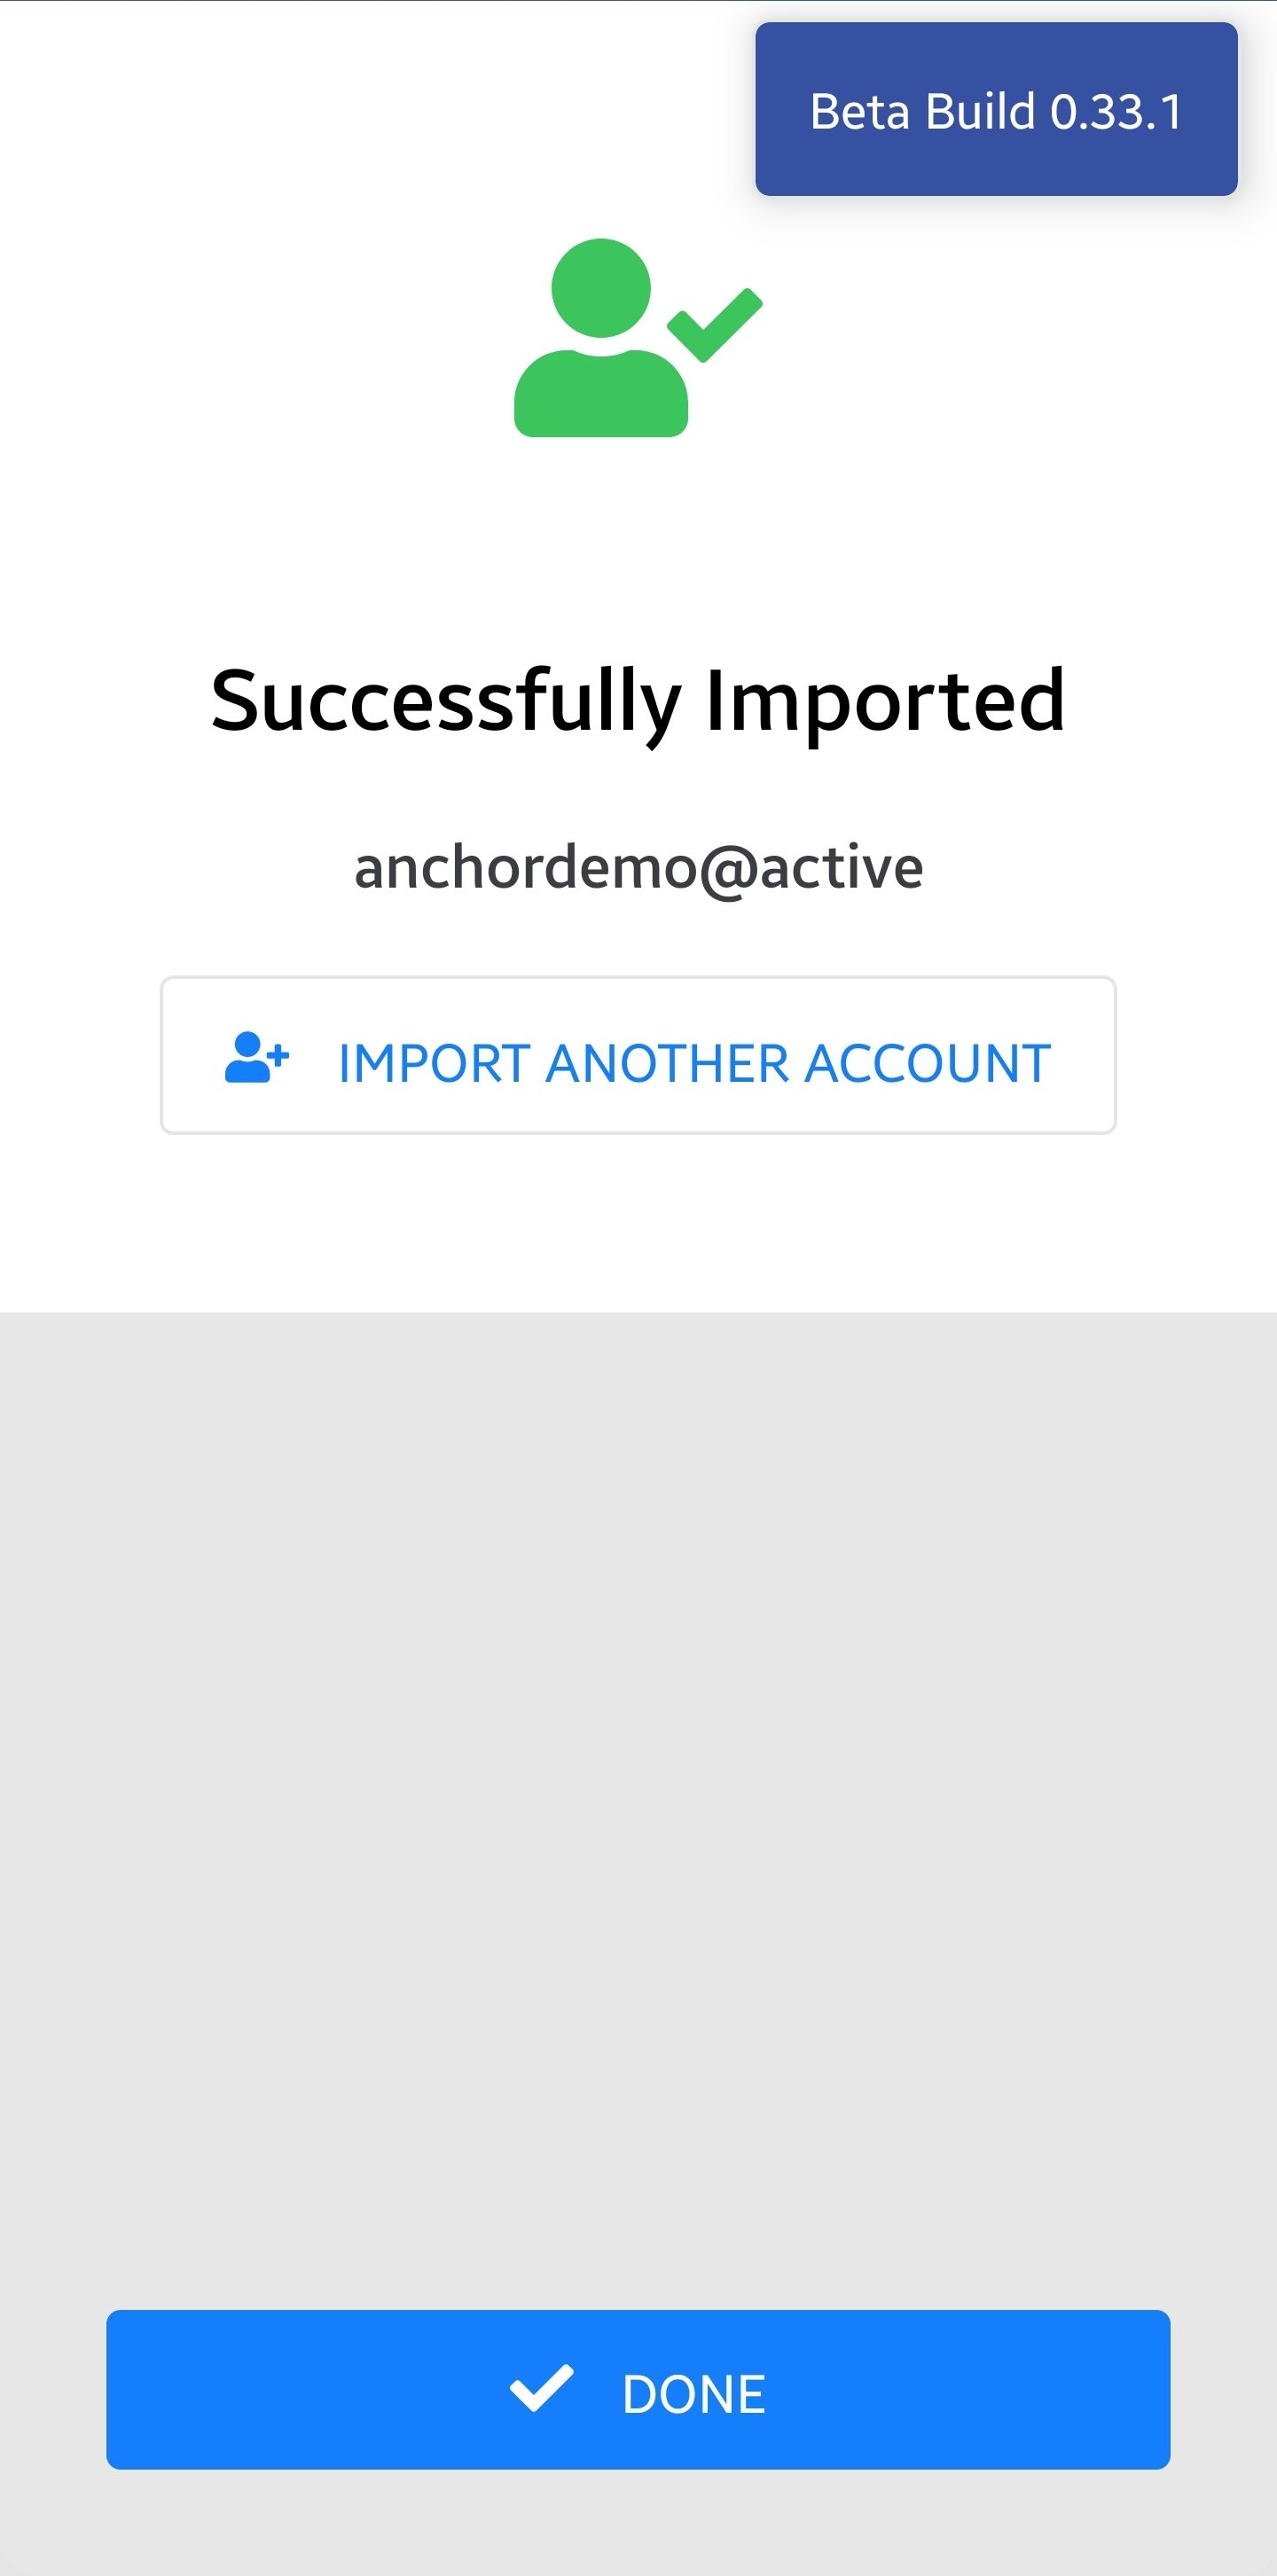
Now that you have imported the account into Anchor Wallet, jump over to Using Anchor Wallet to see how to interact with XPR Network.
Import from owner key certificate
Use this option to import an account that was previously created using Anchor Wallet.
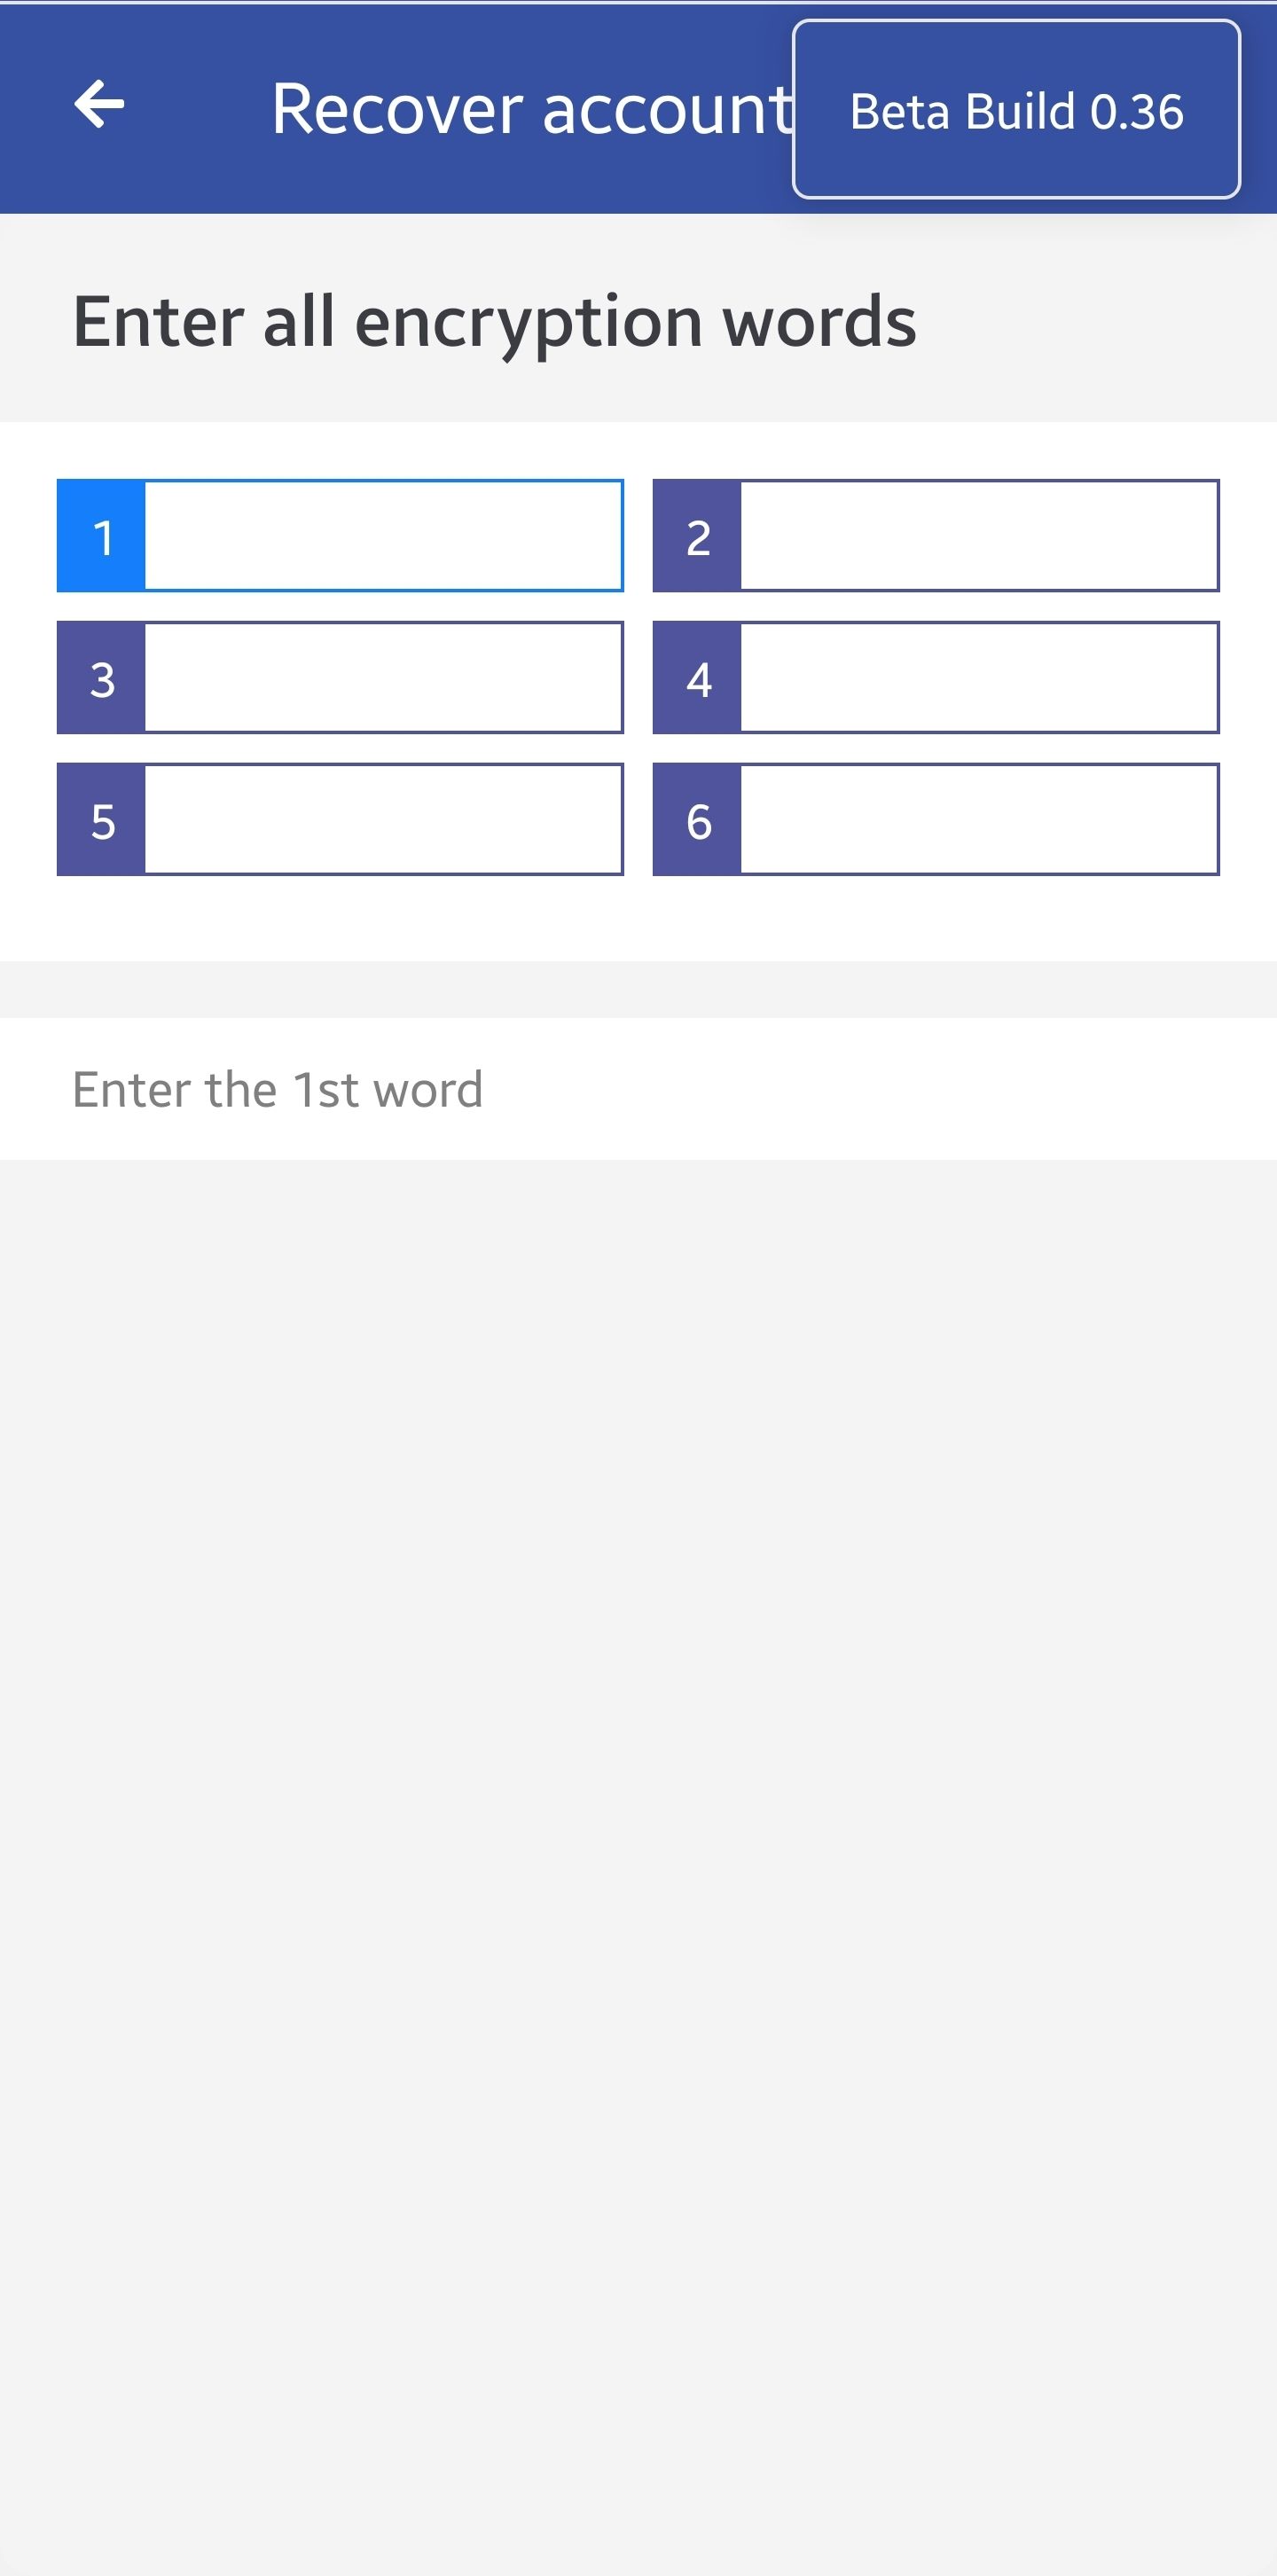
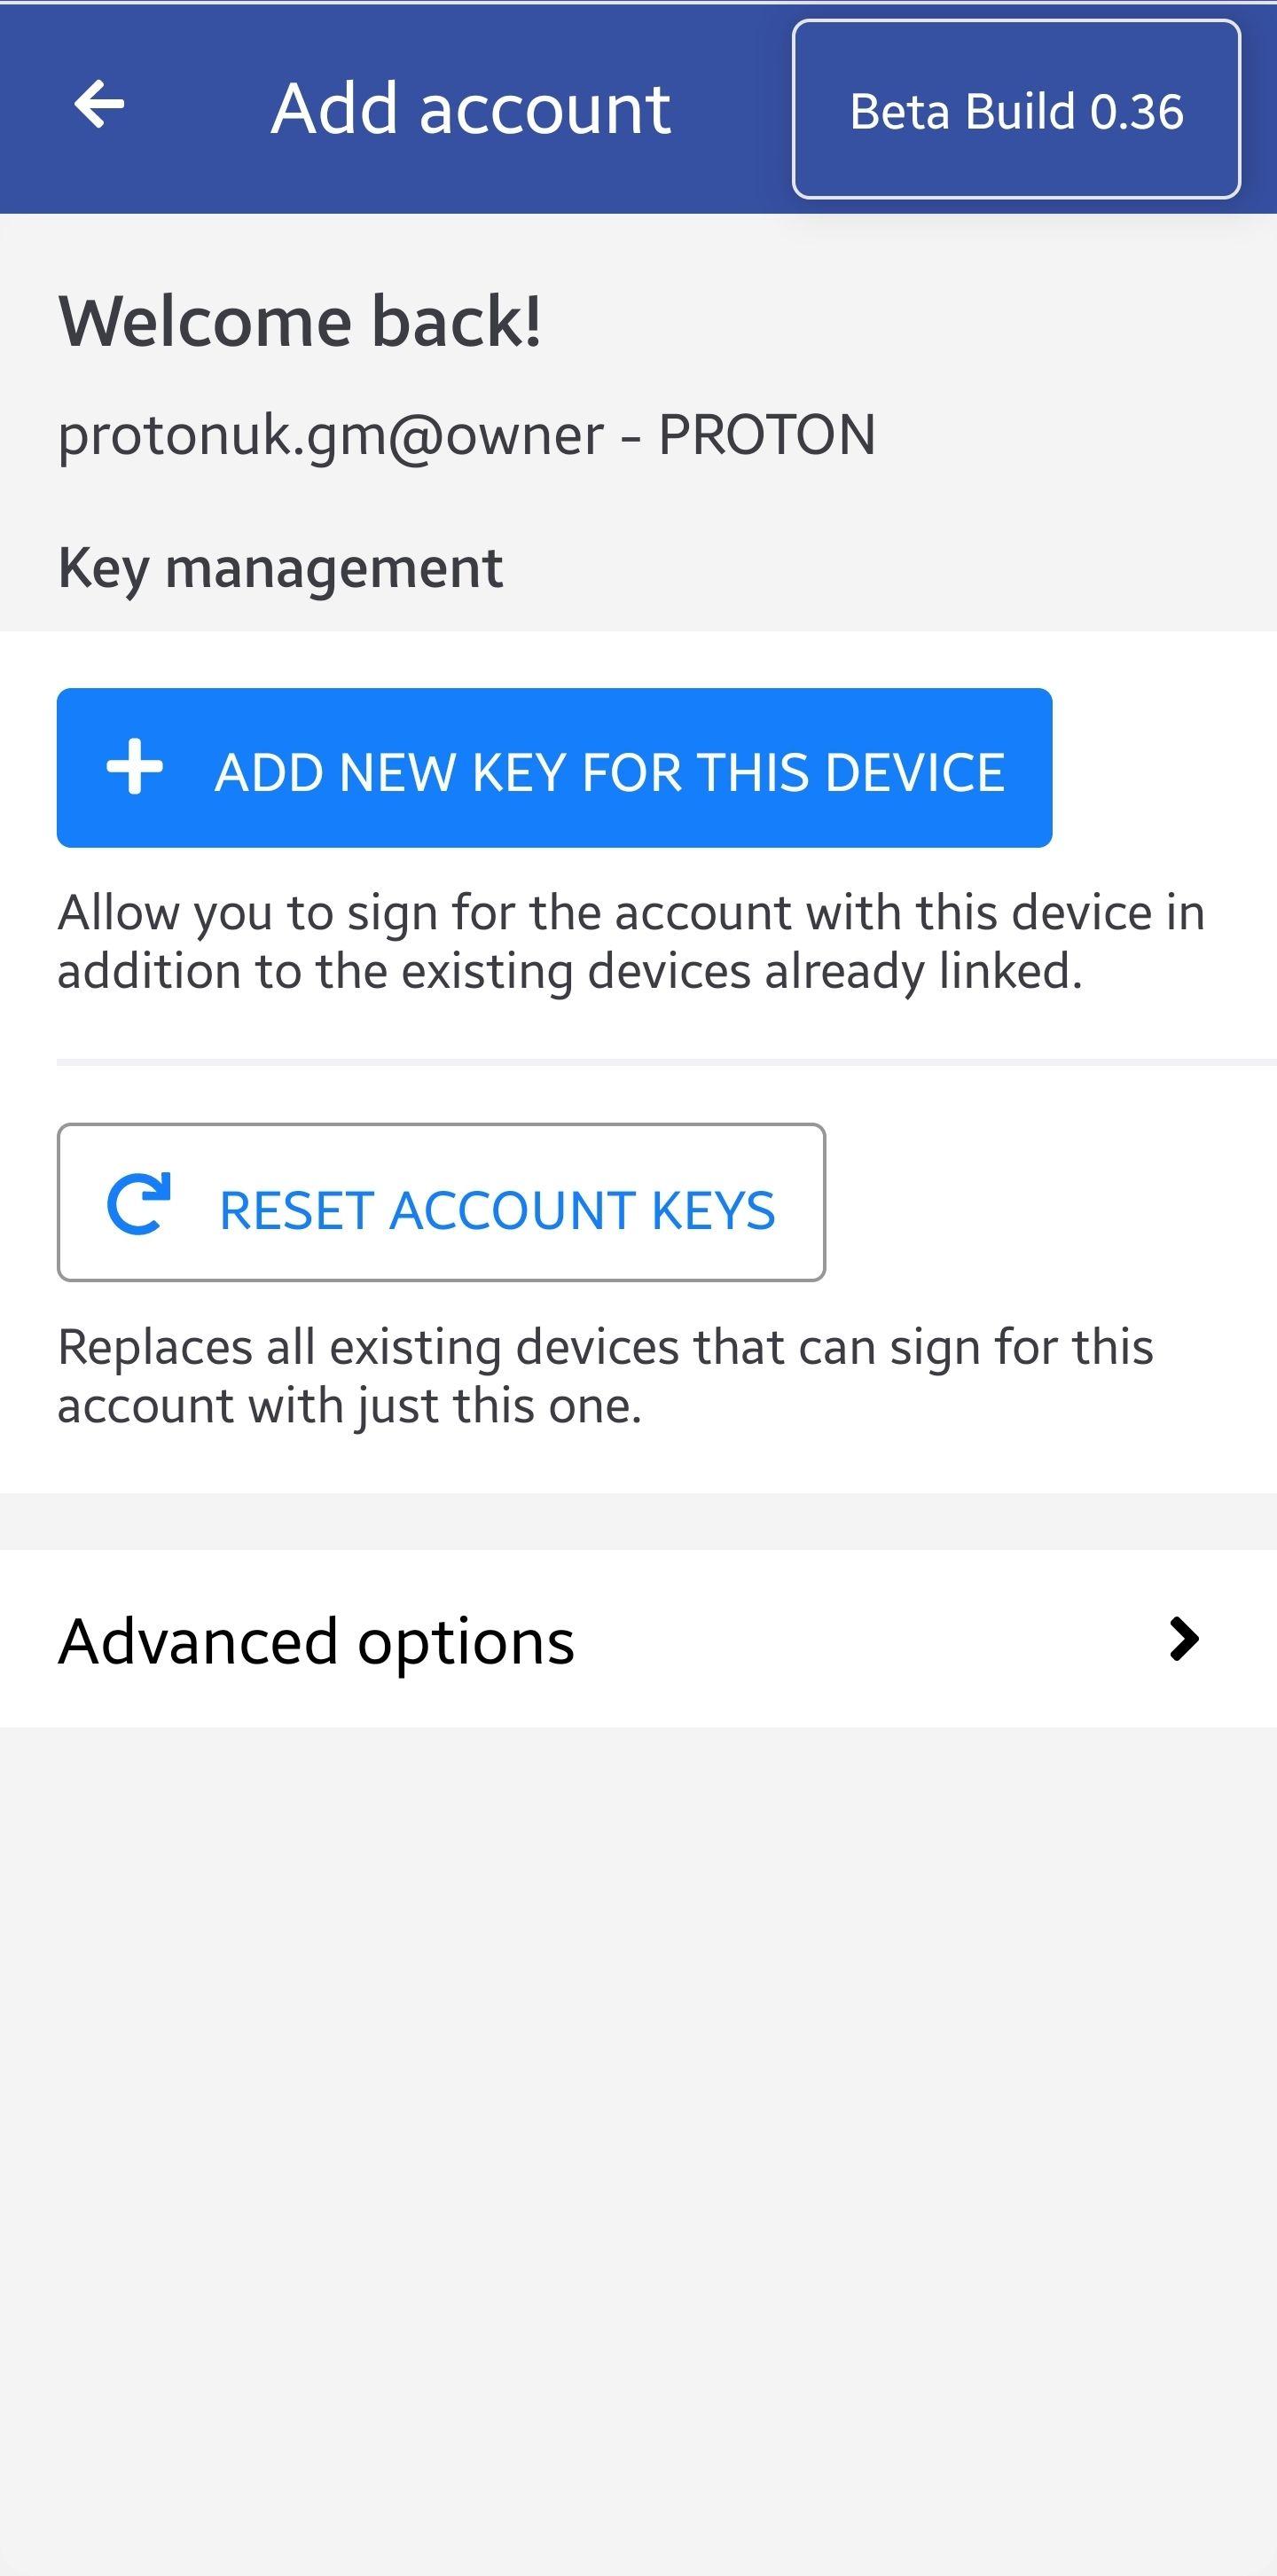
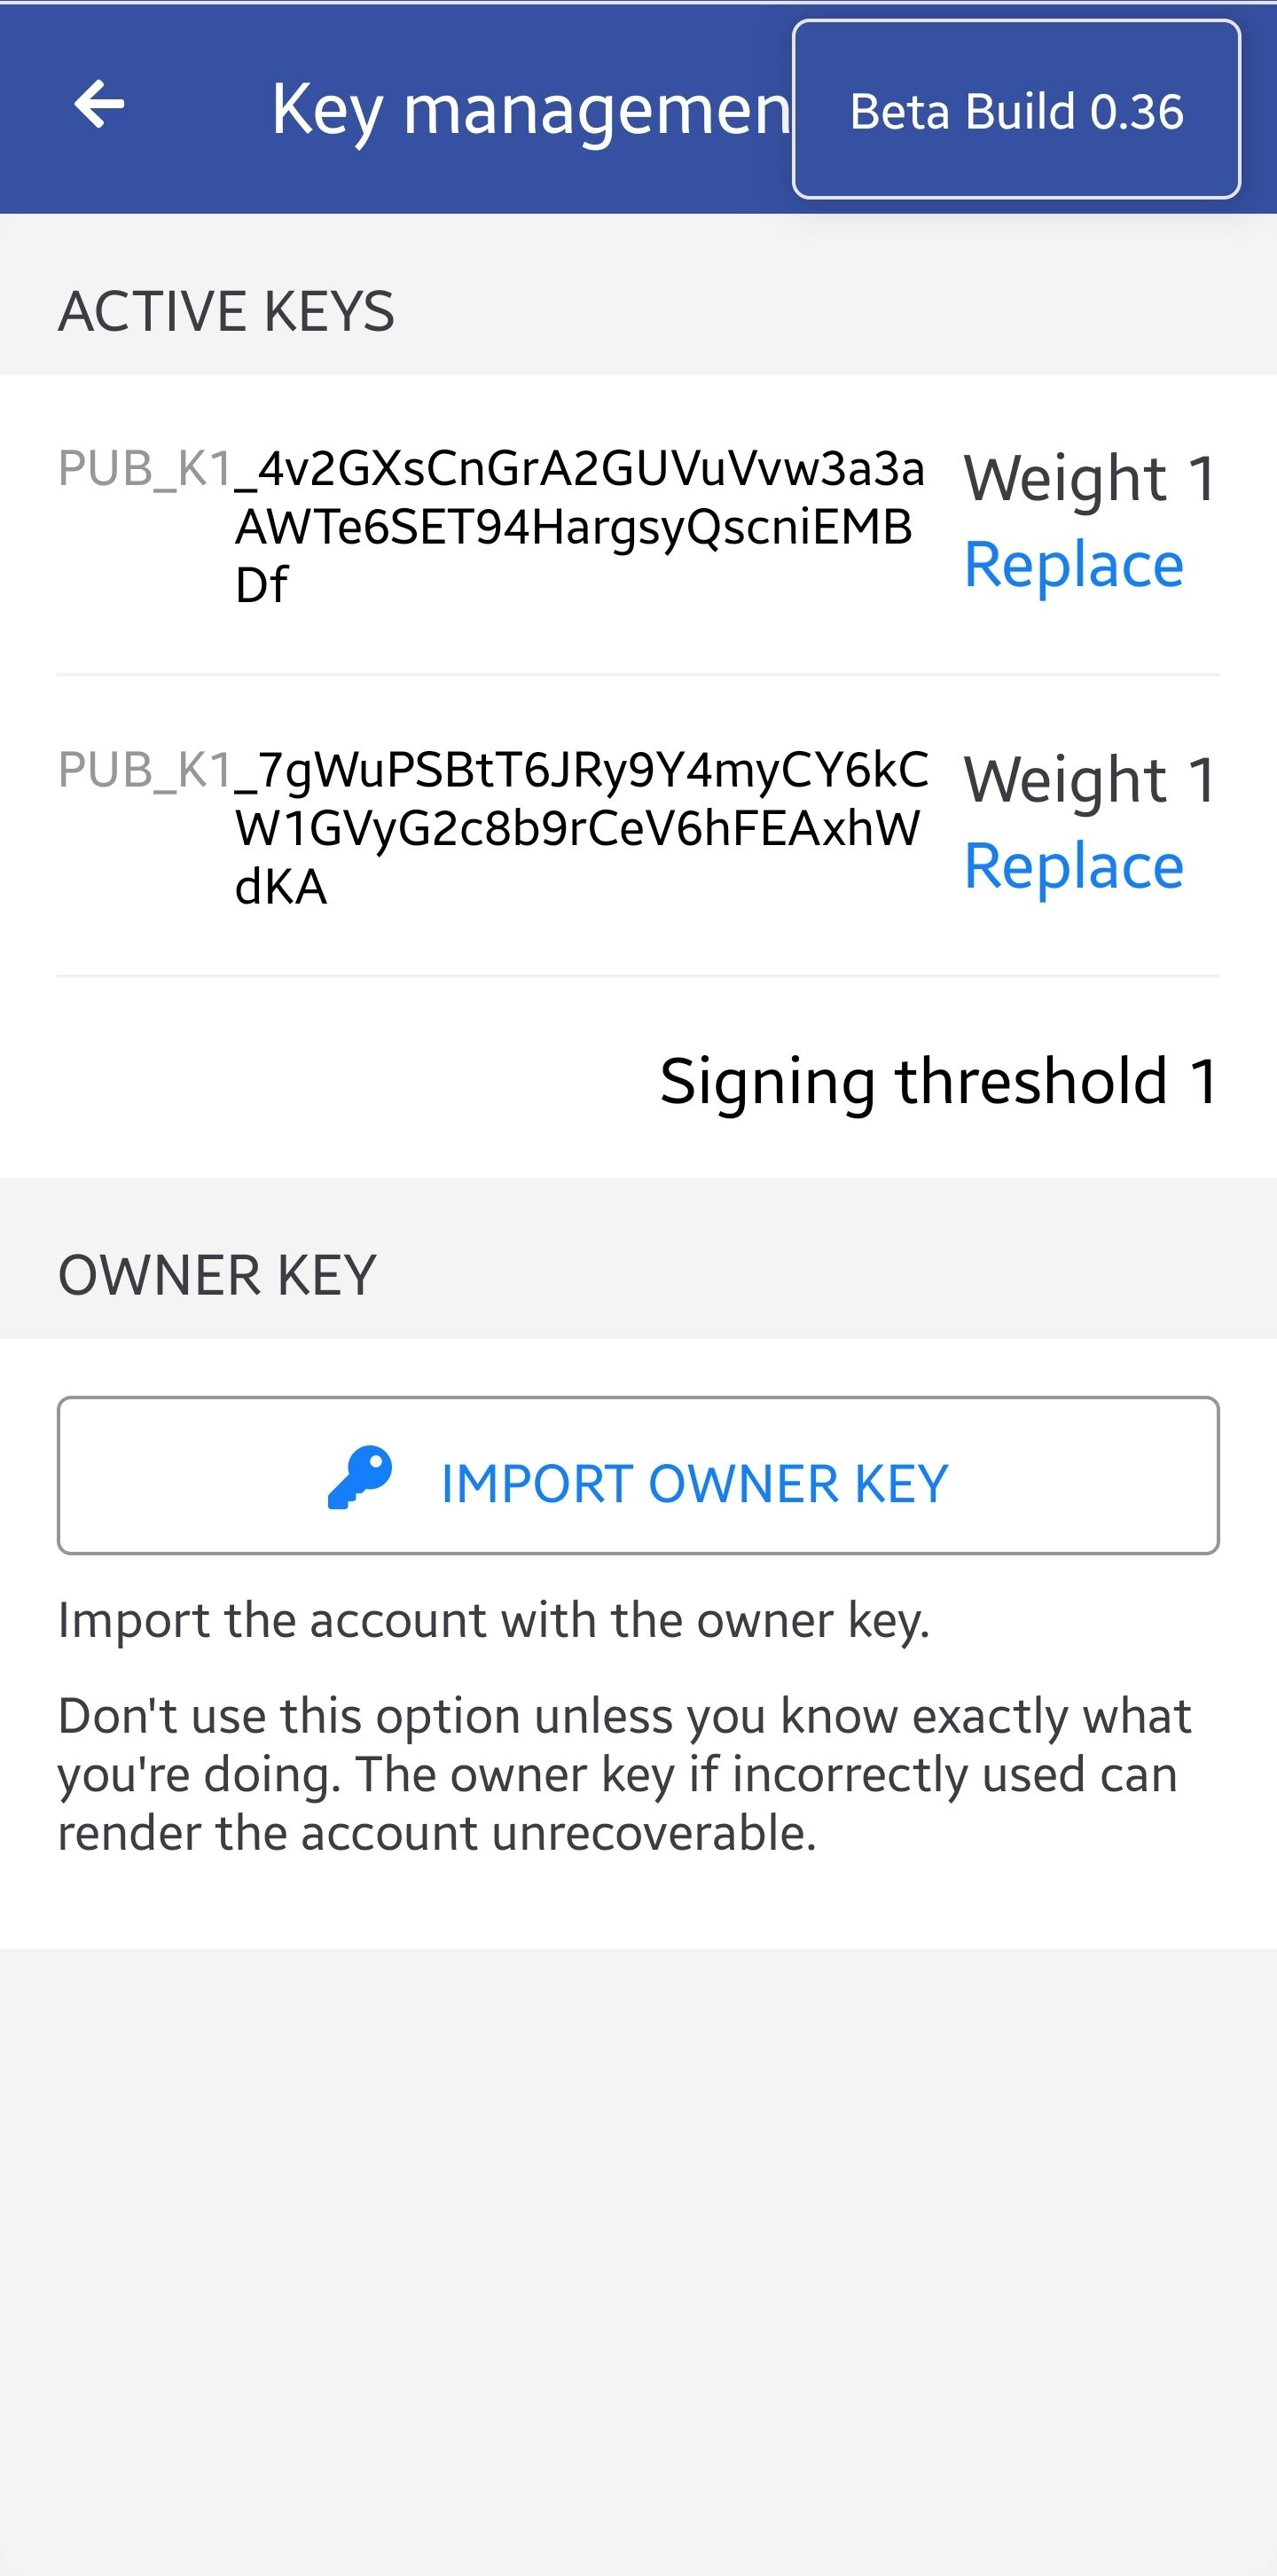
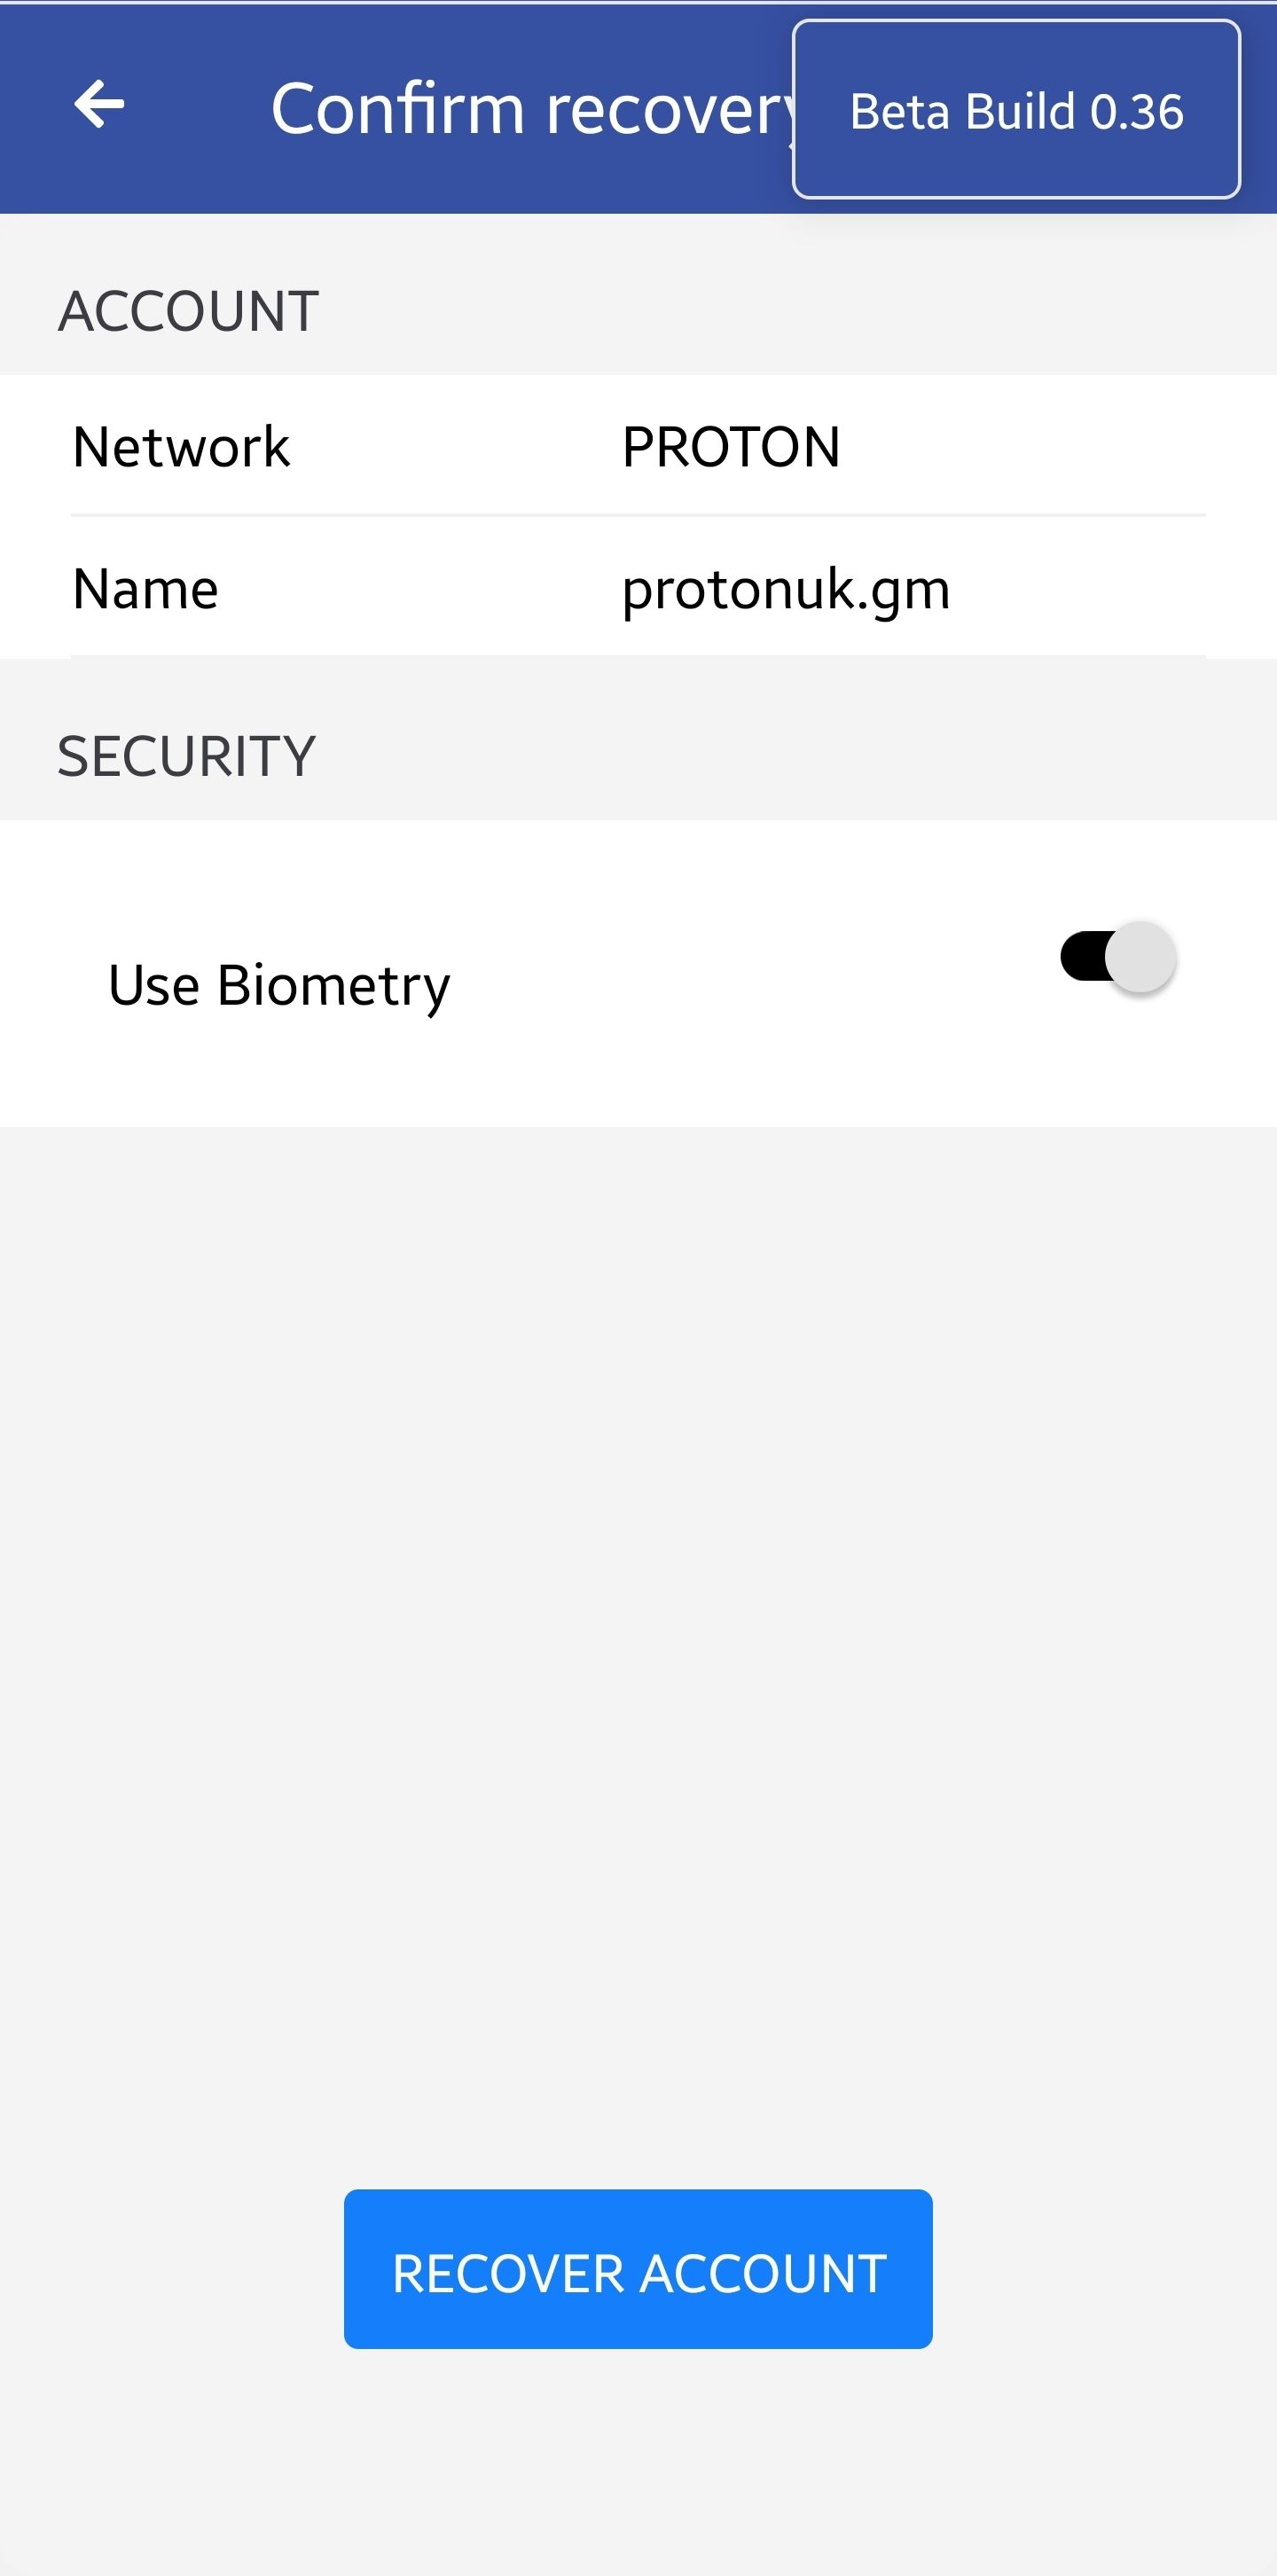
To import an account, start Anchor Wallet on your mobile device, click ADD ACCOUNT, then RECOVER ACCOUNT, scan the QR code on your key certificate and enter all 6 encryption words. By default Anchor Wallet will add new active key to your account for this device but you also get the option to 1) recover all other keys so that you can only manage the account from this one device OR 2) import the owner certificate. The process is captured below:
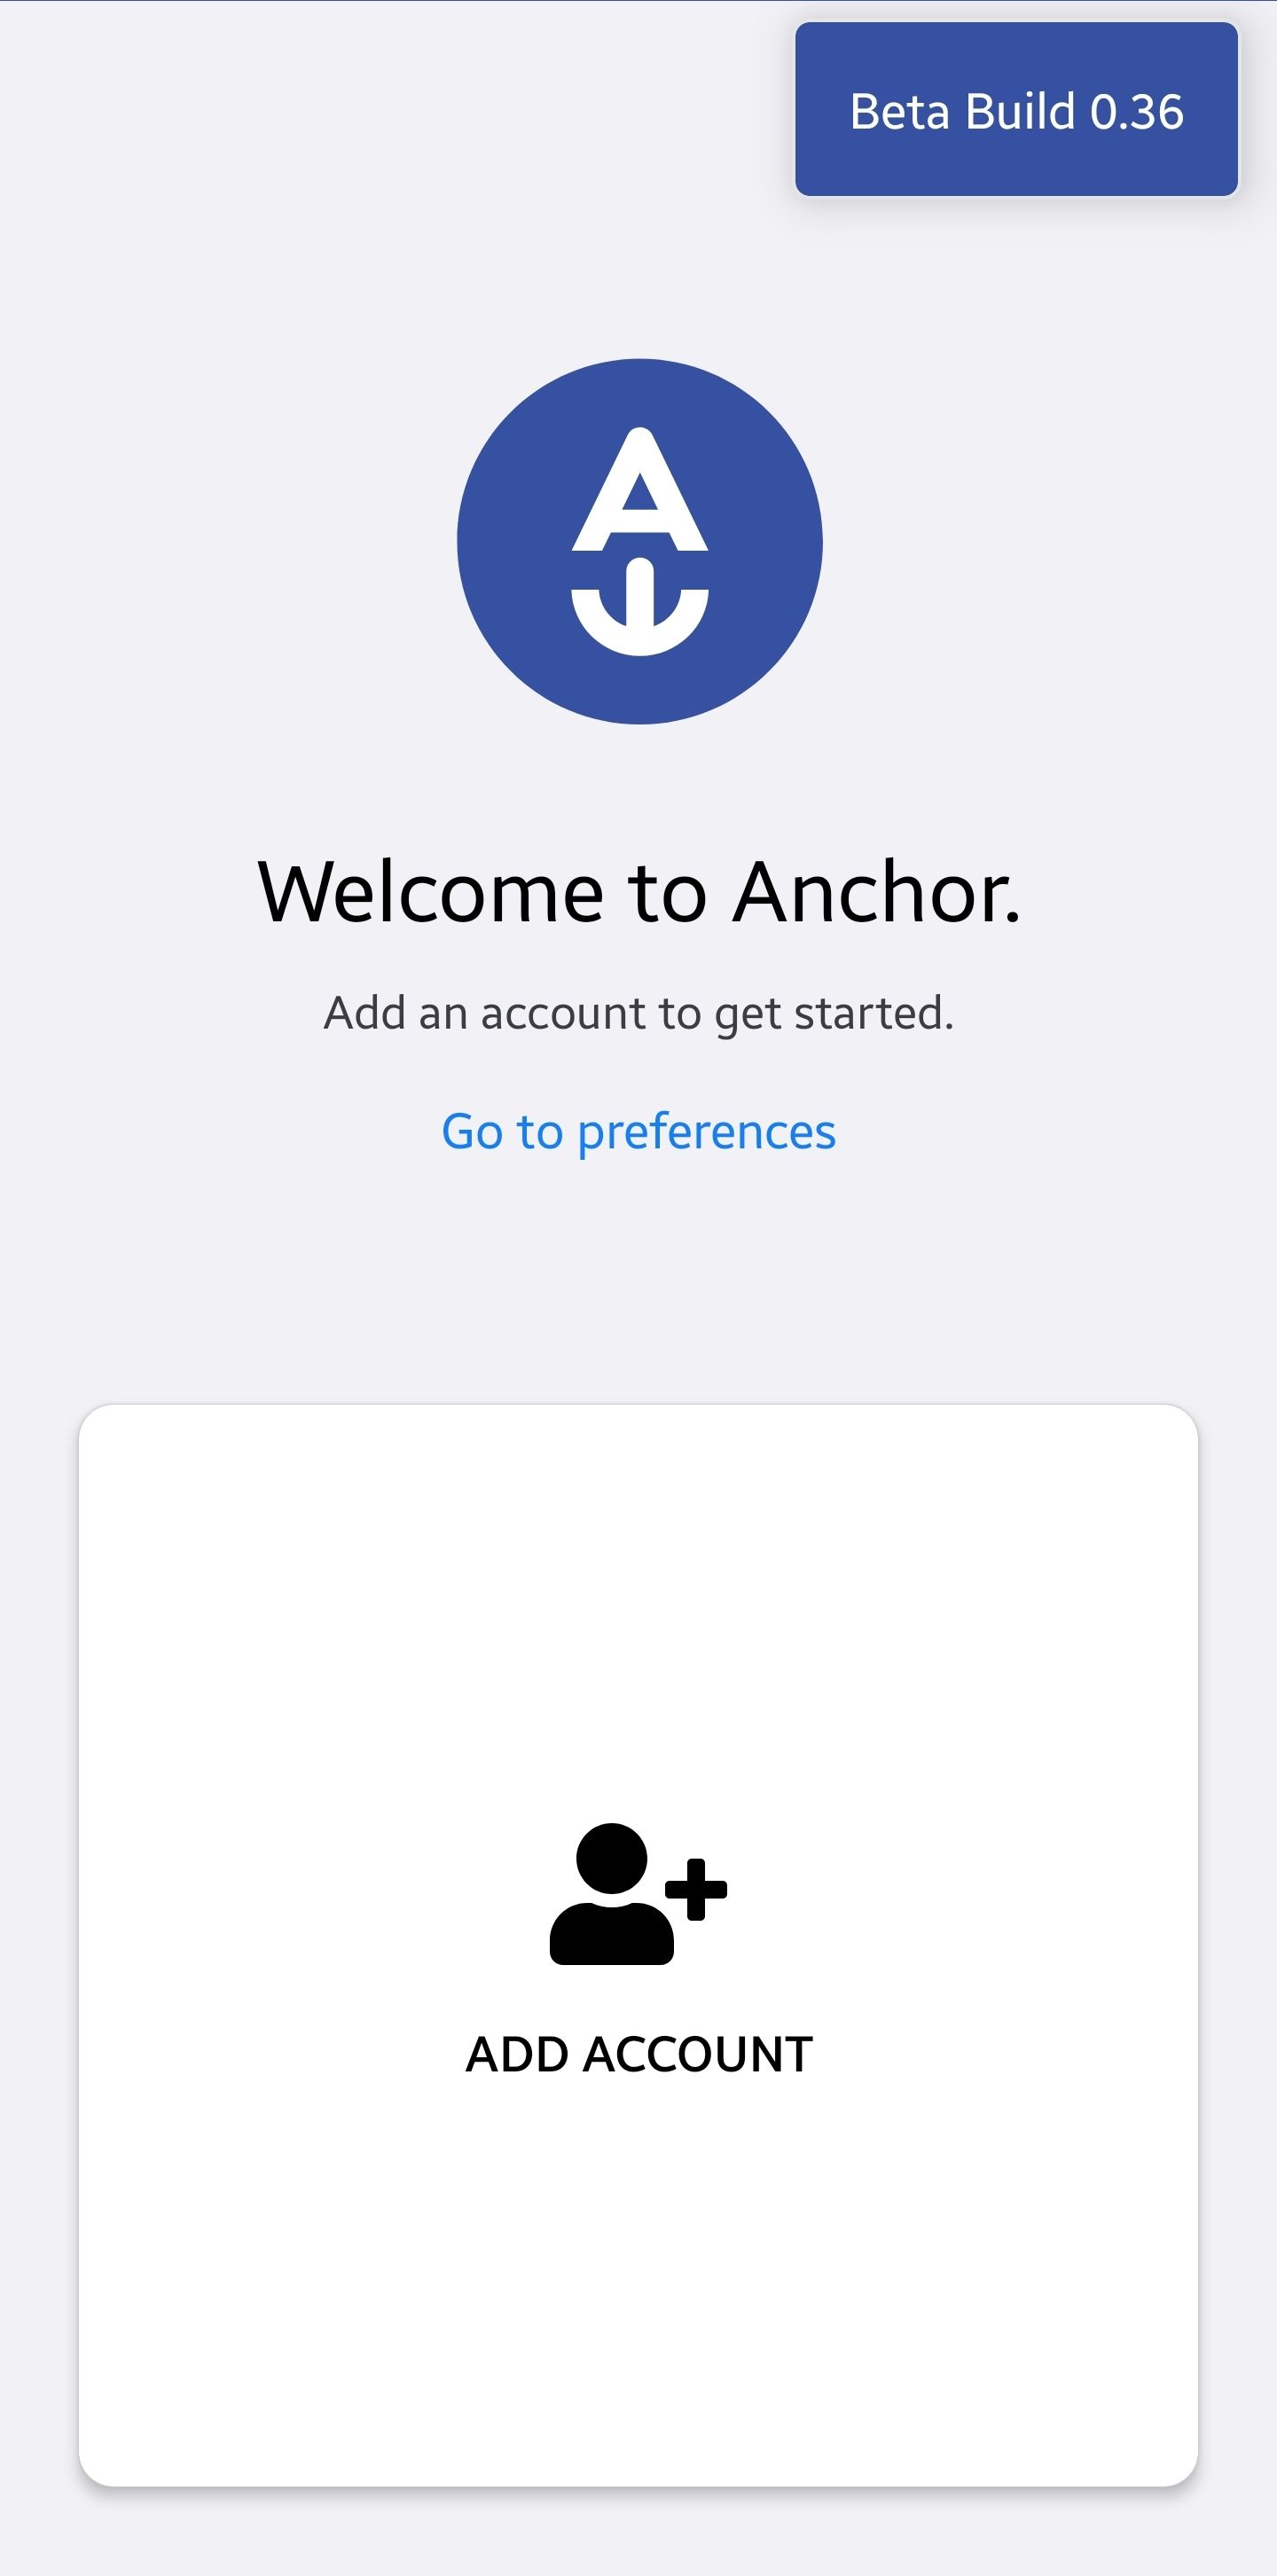
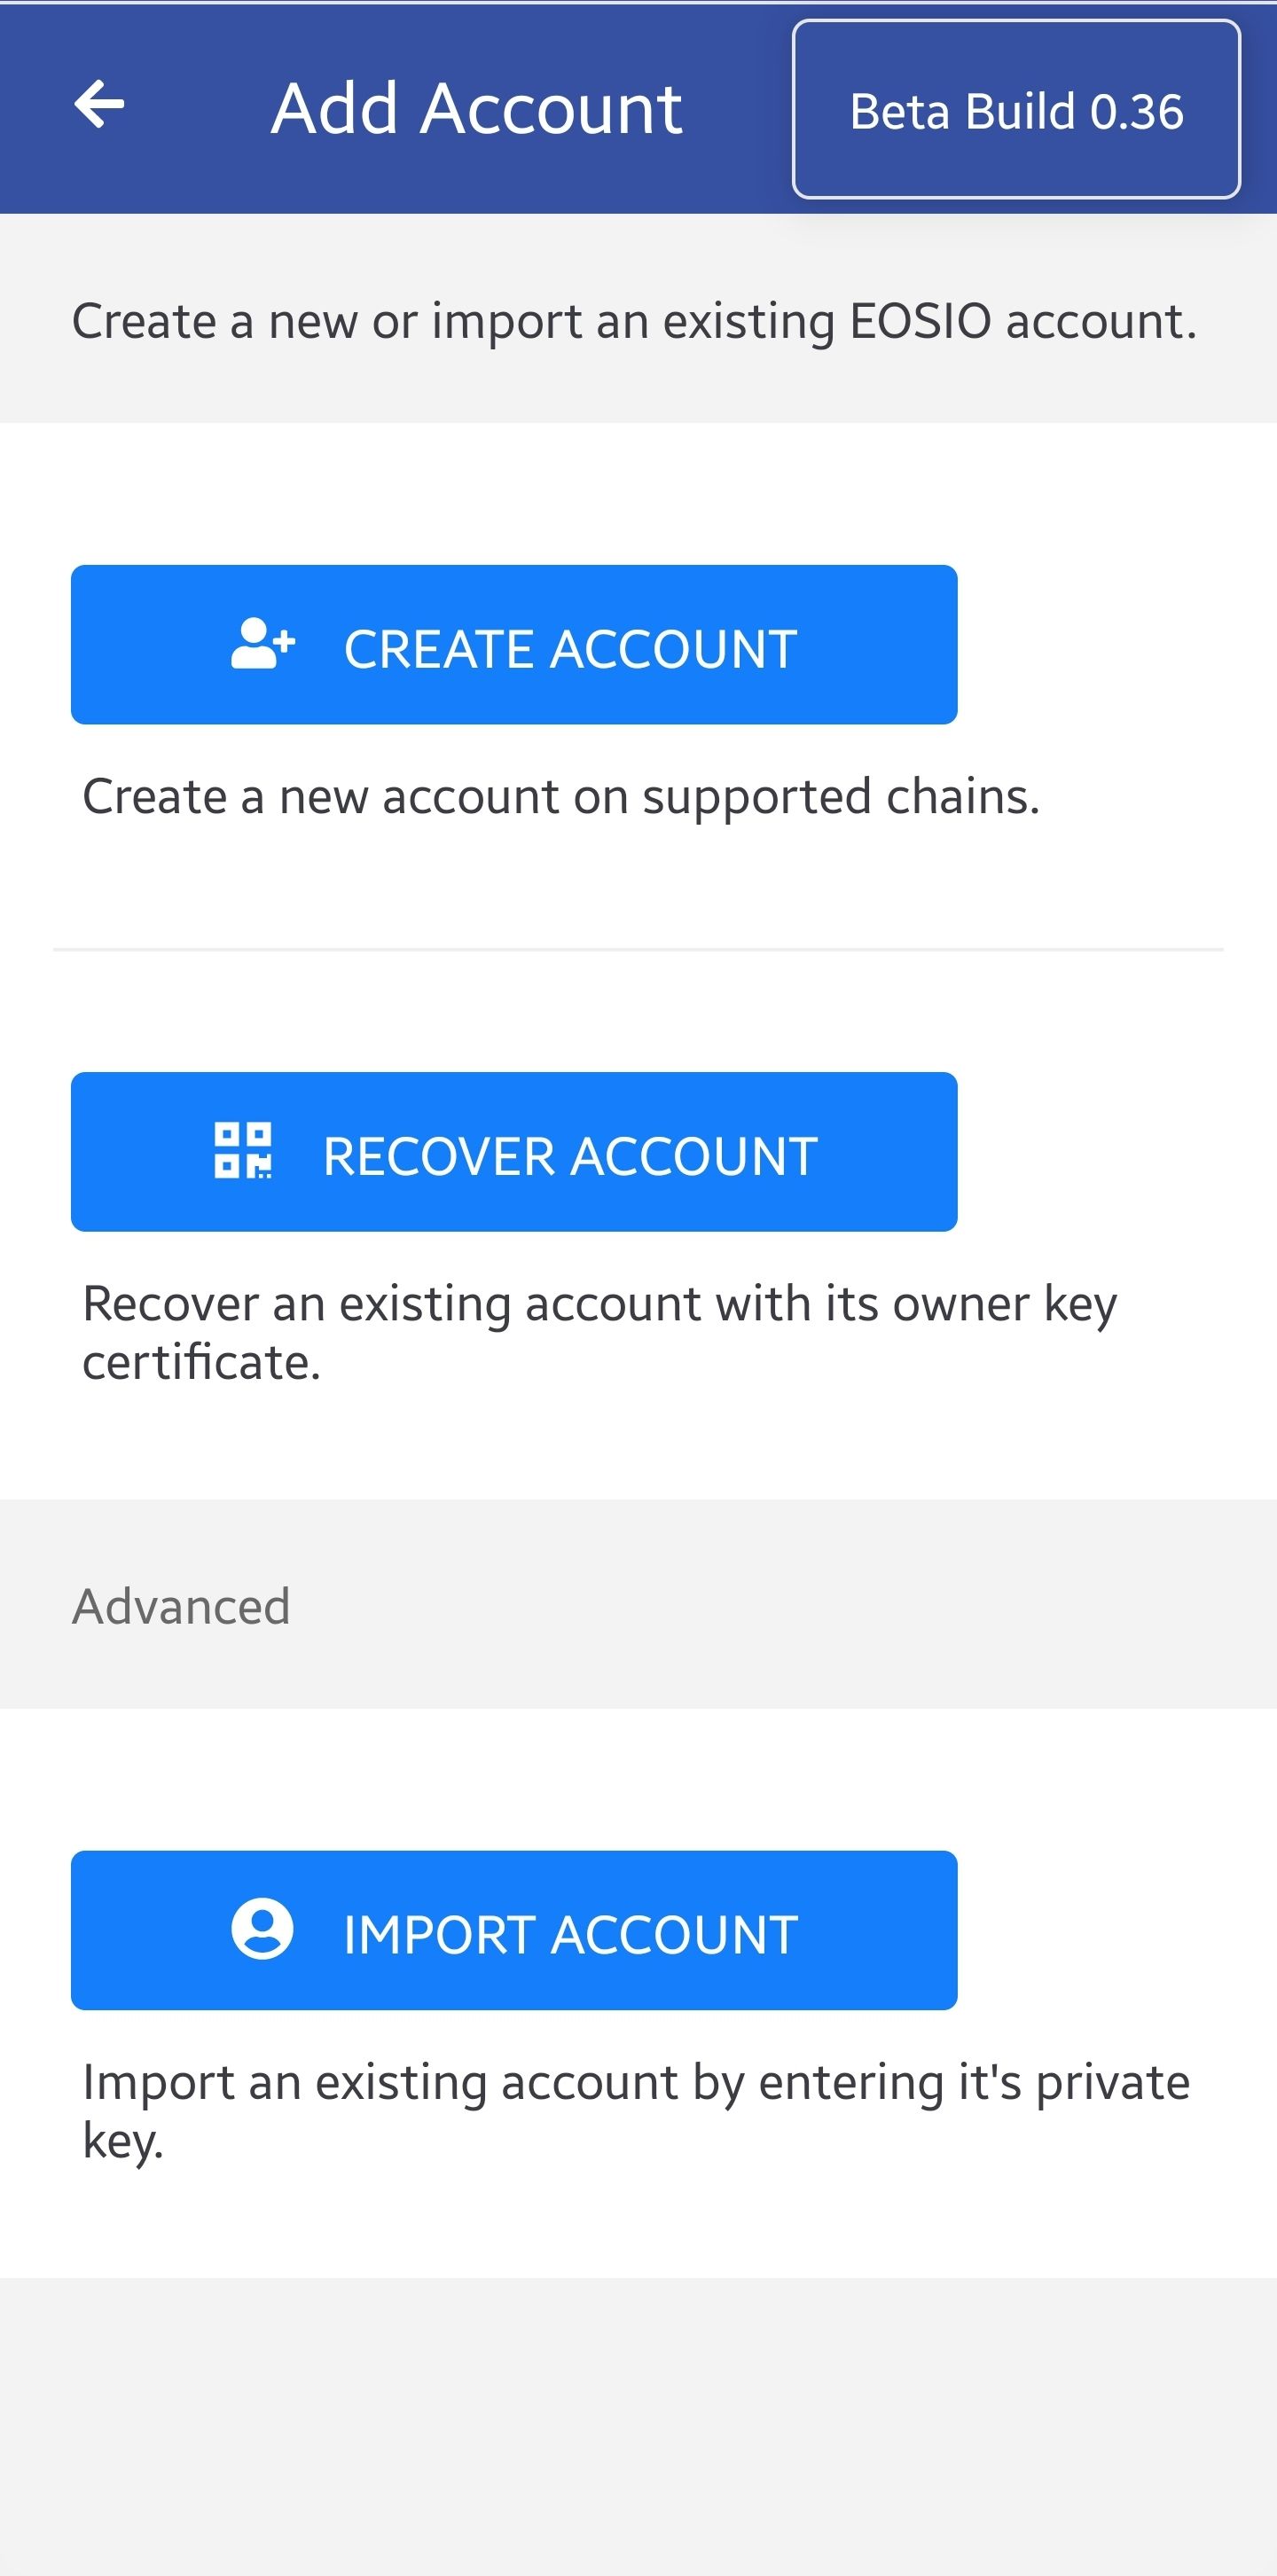
Now that you have imported the account into Anchor Wallet, jump over to Using Anchor Wallet to see how to interact with XPR Network.
Using Anchor Wallet
Regardless whether you are on a desktop or mobile device you manage your accounts through XPR Explorer.
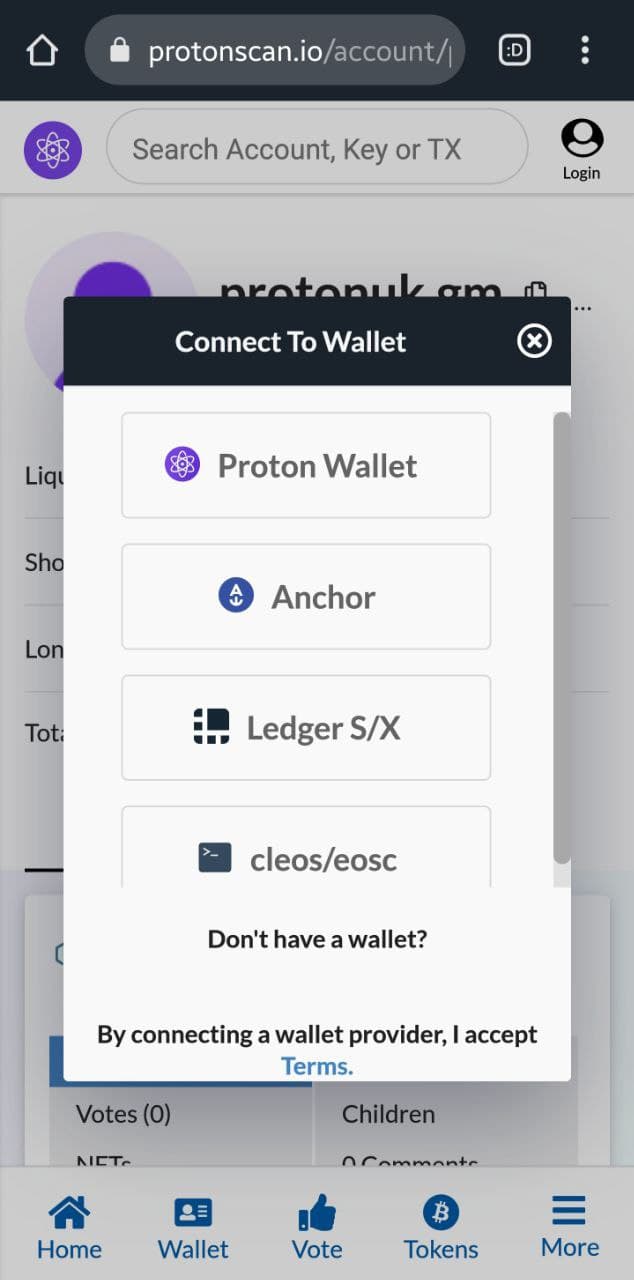
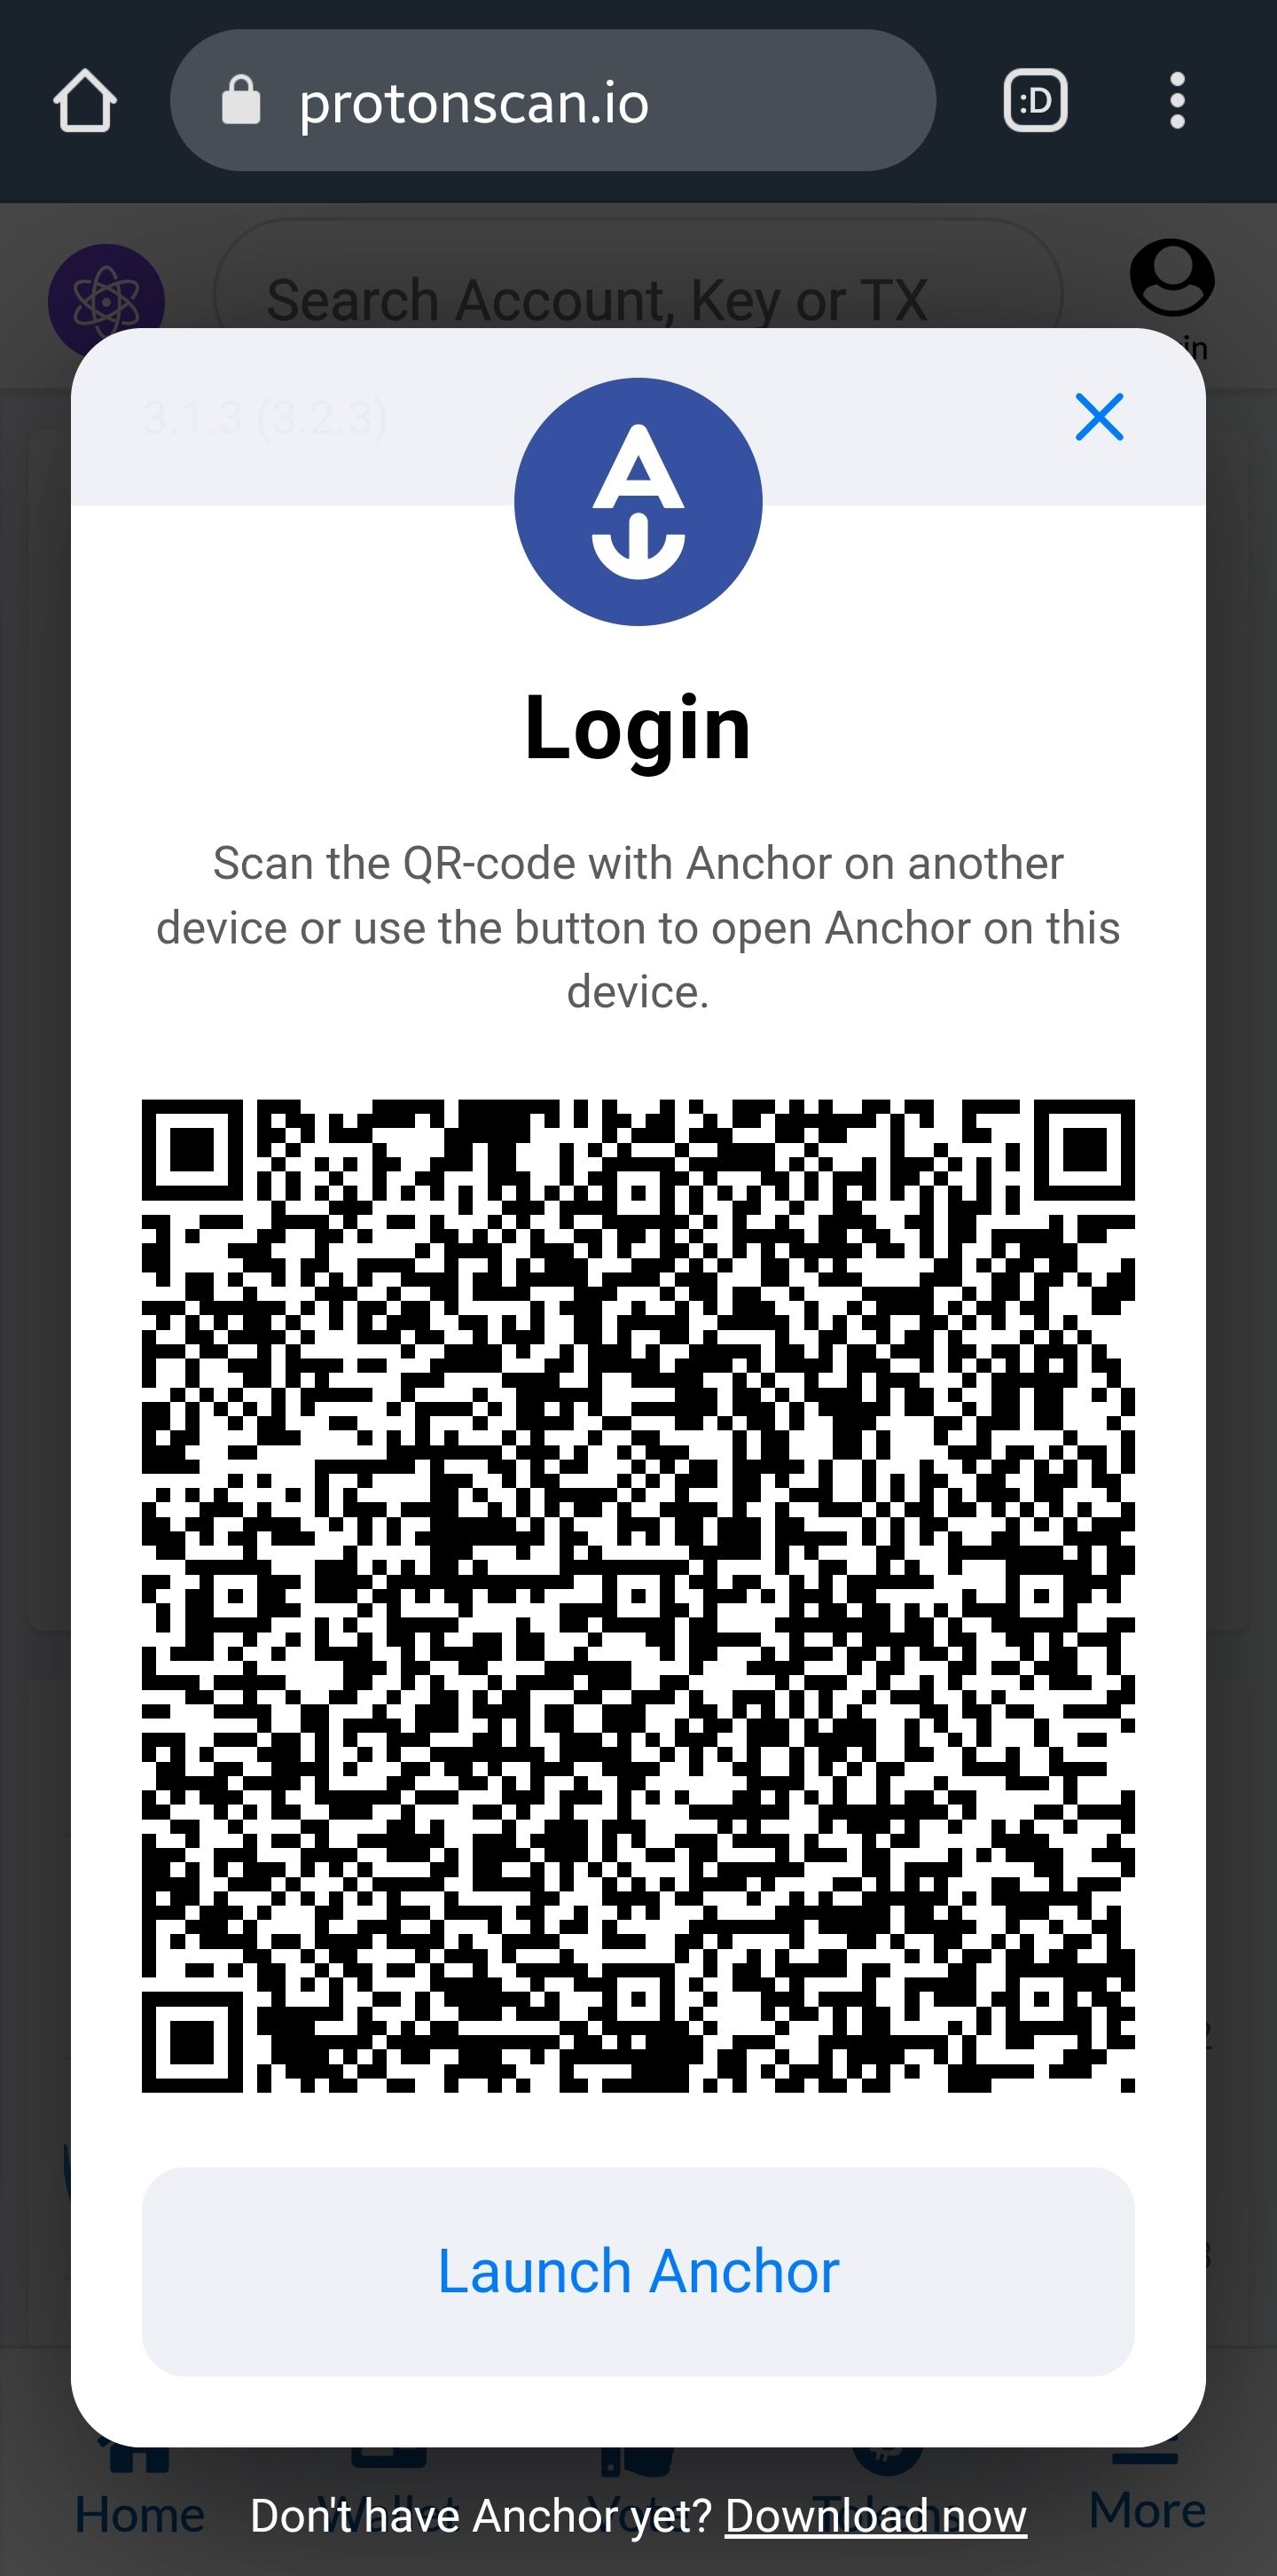
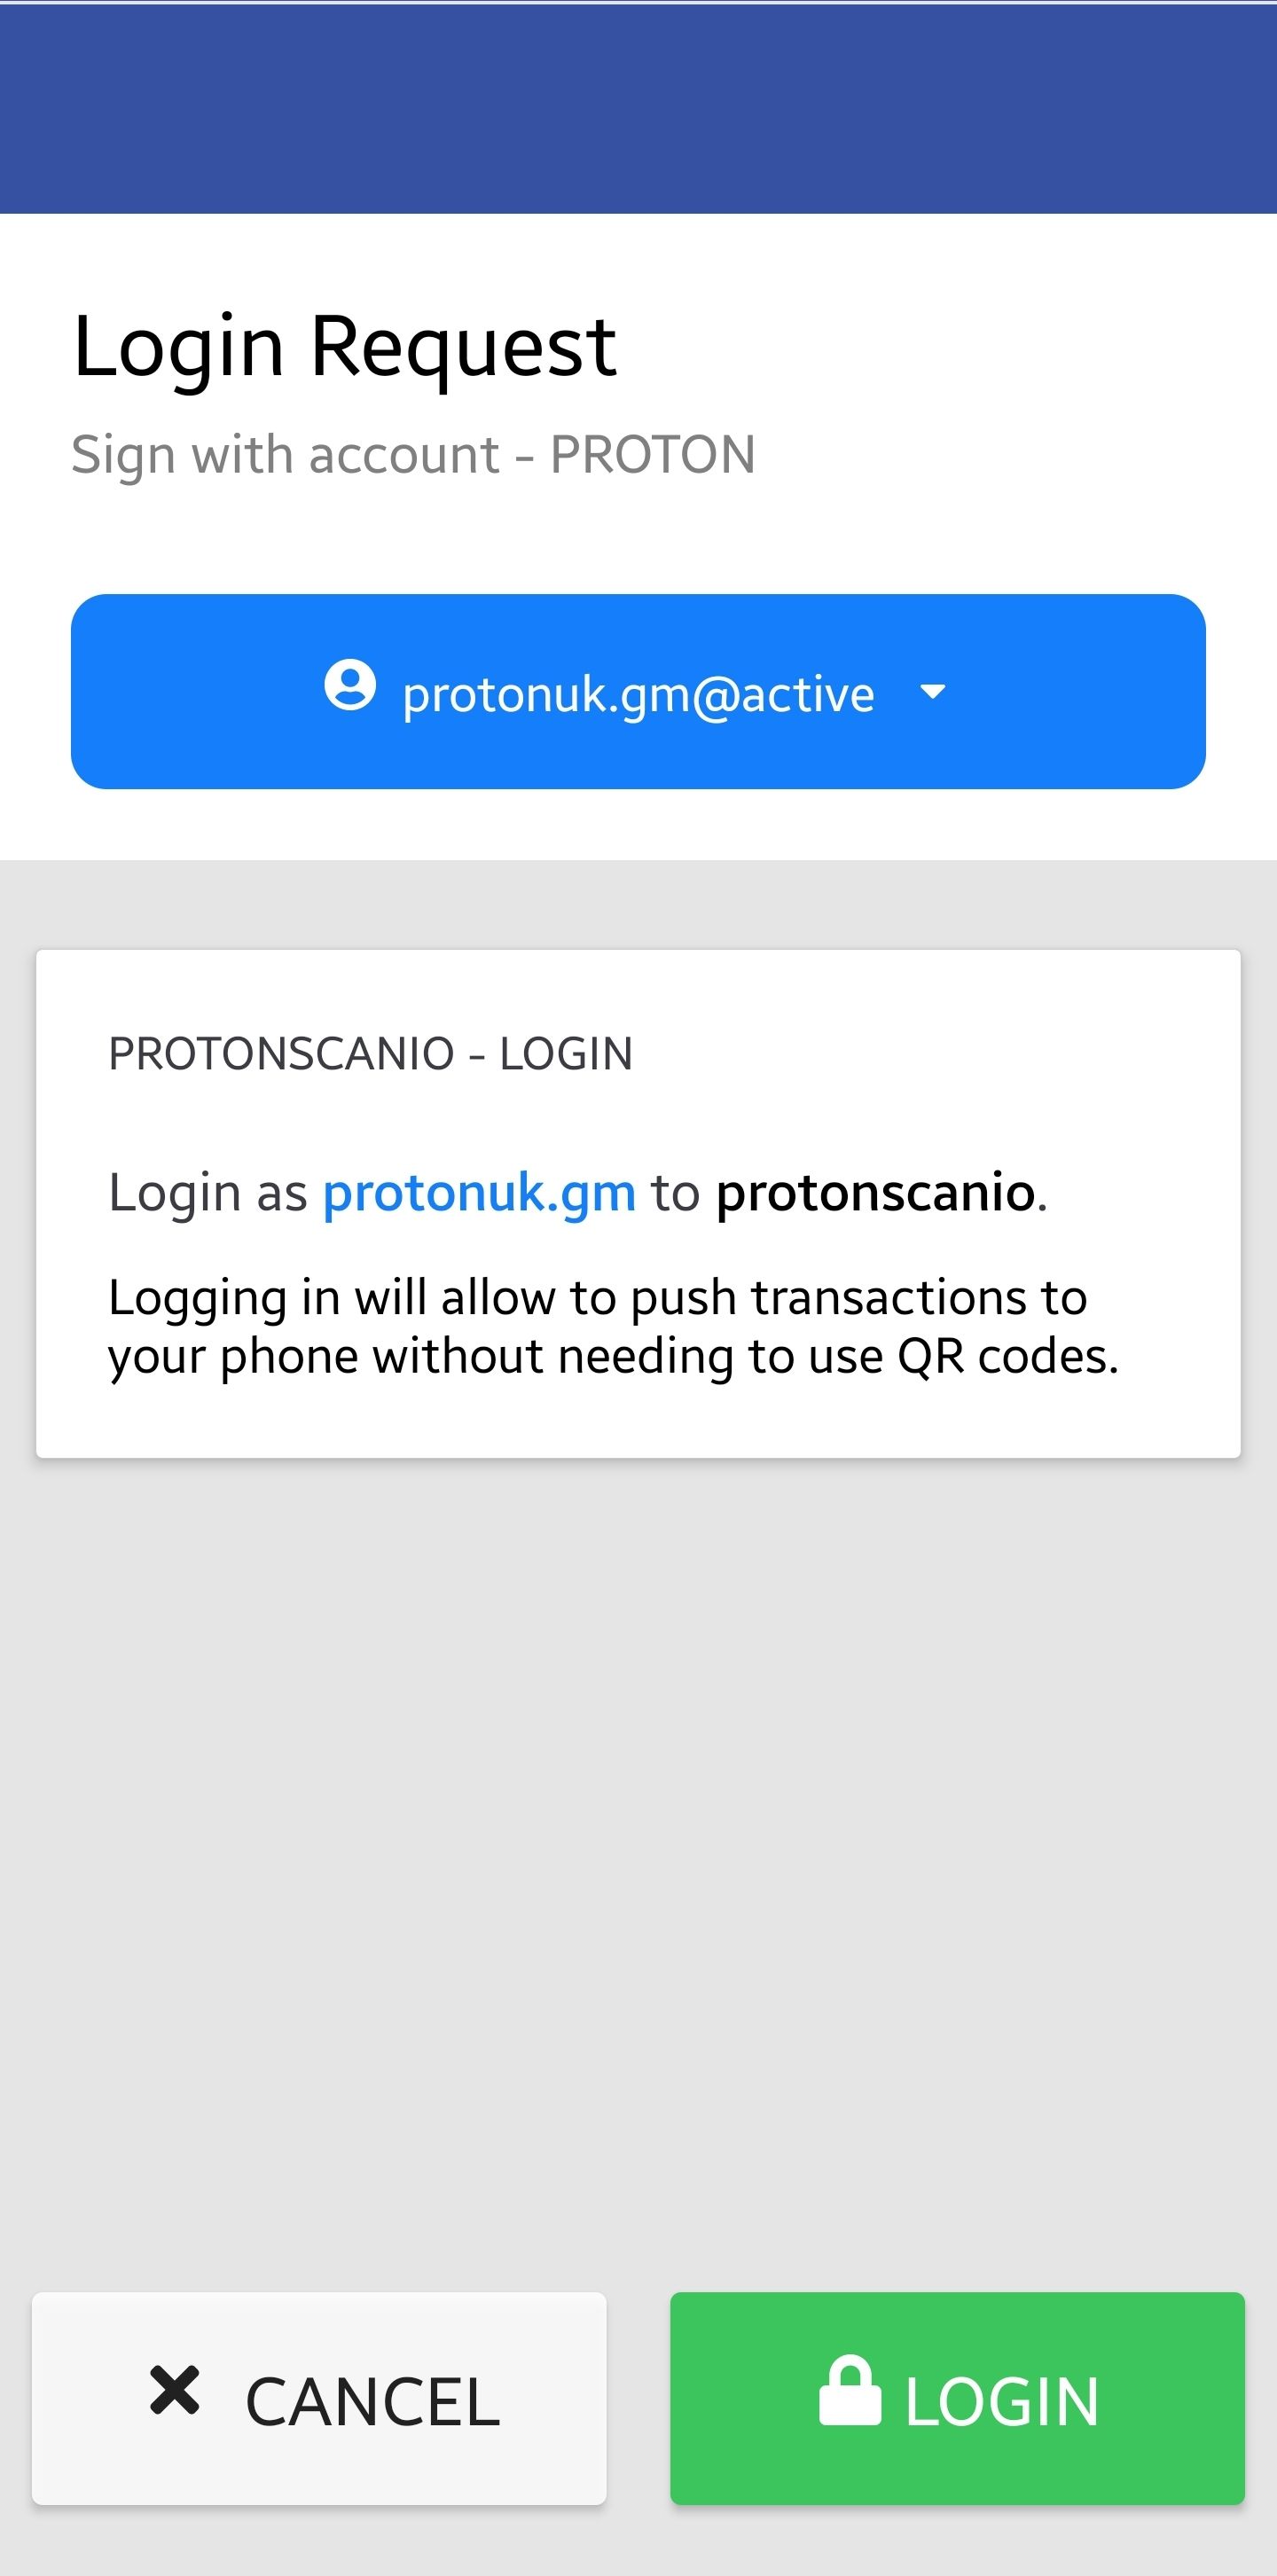
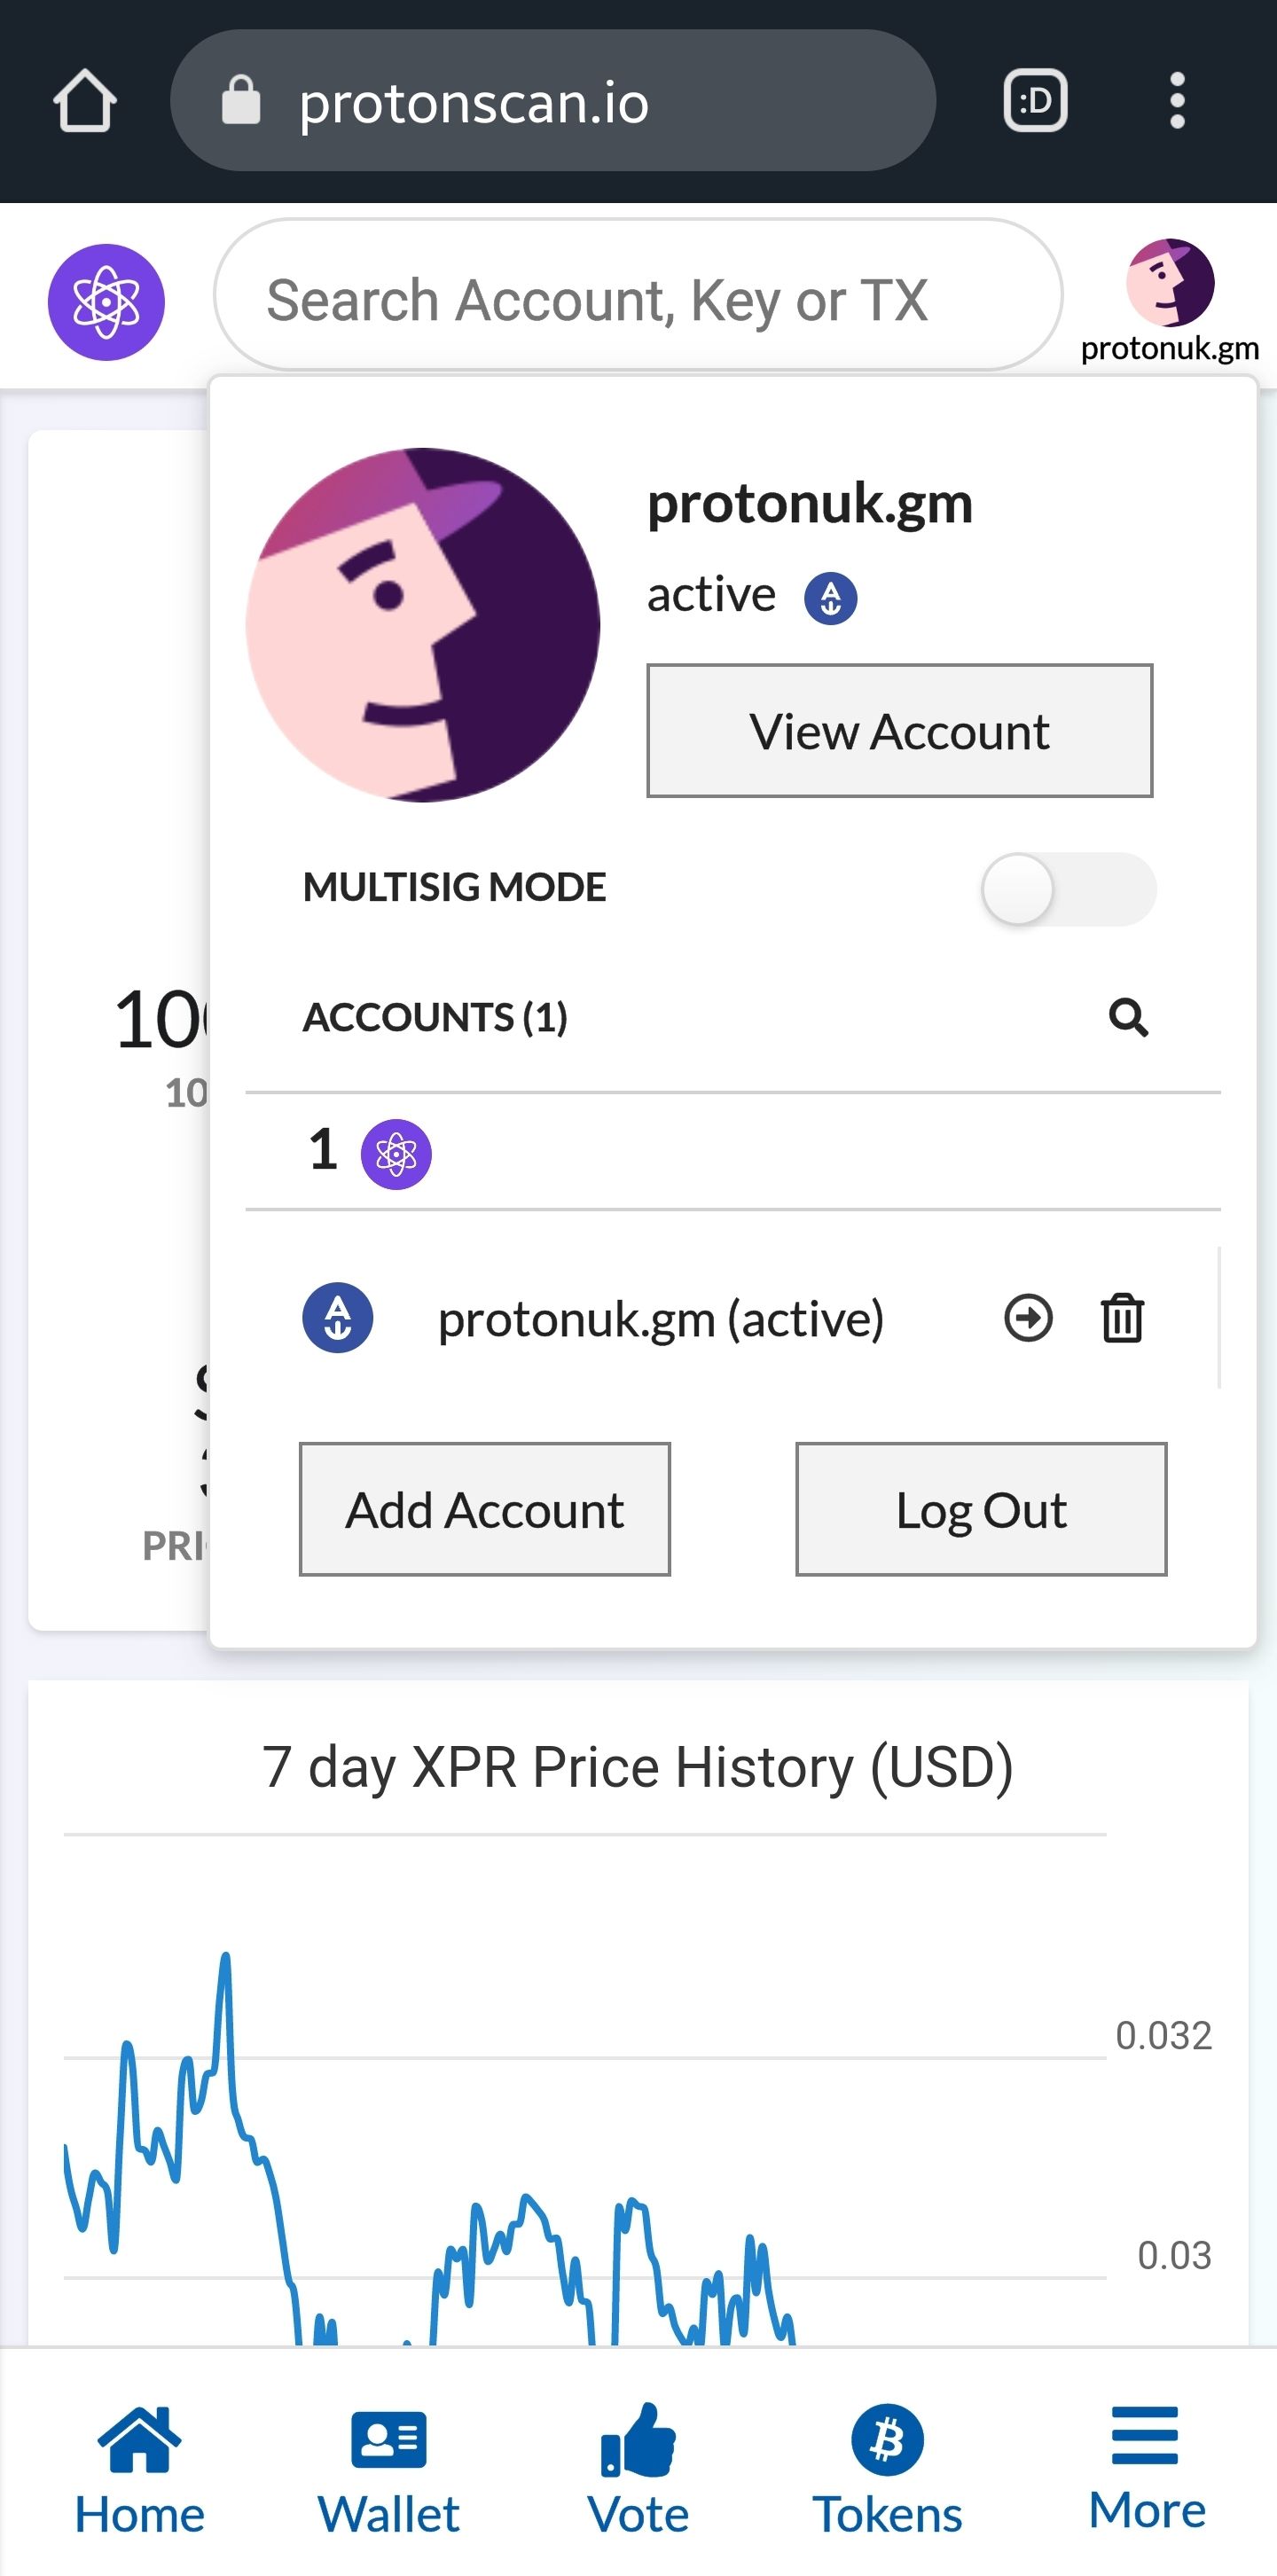
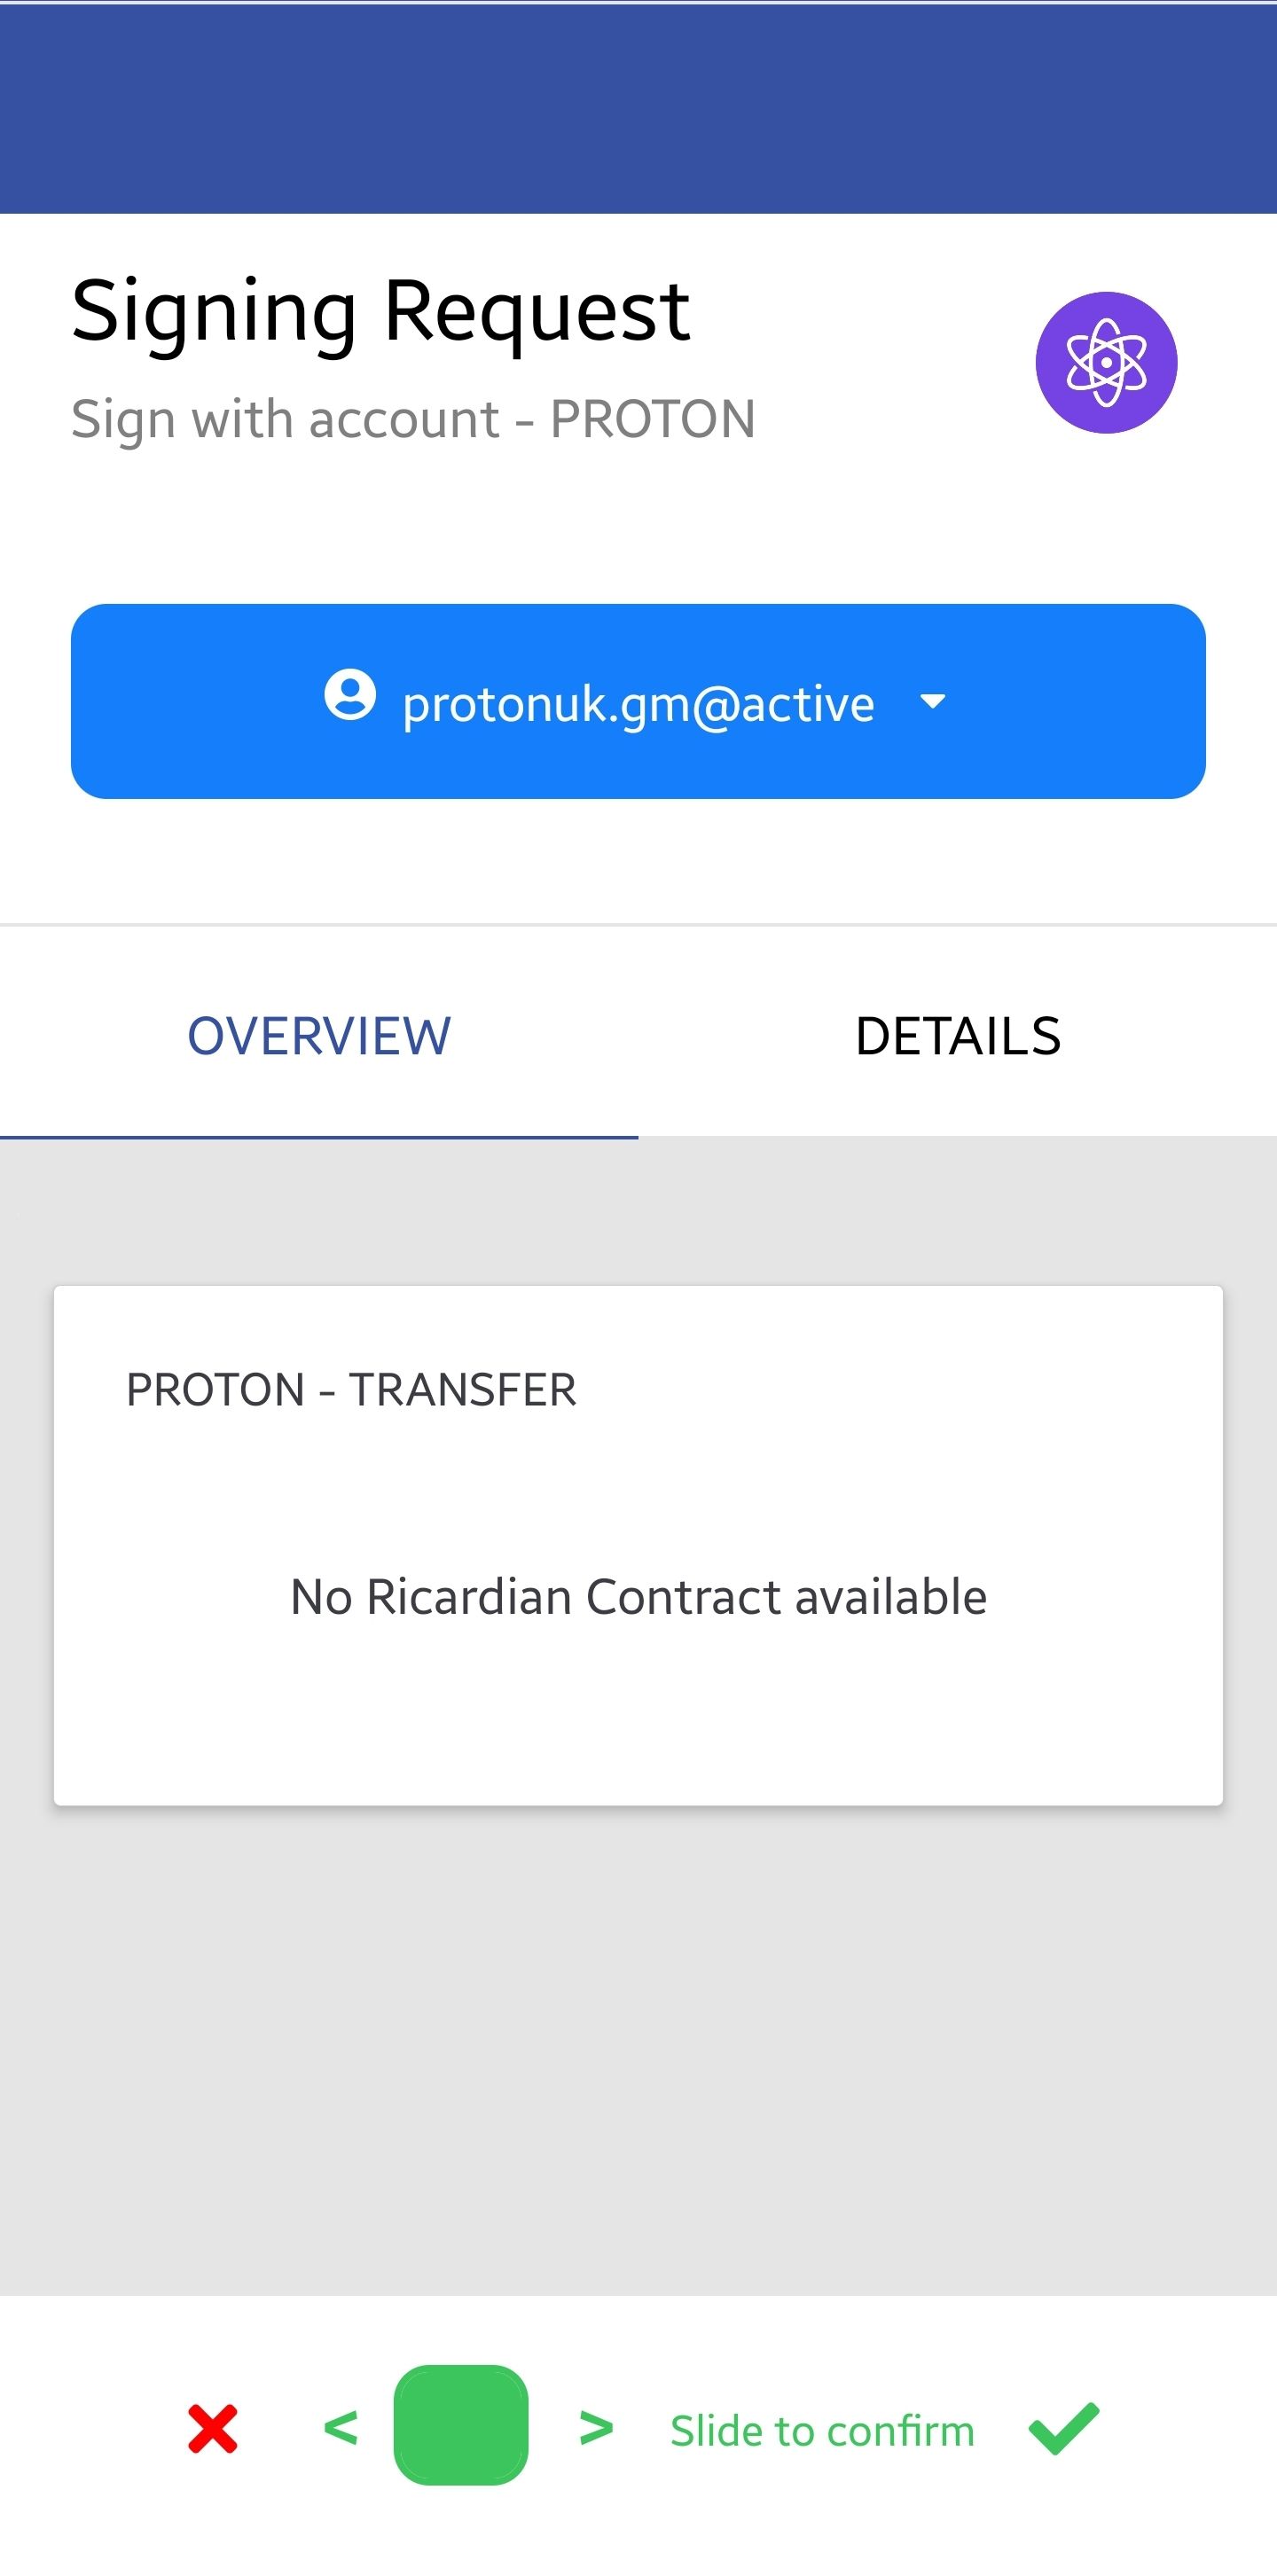
Go to XPR Explorer, click Login in the top right corner, then select Anchor wallet, then Launch Anchor and you will get a push notification to your Anchor that you need to approve. Once you sign the transaction you will successfully login to XPR Explorer and manage your account.
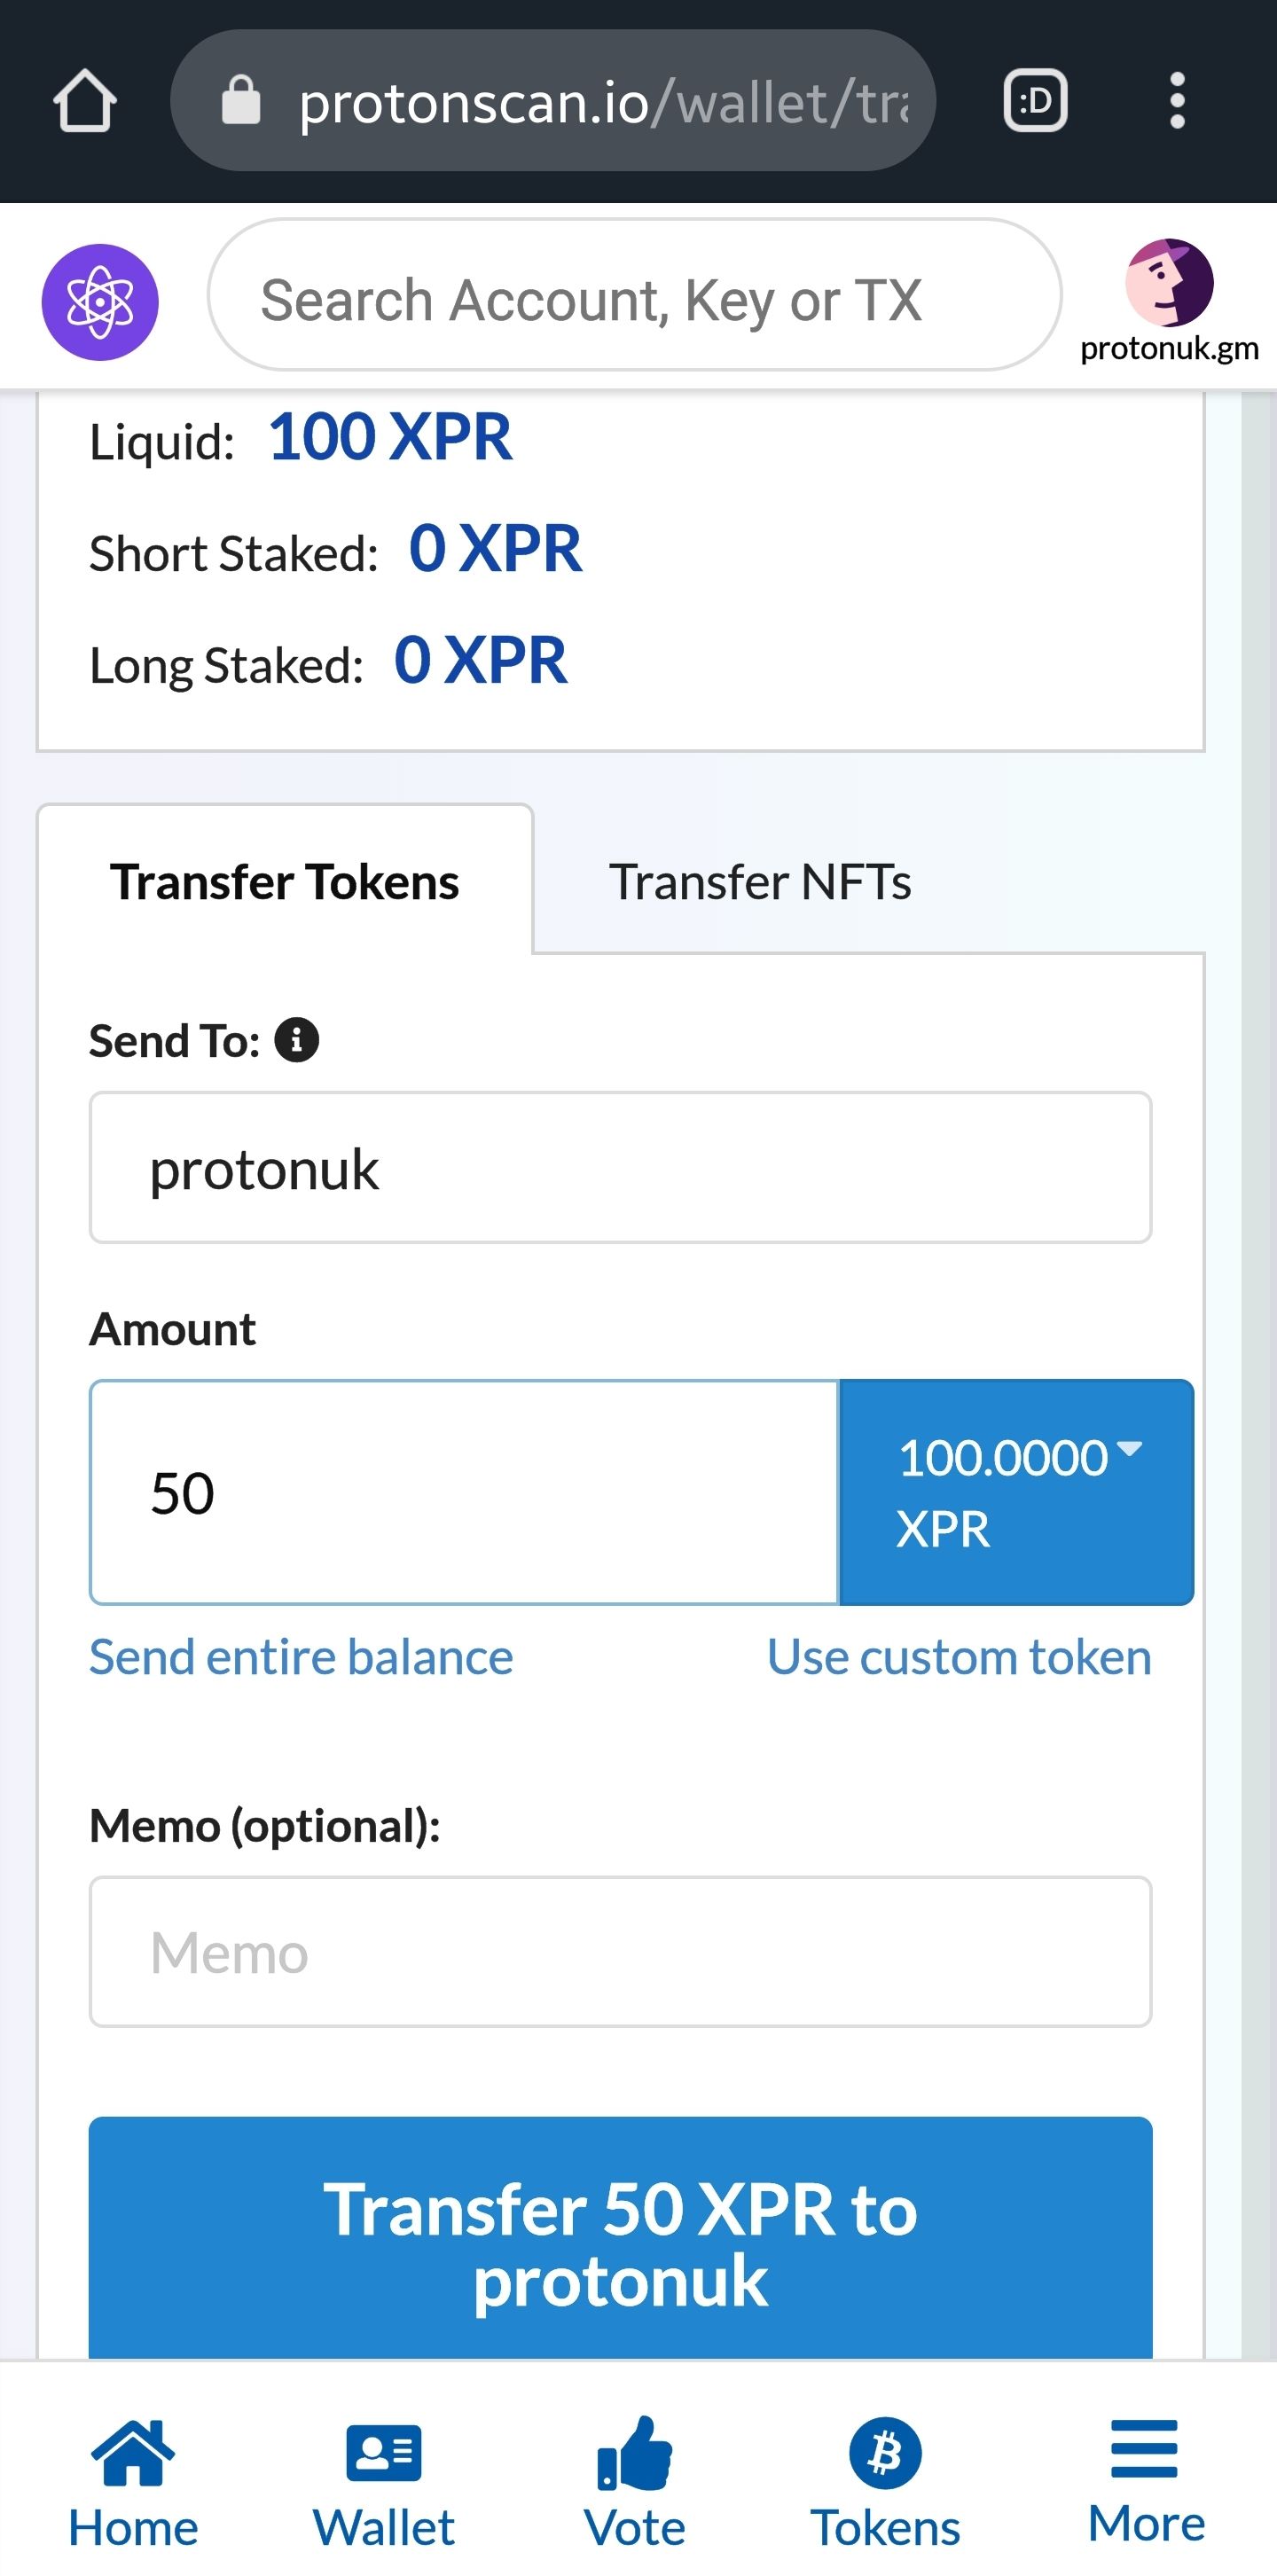
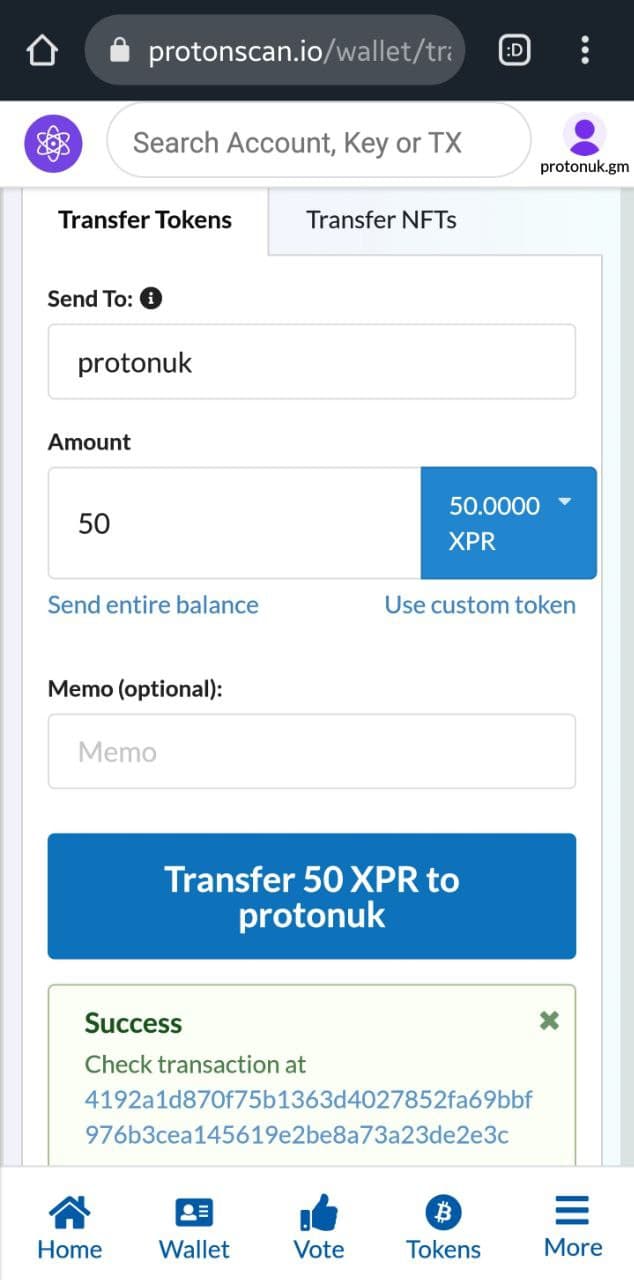
To send XPR to someone else or stake you go to Wallet and to vote for block producers you go to Vote.
Here is what it looks like on a desktop:


And here is what it looks like on a mobile device:
Staking with Anchor Wallet
As mentioned earlier, you can stake your XPR using Anchor Wallet on XPR Explorer, here. However, when you create a new account using Anchor Wallet you will get the following error when you try to stake:
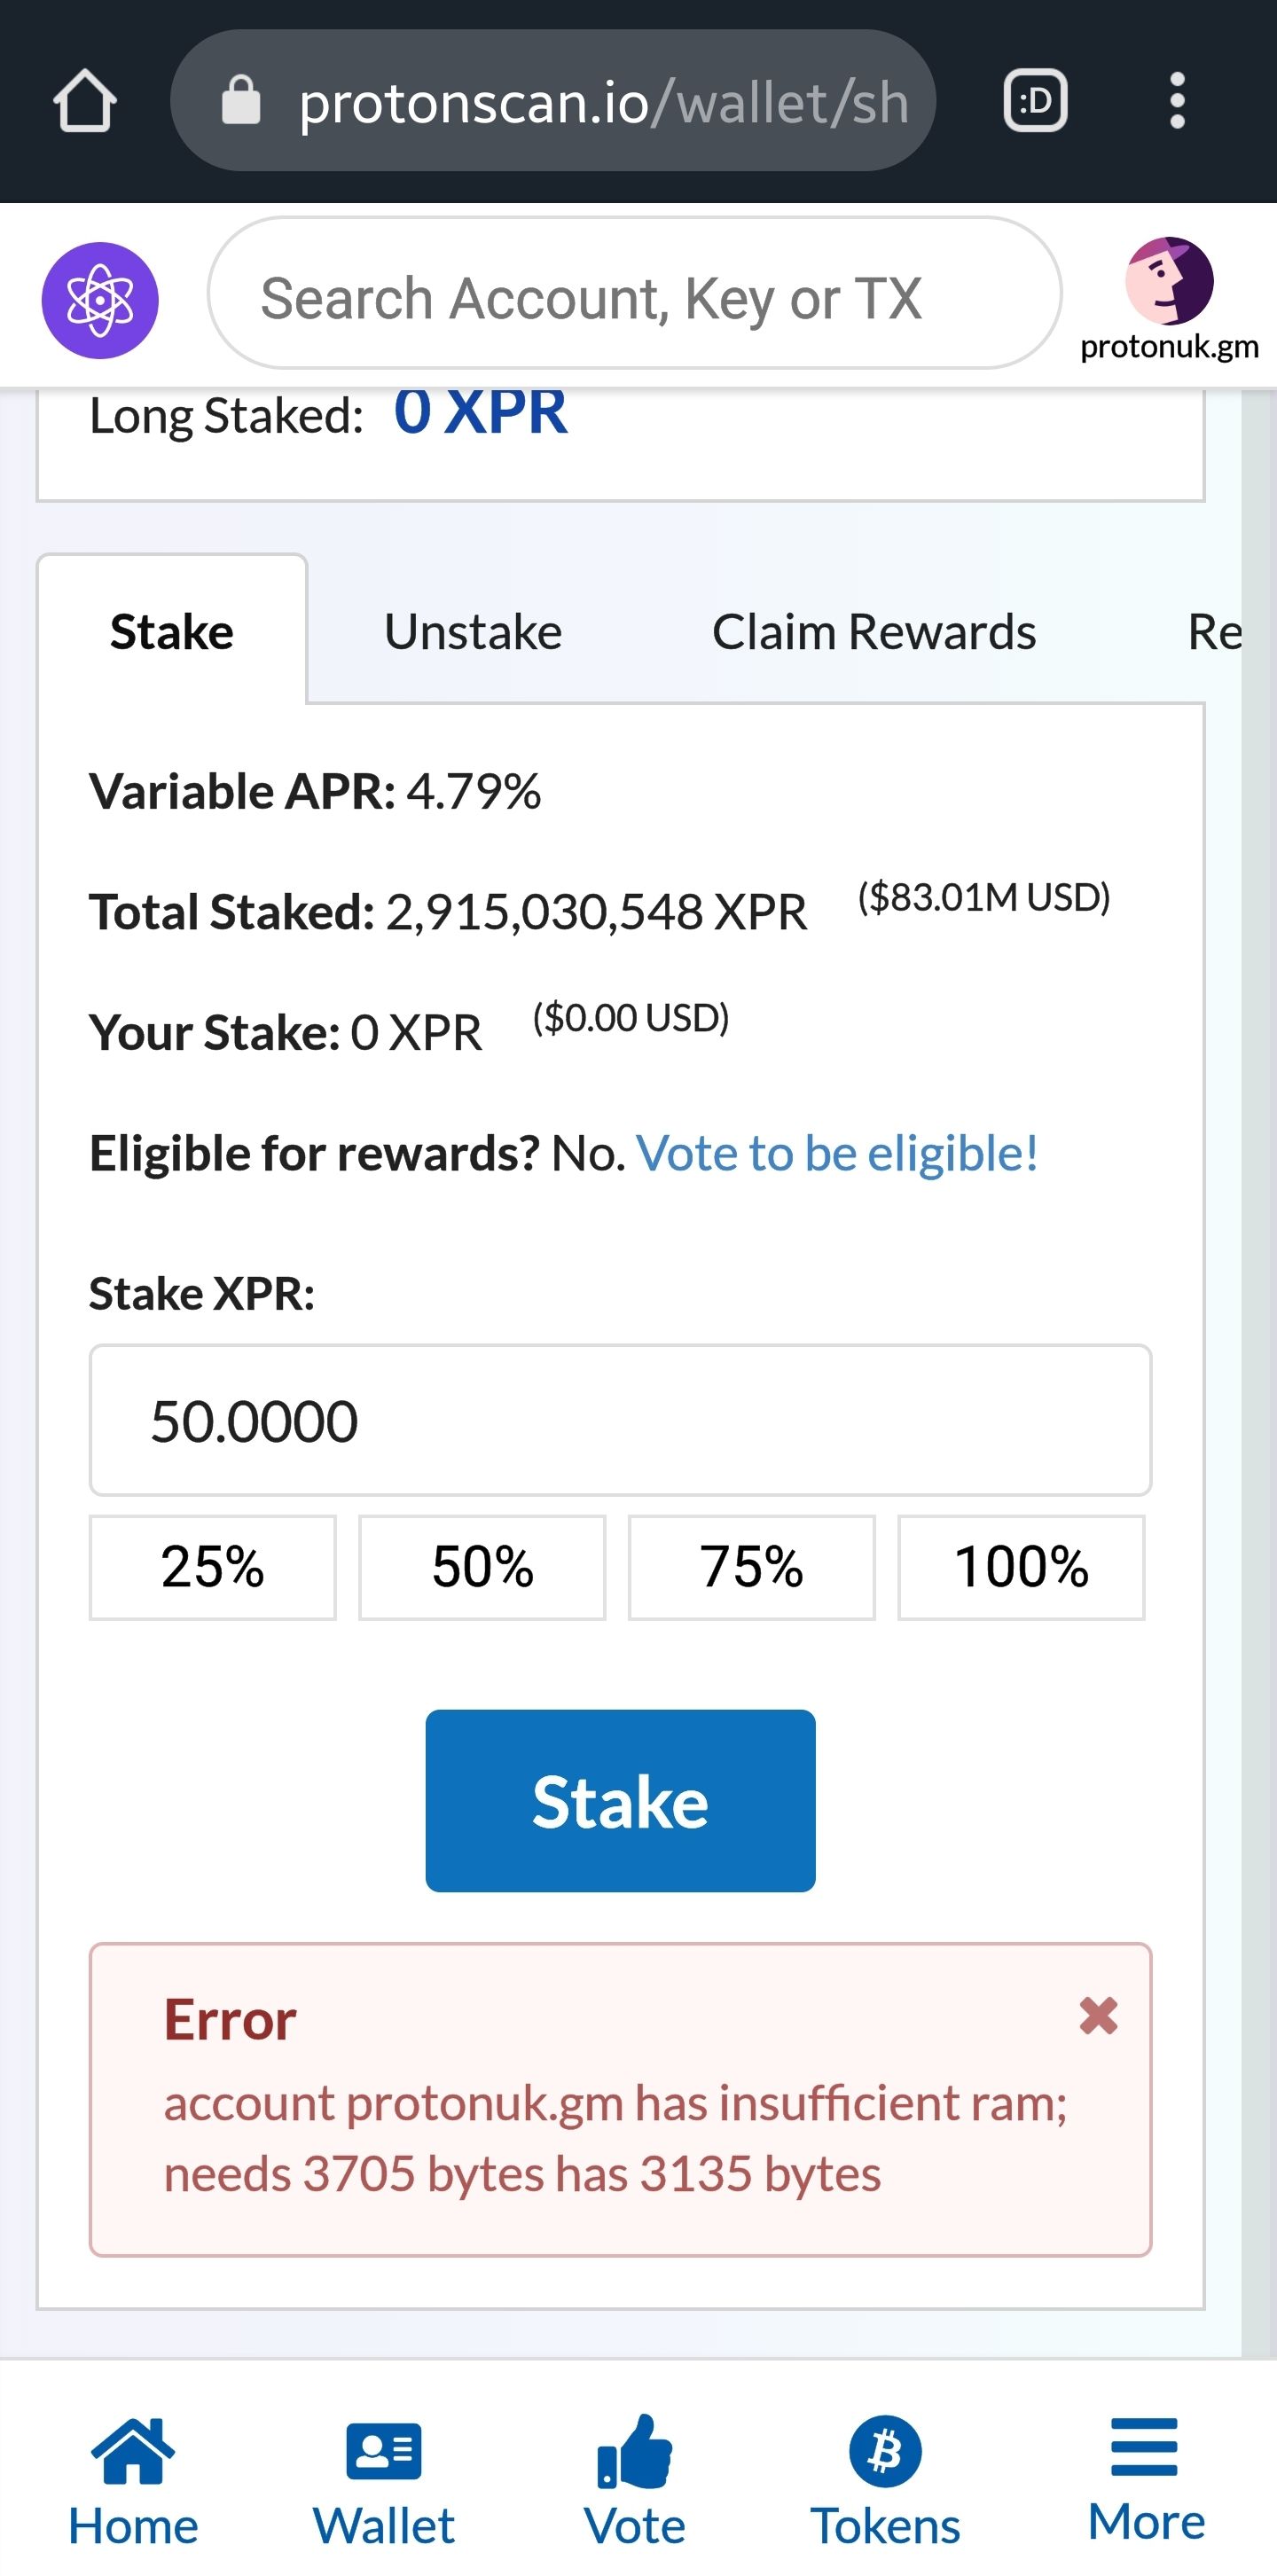
This is because the wallet is created with the base amount of memory that is enough to send and receive XPR. Creating an account with WebAuth.com Wallet provides you with 14000 bytes of storage (RAM) whereas Anchor Wallet only 3135 bytes. For this reason, if your account was created using Anchor Wallet and if you want to stake XPR, you need to purchase additional memory. Don't worry, RAM is very cheap and easy to buy from https://resources.xprnetwork.org/storage
Open the website, login with Anchor Wallet and put in the amount of memory you want to purchase. Additional 1000 bytes would be enough for staking but if you plan to purchase NFTs then you will need more. Put 1000 and click Buy, sign the transaction and you are ready to go:

You can check the transaction on the explorer. The cost of 1000 bytes storage (RAM) is 2 XPR:

Short staking works fine now:

Troubleshooting
Sometimes you may see an error message like the the one below:

Or when you import an account, enter a private key and nothing comes up. In both of these cases, the XPR Network endpoint API was not accessible. Change the API address in case this ever happens to you.
To do that, click on the Proton icon at the top and then Manage Blockchains and then the wheel button and enter another API, you can use ProtonUK API:


